In all my years of painting and making art, I’ve never taken a good old fashioned drawing class. I’ve never been taught about using sighting sticks, measuring perspectives, figuring out a base unit of measure, drawing negative spaces, or learning about the six elements of light. I’ve never had a particularly strong desire to sketch, although I have always kept visual journals for recording ideas and inspiration. I’ve sketched out concepts, played with color combinations, and have always loved experimenting with compositions. So when my artist friend Heidi posted on Facebook last December that she had a couple of spaces open in her Introduction to Drawing class at our local community college, it caught my attention. And I decided to jump in and take a formal drawing class. . . . . and it kind of kicked my butt.

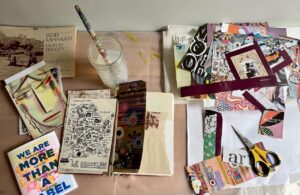
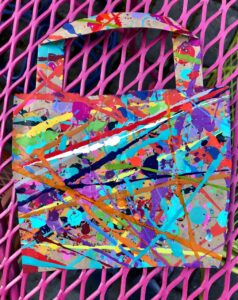
The class met twice a week from 6:00-9:00 pm. I went the first night and got the syllabus, learned everyone’s name (there were about 15 of us), and got excited about the list of supplies, because, well, I love art supplies. The next day I went to the art store and meticulously searched for the various numbered pencils (8B, 6B, 4B, 2B, HB, 2H), vine and compressed charcoal, a kneaded rubber eraser AND a Staedtler Mars plastic eraser, a blending stump (I’ve always wondered what those crazy things were used for), a large pad of newsprint as well as a pad of nice drawing paper, a journal for drawing exercises, other miscellaneous supplies, and a tote for carrying all of my supplies back and forth. On our first night we were assigned a flat file locker for storing our paper and supplies; I felt like a real student.

Besides being in class six hours a week, Heidi warned us that drawing assignments outside of class would take us six to seven hours a week, which meant that I would be devoting 12-13 hours a week drawing. Immersion seemed to be a good way to learn the basics and become familiar with learning how to draw. I already owned the text for the class, the drawing Bible by Betty Edwards, Drawing on the Right Side of the Brain. Throughout the early chapters Betty kept saying how easy it is to learn to draw. I disagree.

Here’s how the class went. We were given our assignments on Wednesday. We would show up at class on Monday and everyone would put their journals on the table, displaying the homework we had done. Heidi would review each drawing, commenting on what had been done correctly (“I believe you, I believe you,” she would say as she carefully looked at our lines and measurements), and what needed more work. We then had the opportunity to go home and make corrections before bringing our journal back on Wednesday for final review and grading by Heidi, each student meeting privately for this portion of the review.

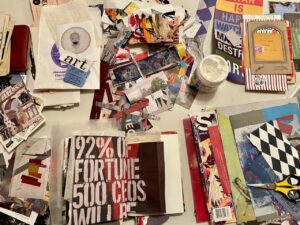
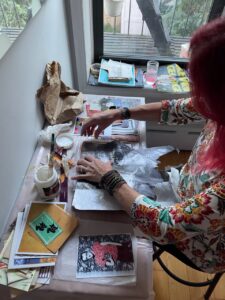
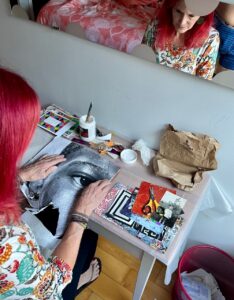
Class time was spent learning new concepts and then drawing. Heidi would set up a still life, adding crazy things to make it more challenging, then we would do our best to apply the concepts and draw what we saw from our perspective in the classroom. Students often worked in pairs doing peer reviews of each others work. It required setting aside ego and being brave. DIGRESSION: The “closet” where the still life objects were stored, well, that made me a bit weak in the knees. Here’s a look inside the closet just because I love this sort of thing:


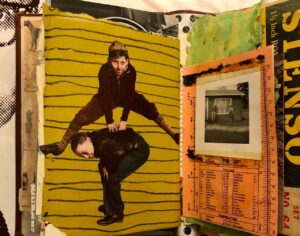
One evening, there was a young man kind of hanging around in the classroom. He disappeared into a small side closet and when he emerged wearing a tank top and shorts, Heidi announced we would be doing gesture drawing and we had a LIVE MODEL. Okay, now we’re talking.

We did a series of one-minute gesture drawings, and for each one, our model changed position. What I drew wasn’t particularly great, but I sure had fun experimenting. And with only a minute (then two minutes) to draw, there was no time for being judgmental. I could do quick gesture drawings all night. And we did.


The six elements of light. Who knew. Highlight, light, shadow, core of shadow, reflected light, cast shadow. Did you know there are a LOT of You Tube videos on drawing the shadows of an egg?

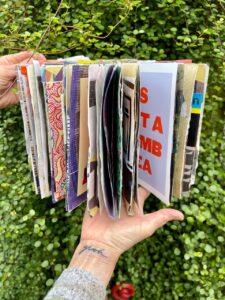
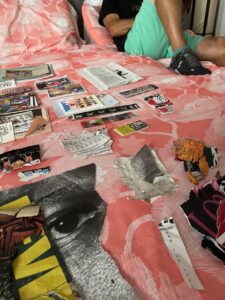
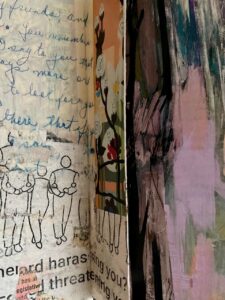
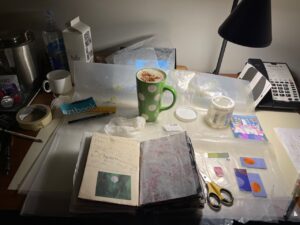
I’m not going to share a lot of my drawings, but I’ll share a few pages from my journal. The following are still lifes we set up at home and illustrate using the skills of sighting, basic unit of measuring, the use of light and shadows, drawing negative shapes, varying values – just about everything we have been working on for the past six weeks.


What I learned in class besides the concepts? Learning to see, to quiet my brain and train my eye to draw what it sees, not what my brain thinks something should look like, which is basically drawing from the right side of my brain rather than the left side. It is a lot harder than it sounds, especially since my left brain is pretty strong willed and stubborn. I was grateful to have Heidi as my teacher and guide. She has been patient, creative, and inventive in how she taught all of these techniques, and she was funny, which goes a long ways when learning something challenging and tedious.

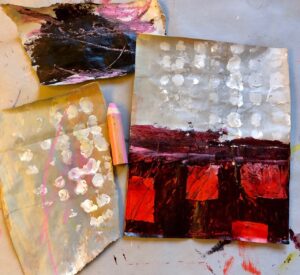
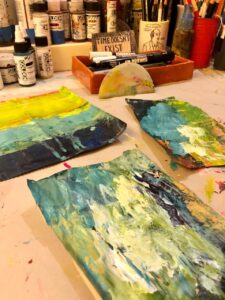
And now I’m ready to get back to something I know: painting.