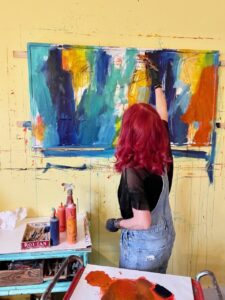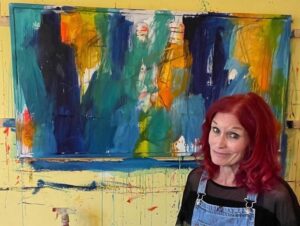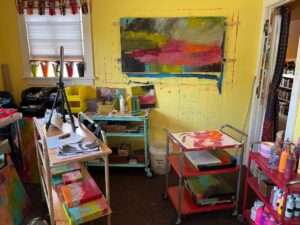
From Shed to Art Studio

It has been a whirlwind of activity since last fall, beginning with the selling of our house and the purchase of a new one all within days of each other (I wrote about this here.)
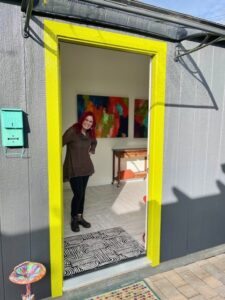
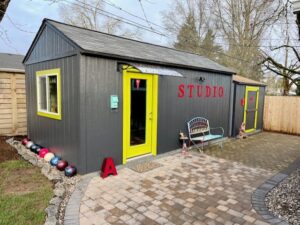
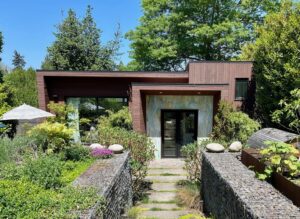
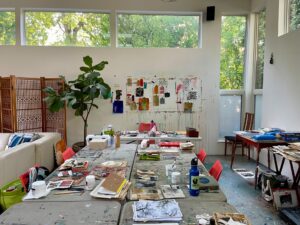
Welcome to my new studio!

When we purchased our new home, we knew it didn’t have a space inside for a studio, but at that time, we were more focused on finding the right house and figuring out my studio space later. We used one extra bedroom in the house as my collage studio, but where a painting studio would be located was a problem to solve. We considered the garage, but we needed the garage for other things, so that wasn’t feasible. We discussed my finding a studio space in an off-site location, but monthly rent adds up quickly.
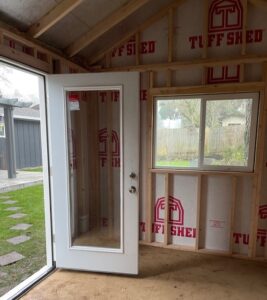
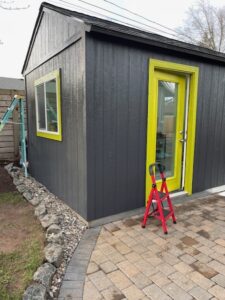
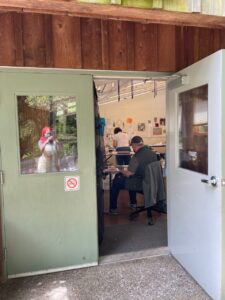
A view through the door with a reflection from the clear awning.

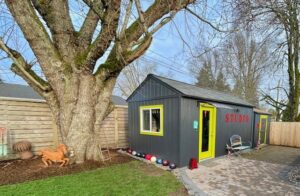
In our backyard on a pad of pavers, was a 10×10 Tuff Shed, which the previous owners used for storing garden materials. Howard came up with the idea of purchasing another 10×10 Tuff Shed and connecting the new shed with the old. We explored that option, but there were a lot of problems in making that work, which led us down the rabbit hole of having a stand alone shed built next to the existing shed. We worked with a Tuff Shed expert to design the new shed, choosing a 10×20 model (the largest possible without getting permits). I got to pick out the height of the walls and roof (8 foot walls with a pitched roof), what kind of door I wanted (a residential door with glass), and how many and where I wanted windows (one window on the south wall). My goal for one window and a single door was to maximize working wall space for hanging my art boards.

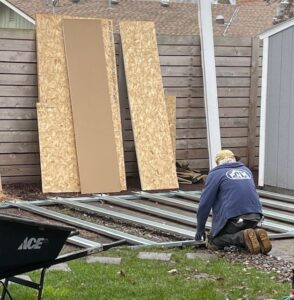
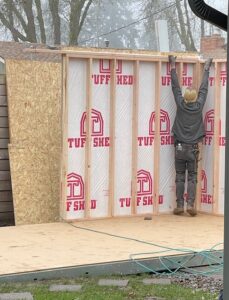
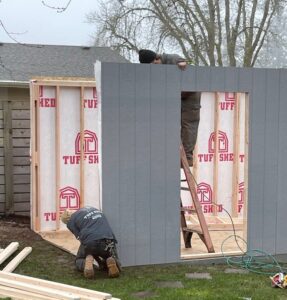
Once decisions were made, and the shed ordered (after being ordered, it was delivered the following week!), the ground needed to be excavated in order for the shed to be installed. Howard dug and dug and dug, piling the dirt next to the garage. Installation day arrived and two great guys showed up, unloaded the foundation, walls, window, and door. Like magic and by early afternoon, the shed was installed and ready to be converted to my studio.
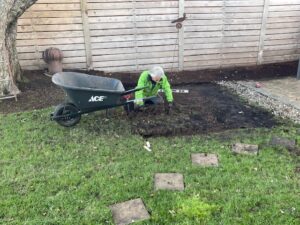
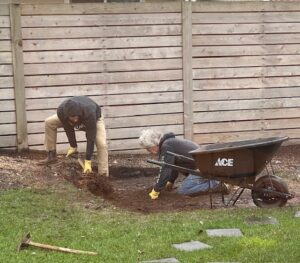
Building the studio: Howard dug out a LOT of dirt to make room for the studio foundation.
Building the studio: The foundation needed to have 16 more inches dug out at the last minute.
Building the studio: Installing the foundation.
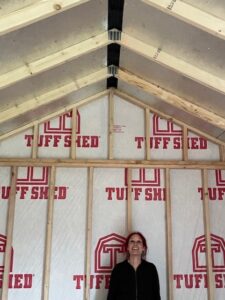
Building the studio: Installing the walls.
Building the studio: Putting up the walls.
Building the studio.
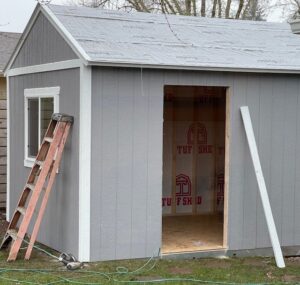
Building the studio: the door and window installed.
Building the studio: It is built!

Once the shed was in place, the finishing projects went like this:

Electrical

This was the only thing that took a long time to get scheduled – two weeks – it seemed like an eternity, but once the electrical was installed, Howard was ready to go. (Side note: the existing 10×10 shed had an electrical panel, so wiring the new studio was easy since the electricians could tap into the already installed panel.)

Insulation
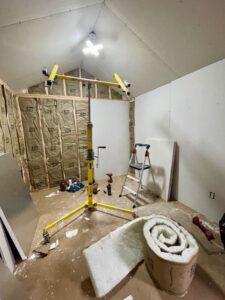
Building the studio: Insulation and then wall boards.

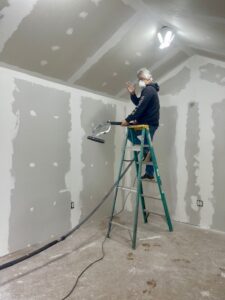
Wall board, Mudding, and Sanding

Building the studio: Sanding the mud.

This took a while because each layer of mud had to dry, and it was messy because of all of the sanding.

Priming and Painting
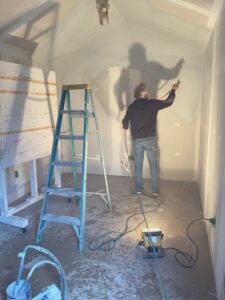
Building the studio: Priming the walls.

It took two coats of primer to get the new walls sealed, and then I had to choose what color to paint the walls. I knew I wanted white, but did I want a warm white or a cool white? I posed this question on my Facebook page and received dozens of suggestions and ideas for what white (and surprisingly, a lot of suggestions to use grey). I went to Benjamin Moore and Sherwin Williams and gathered a couple dozen whites – warm and cool. By a process of research about the whites, and relying on my Spidey senses, I chose Sherwin Williams White Flour, a warm white with creamy undertones. Thank you to everyone who took the time to write such thoughtful responses.

Flooring

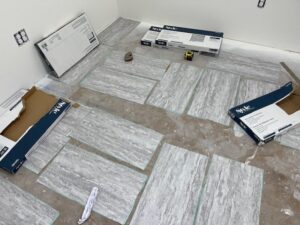
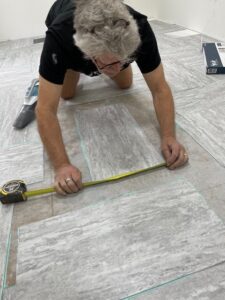
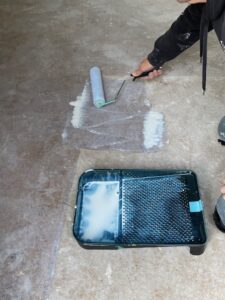
I had originally thought to just paint the floor, and for a little while thought about throwing down cheap rugs, but then my Portland artist friend, Maude May, who also has a Tuff Shed converted to her studio, suggested peel and stick vinyl flooring. Hello! What a brilliant idea. Off to Lowe’s we went and found the perfect pattern for my studio. Howard cleaned the splotches of mud and paint from the flooring, applied two coats of special flooring primer, then over the course of three days, applied the peel and stick tiles rather willy nilly, creating the perfect, random pattern. I love it!
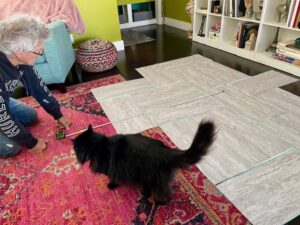
Building the studio: Playing with the layout of the vinyl peel and stick floor tiles.
Building the studio: Howard putting on the first layer of floor primer.
Building the studio: Preparing to install peel and stick vinyl tiles.
Building the studio: Installing peel and stick vinyl tiles.

Walls for Hanging Art

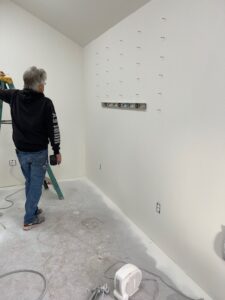
Building the studio: Howard installing the 120 screws for hanging and moving my cradled panels around.
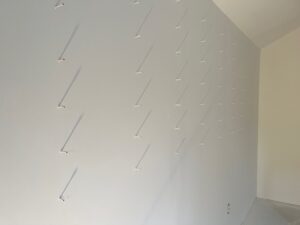
Building the studio: 120 screws put into the walls for hanging my cradled panels. The rows are 16 inches apart and the columns are six inches apart,

Howard installed 60 screws on each of my two long walls, for a grand total of 120 screws. He had just finished painting the walls, so he still had his paint sprayer set up: he misted the two walls with paint so that the screws blended into the walls.

Moving In
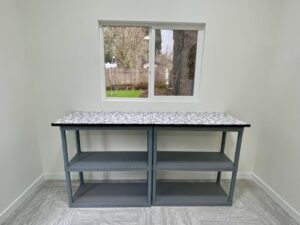
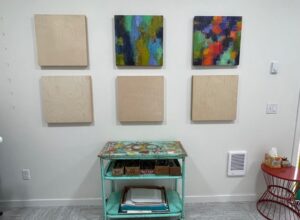
Ahhhhh, beginning to put together the studio infrastructure.
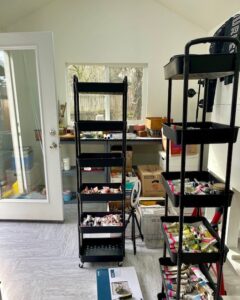
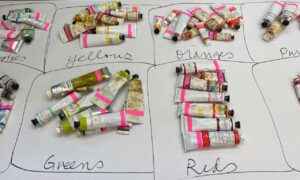
Organizing my new rolling carts: A shelf for each color of oil paint.

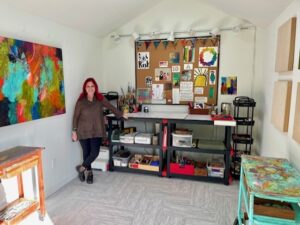
I knew I wanted two work stations on opposite ends of the studio; the south work station is for my acrylic and water-based media and the north work station is for my oil and cold wax. I ordered an inexpensive funky chair online to have a contemplation chair, and brought in two of my vintage rolling work carts (I have four); I also purchased two tower rolling carts to store my oil paints divided by color.
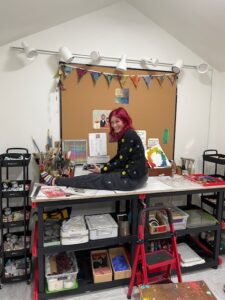
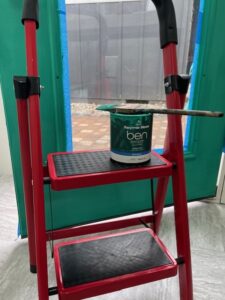
I saved the best for last: Deciding what to hang on my inspiration board.
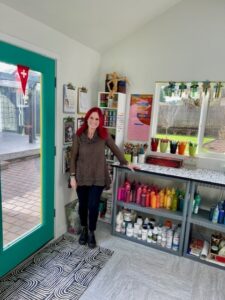
The walls are white . . . . but not the door.
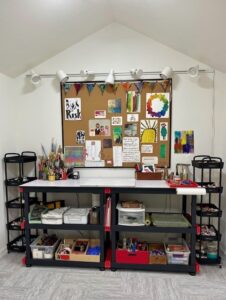
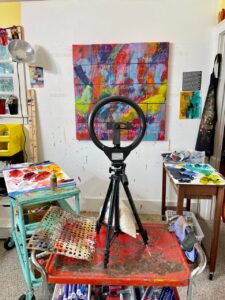
My oil and cold wax work area.
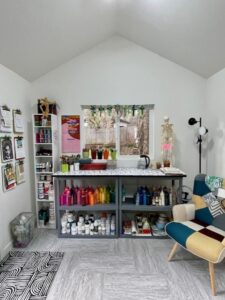
My water-based work area.
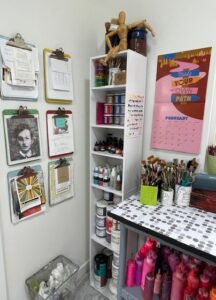
A favorite corner, storage for water-based media.
The west wall of my studio.
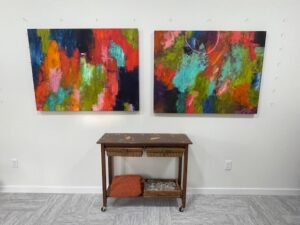
The east wall of my studio.

Outside Finish Work

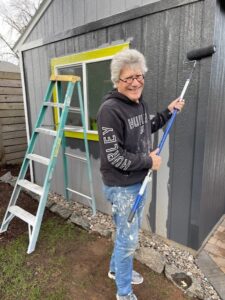
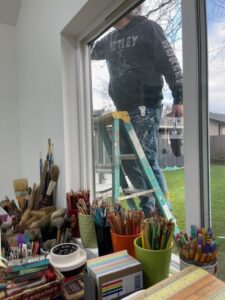
Building the studio: My painter.
Building the studio: The first coat of paint has been applied.
The studio is finished. But is it ever really finished? I don’t think so.

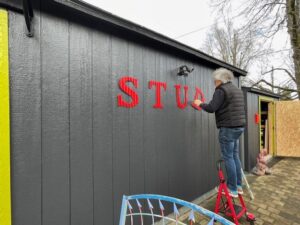
We had a few good days of weather, so Howard and I jumped into action and painted the outside walls and trim (just the front facing walls – we still have the back and three sides to do – it wasn’t that nice for that long). I had pre painted some big metal letters, and Howard got those installed. We also realized we needed some kind of awning for the doorway so I wouldn’t get soaked unlocking the door, so we ordered a nice awning from Wayfair and Howard got that installed just in time for the next rain shower (we live in Oregon, the awning was essential).
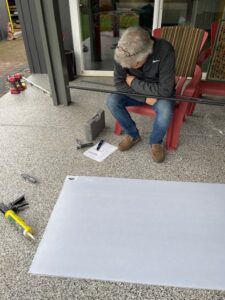
Howard reading the directions for putting together the studio awning.

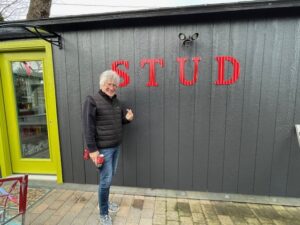
Howard installing the letters. Of course, when he got to this point, I told him I needed a photo.
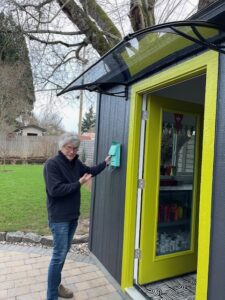
Installing the mailbox. I don’t anticipate getting much mail. . . .

Pavers and Art Plaza

As the studio was being put together, we decided that it would be nice to have a clean, attractive space between the house and the studios. There were already existing pavers around the Art Annex (the original 10×10 Tuff Shed), so we decided to extend them to the edge of the new studio. In the middle of working on the inside of the studio, a crew of three guys arrived and spent three full days excavating and then installing pavers and a small rock wall. We call this our Art Plaza. (NOTE: We used our neighbor’s business to do the work, Curb Appeal, and they did beautiful work. They finished on a Friday afternoon just before the snow arrived, so I got to enjoy the Plaza for about an hour and then I didn’t get to see it again for a week, until the snow melted.)
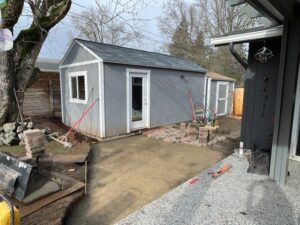
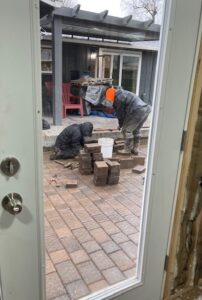
Preparing for pavers.
Installing the pavers.

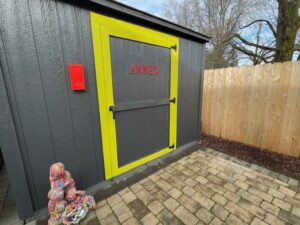
Art Annex

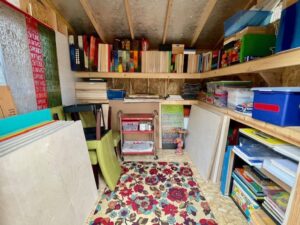
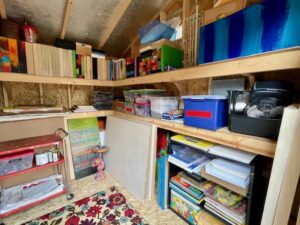
The little Tuff Shed that came with the house had been set up for gardening supplies. It had built in shelves, electricity, and lights, making it a perfect place to store all of my blank art substrates as well as excess paper, art supplies, surplus rolling carts, and finished art. I plopped down a rug, turned on some heat, and created a perfect auxiliary studio.
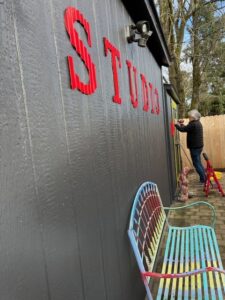
Installing all of the painted letters.
The Annex.
The Annex: Art storage for boards and supplies (the painted floor mat covering the window was done by Sloy).

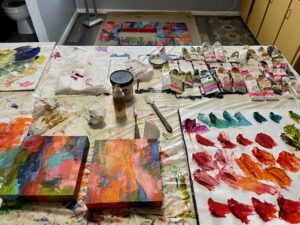
A Working Studio

I have two work stations: this one for oil and cold wax; at the other end of the studio is acrylics and water-based materials.
So pleased with my new studio.

The Cost

In case you’re interested in what all of this cost, I know I was looking for this kind of information when we first set out on this adventure, I want to give you a rough estimate of what we spent to create this 10×20 studio in our backyard. We had out of pocket costs, but Howard did the majority of the work: he excavated the ground for the foundation (with some help from our strong son, Scott), cut down a tree limb, did the insulation, installed the wallboard, mudded, and sanded (with the help of our wonderful handyperson, Nancy), primed and painted the walls, installed the peel and stick tiles, painted the outside, and put up the awning over the door. All costs are rounded and approximate:

Tuff Shed $9,300; electrical $1,300 (a second bid we got was $3,300! so glad we got two bids); wallboard $400; help with wallboard installation $500; peel and stick vinyl flooring $400; paint and primer $300; insulation $600; awning $200. Howard loosely estimates his labor at $2,000. So the total project (NOT including the pavers since those didn’t have anything to do with the building of the studio): $15,000. We had anticipated it would cost around $14,000, so we were pleased to be within $1,000 of our estimate.
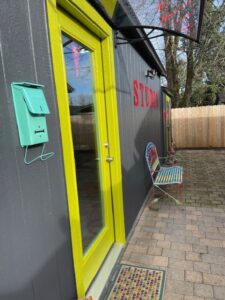
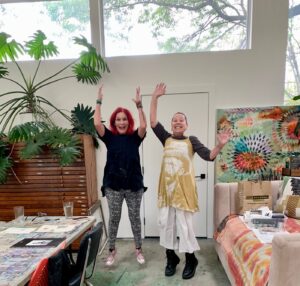
A place to rest and get some fresh air.


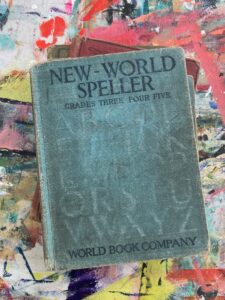
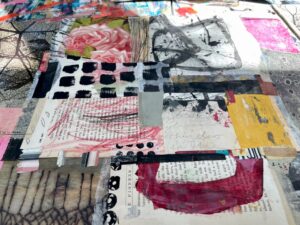
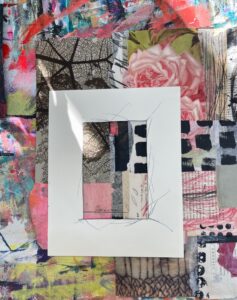
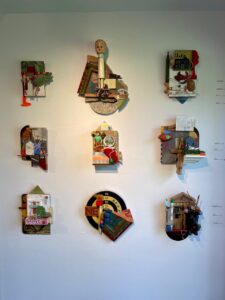
MIXT: Collage on Old Book Boards

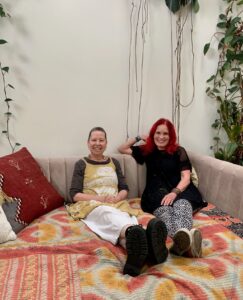
Orly and I are friends who both live in Salem and share a love of old books. What started as an idea last fall, blossomed into something beautiful: a collaborative workshop with Orly and myself. We met to dream about what we would offer, to come up with a title, and to figure out how we would present the class.

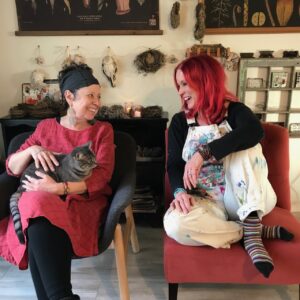
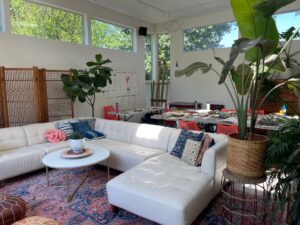
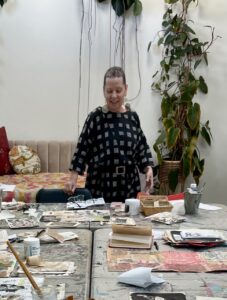
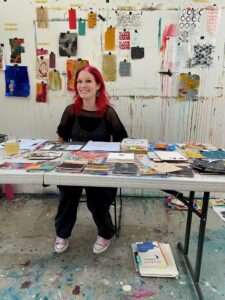
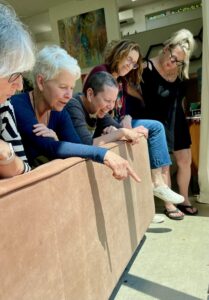
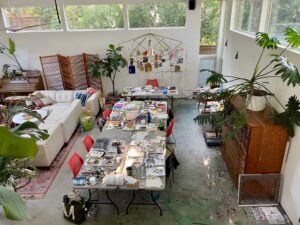
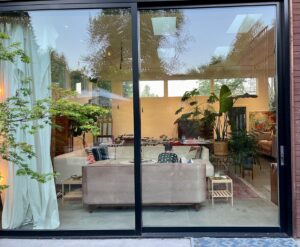
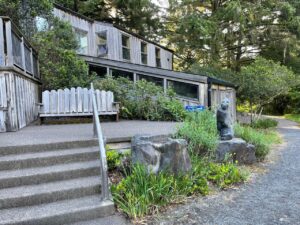
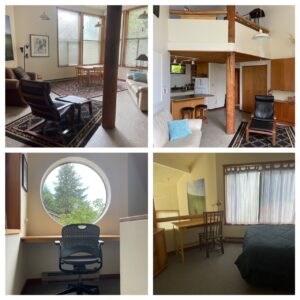
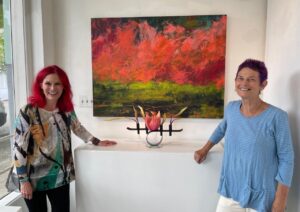
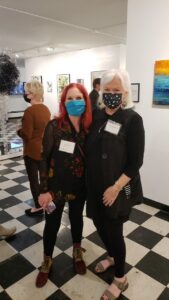
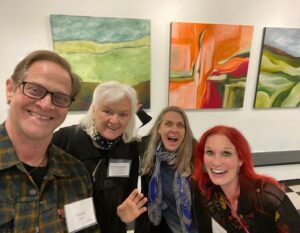
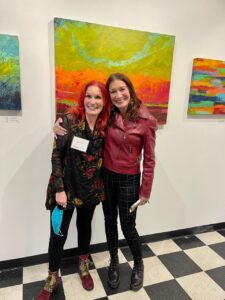
Once our ideas began to take shape, we had several photos taken of us together, named our workshop MIXT: Collage on Old Book Boards, and decided that we would each teach two days in our four-day class. The class took place last week and was held in NE Portland at the gorgeous former studio of Flora Bowley. (An added benefit was that Orly and I got to stay at the studio, which has been made into an AirBnB – the commute to and from class was divine.)

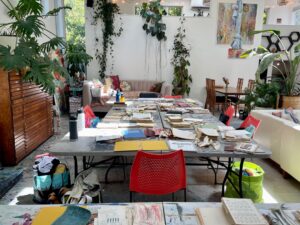
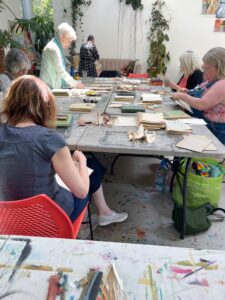
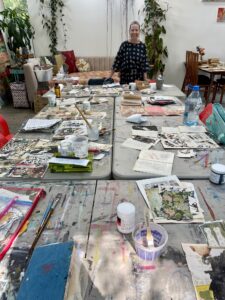
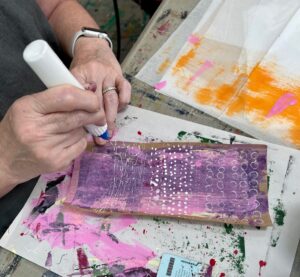
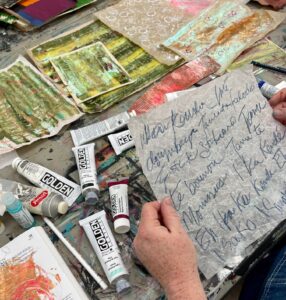
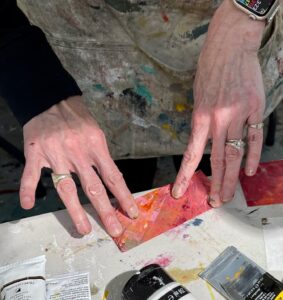
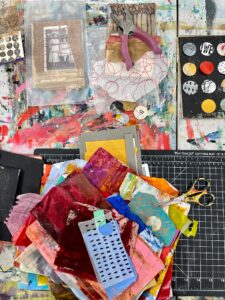
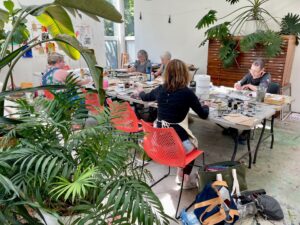
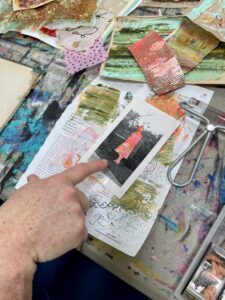
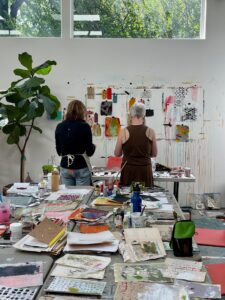
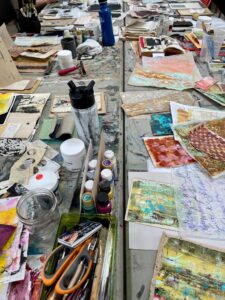
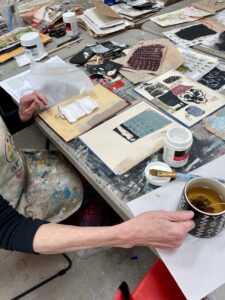
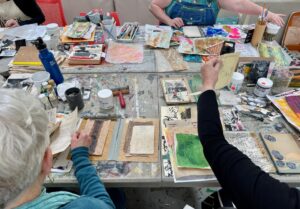
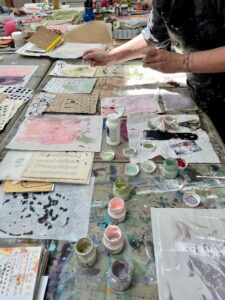
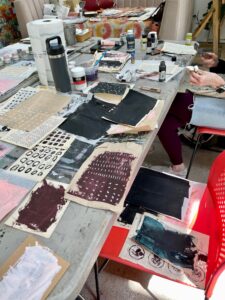
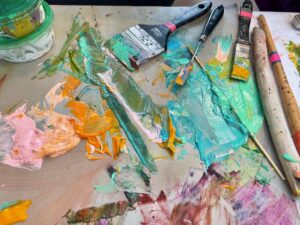
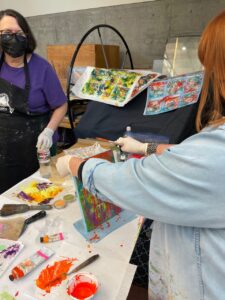
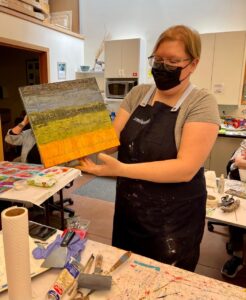
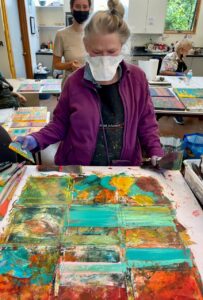
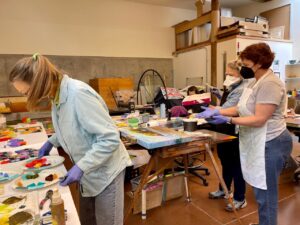
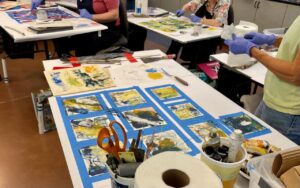
Orly taught the first two days, and I taught the second two days. It was a whirlwind of tearing books apart, doing creative drawing exercises, playing with transfers, making our own painted collage papers, and creating the biggest mess we could. No words needed; the photos tell the story.

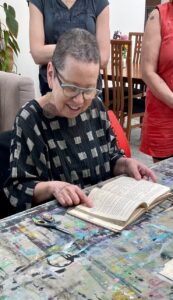
The workshop was a lovely success. The weather was perfect, and we were able to eat outside on the lovely grounds of the studio and take walks in the morning and evening. Everyone created a series of beautiful collages, incorporating the varied methods and ideas that both of us taught. There was laughter, silence, tears, the sound of paper being ripped, and the sound of a squeaky brayer. Orly and I deepened our friendship as we shared this time and experience together.

Salem Reads 2023: Boundless Optimism

My January newsletter went out this week and in it I shared about my participation in the 2023 Salem Reads program. This community-wide reading event has been sponsored by the Salem Public Library Foundation since 2017. I was one of the original artists, and although I have been invited to participate each year since, I didn’t jump on the opportunity. . . .until this year. The chosen book is Trevor Noah’s Born a Crime: Stories from a South African Childhood.

Invited artists were instructed to read the book and then create a piece of art in response. I listened to the book on Audible, which was read by Trevor; I loved hearing Trevor’s accent and his inflections, making for an enjoyable and humorous experience. The book was presented as a series of short stories, focusing on different eras of his life as a child and young man. The book was heartwarming, funny, tragic, tender, and ultimately a story of redemption as Trevor rose above his tough circumstances.

I was aware of apartheid and knew a little about it, but Trevor’s stories brought it alive through his eyes of a child growing up during the extreme segregation of whites and blacks.

In my artist statement, I was able to share what led me to create what I did for this exhibit.

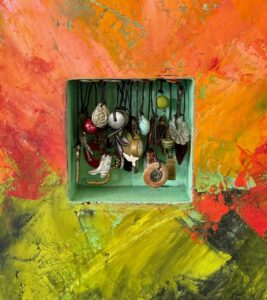
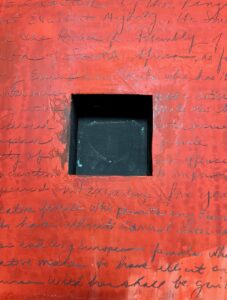
As I read ‘Born a Crime,’ so many images swirled in my mind. Trevor was born to a black mother and a white father during the extreme racial segregation of South African apartheid. Despite their circumstances, Trevor’s mother demonstrated feistiness, determination, and perseverance. As Trevor matured, he exhibited many of the characteristics of his mother, carving out a life filled with humor, music, inventiveness, and friendship. Before I began my painting in response to ‘Born a Crime,’ I wrote out the text from the Immorality Act of 1927 across the surface of my board, reminding me of the laws in place when Trevor was conceived and born. I painted this piece with the idea of a young man rising out of the darkness of apartheid, which I translated into colors. I filled the niche with objects representing Trevor’s creativity, spirit, and abundance despite his circumstances.

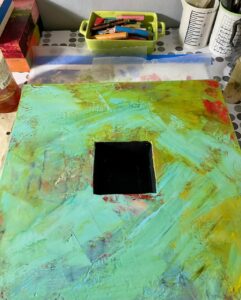
The piece I created is 16×16 inches square and three inches deep, with a 5×5 inch niche filled with charms and small trinkets. I attached these small items using string, which I tacked to the top of the niche using vintage, colorful thumb tacks.

The 2023 show runs from February 1-25, and will be held in the Art Hall at the Salem Public Library. At the end of February, the show will be packed up and transported to a series of regional libraries; my piece will return to Salem in June.

If you’re interested in learning more about the pieces of art created for the show, several of the participating artists (myself included), appeared on Joel Zak’s KMUZ radio show, Talking About Art, last Friday. A recording of the show can be found on the KMUZ website by going HERE. During my segment, I talked about my motivation behind the piece of art I created for the show.


Interested in signing up for my newsletter? I send it out once a month and I share what I am doing, something about my art practice, special projects, a book review and recommendation, and an art quote. Follow this link to sign up.
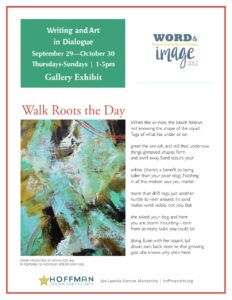
Word and Image: Writers and Artists in Dialogue

The Word and Image show is one of my favorite projects and it took place last month at the Hoffman Center for the Arts in Manzanita (on the Oregon coast). This event occurs biennially, and I was fortunate to have participated in 2020, so I was eager to apply for 2022. The process for the show goes like this:

Artists and writers are invited to submit samples of their work; artists submit three art images and writers submit three poems/short stories. The jury then chooses 12 artists and 12 writers. A pairing event is held where an artist’s name is pulled from a hat, then a writer’s name is pulled from a hat, and voila! those two are partners. The artist choses one of the three writing entries and creates a new piece of art in response to the words, likewise, the writer choses a piece of art from those submitted and writes a poem or short story in response. This new work is submitted electronically so beautiful broadsides can be printed and a book prepared and published.
MY PAINTING PROCESS

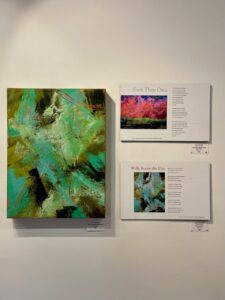
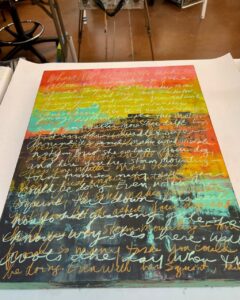
I chose to use an 18×28 inch cradled birch panel. I prepared it with acrylic paint, a layer of plaster, more acrylic paint to seal the plaster, and a couple layers of oil and cold wax. This was all the preparation to begin painting in response to the writer I was paired with, Simeon Dreyfuss. I chose Simeon’s poem, Walk Roots the Day as the piece I was using for my responsive painting. When the initial layers of my prepped board were completely dry, I wrote Simeon’s poem across the surface of my board.

I wrote Simeon’s poem on the surface of my board to incorporate his words with my paint.

I began adding layers of paint, looking for the poem to emerge.
An early layer.
Another early layer.
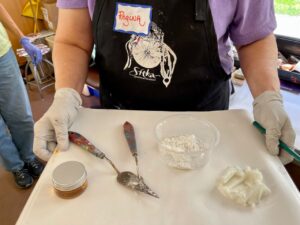
I used my painting for a demo when I was teaching at Sitka Center for Art and Ecology this summer. The demo was how to scrape off paint!

After layers of paint, and scraping off a layer, I worked on this piece when I wasn’t teaching at Sitka Center for Art and Ecology – either early in the morning, or in the evening after my students had left for the day. It seemed appropriate to be painting this piece while I was at Cascade Head on the Oregon coast.

I played around with this design and color idea by painting a small piece on paper and a 12×12 inch piece on a cradled panel.
Close up.
Close up.
Close up.
Close up.
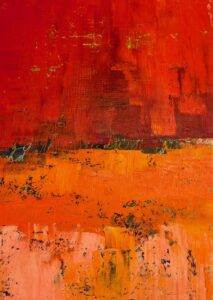
The finished piece.

THE SHOW

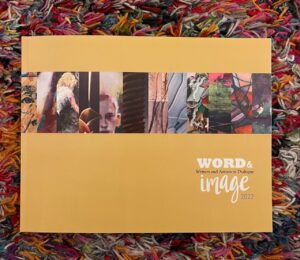
Art was delivered to the gallery, art and broadsides were hung, an online reception was held, and a beautiful book was published.

The beautiful book that captures the work.
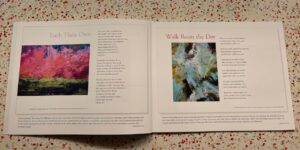
Two-page spread in the Word and Image book.
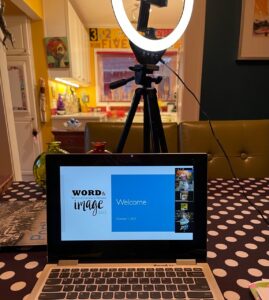
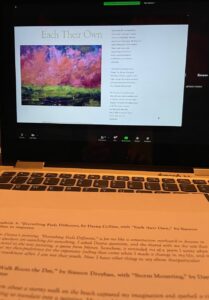
Opening reception via Zoom.
Opening reception: Simeon’s words in response to my painting, “Everything Feels Different.”

THE VISIT

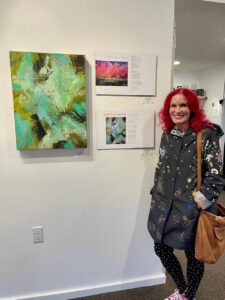
The show!

A HAPPY POSTSCRIPT

As I was working on this blog post, I took a break to welcome Paula Booth into my home. Paula is a professor of art at Western Oregon University and also curates the art at two northwest hotels, The Dundee and The Independence. I am fortunate to have art at both hotels and we had made arrangements for Paula to come to my house to view my available work to change out some of my pieces at The Independence. I had just picked up Storm Mounting from the Hoffman Center for the Arts, and so it was one of my available pieces. Paula was excited to include this painting in the group of paintings she selected.


Teaching at Sitka: Part 1

I had the privilege of teaching two classes at Sitka Center for Art and Ecology. The first, June 30-July 3, was in the smaller of the two studios at Sitka, Smith, and with ten students, it was the perfect space.

I taught two classes at Sitka, the first class was in the smaller, lower studio and the second class was in the spectacular upper studio, Boyden.

Because I was teaching two classes and they were back-to-back (I had the 4th of July off between the two classes), I got to stay at Morley House, which was a first for me. I loved this space!

This is where I got to stay for ten days: Morley House.

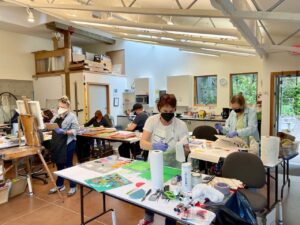
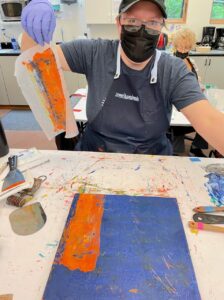
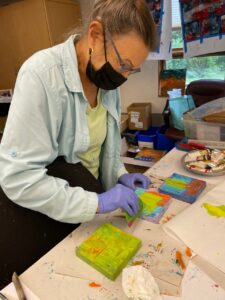
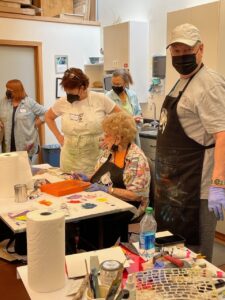
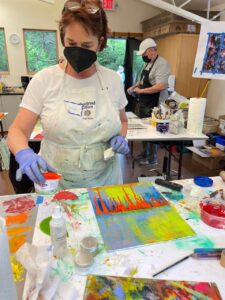
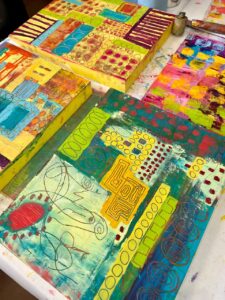
Now to the good stuff. The class. I could babble on about it, but instead I’m going to share photos – a fraction of the photos I took, but it gives a good look into our four days of art making. The group was talented, energetic, spirited, and hard workers — and they wanted to know if they could sign up for my 2023 class on the final day!

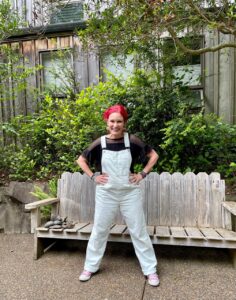
Brand new overalls! Soft fabric . . . and WHITE. I’m ready.
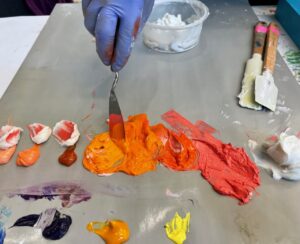
How I set up the oil paints I bring for the class to use.
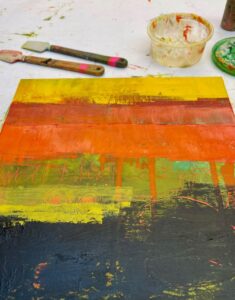
A demo board.
Picking up supplies.
Pink+handmade holey paper = beauty.
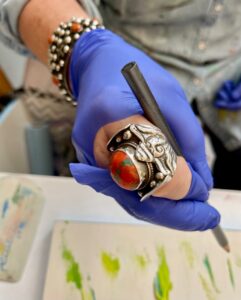
Making room for a beautiful ring.
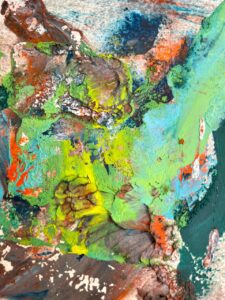
Just a beautiful blob of paint.
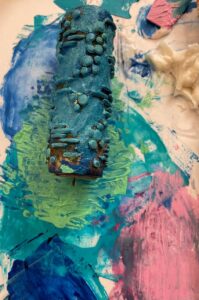
An old wallpaper roller I bought at a flea market in Europe years ago was a huge hit.
All the colors!
Working, working, working.
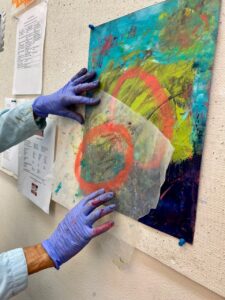
Blotting with tissue paper, lifting paint, and moving paint around.
Spreading and scraping paint.
Mixing oil paint with cold wax medium.
Such a strong use of color!
Another lover of color!
Carol experimenting with using a solvent to create drips.
A lovely example of a grid composition.
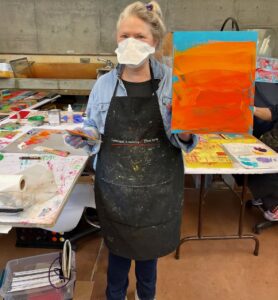
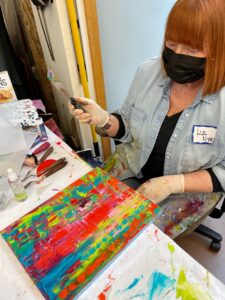
Regina and Liz confer.
Beautiful swaths of color.
Jill contemplates her next move.
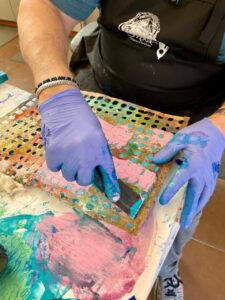
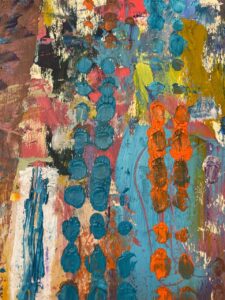
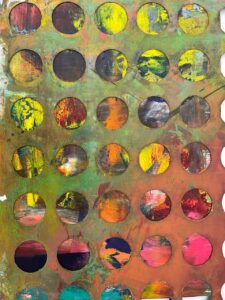
My favorite stencil: circles.
Colorful, powerful, and fascinating example of a grid composition.

R&F Pigment Sticks – making a monoprint.
Selecting pigment sticks to try out.
A beautiful, finished painting. Carol started this one in a class with me a few years ago, brought it with her, and brought it to a beautiful finish.
Work in progress.
Encouraging and supporting each other.
Experimenting with drips!
I love the variety of color and marks in this series.
This is a monoprint of the original oil and cold wax painting (Marc let me have the monoprint and it is hanging in my studio).
Looking in . . . .
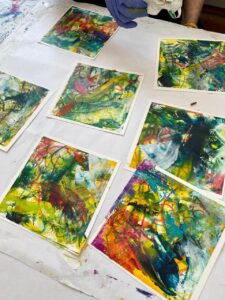
A beautiful series of magical marks.
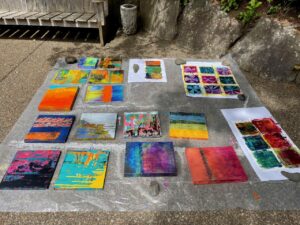
Paintings drying in the courtyard,
Mini abstracts.
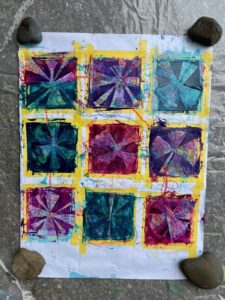
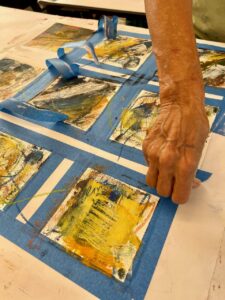
Ripping off tape to reveal small beauties.
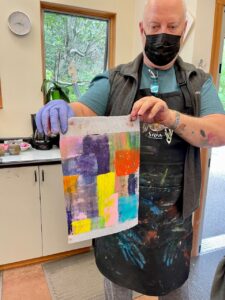
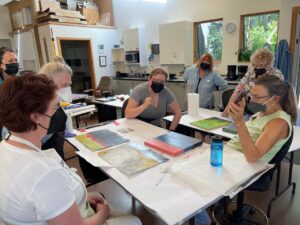
Final day show and tell.

And then I rested.

A Behind the Scenes Look

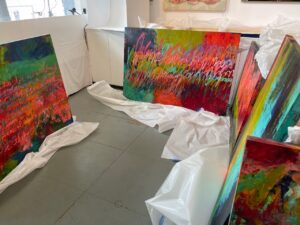
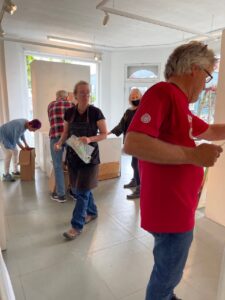
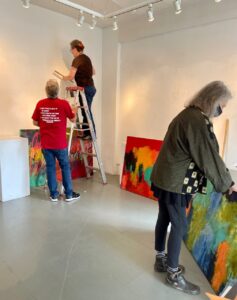
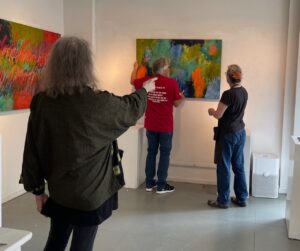
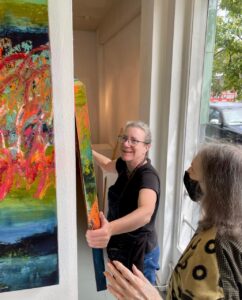
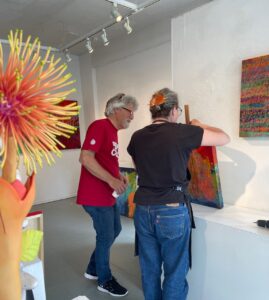
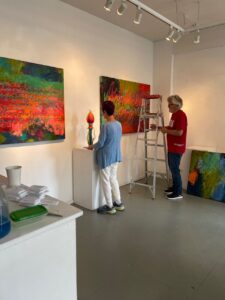
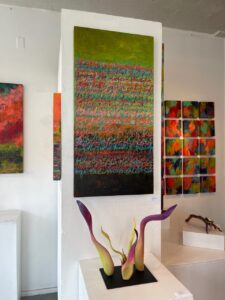
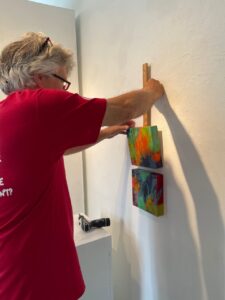
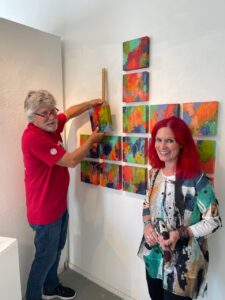
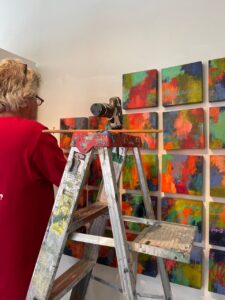
What a thrill it was to hang my show at Guardino Gallery a couple of weeks ago. I always like behind the scenes photos, so I thought it would be fun to share the highlights of the hanging on May 25, 2022. My show partner, Nadine Gay, was there with her husband, and my husband/studio assistant/business manager showed up and did a bit of everything to help get the show hung. It took six of us four hours to get the whole show hung.

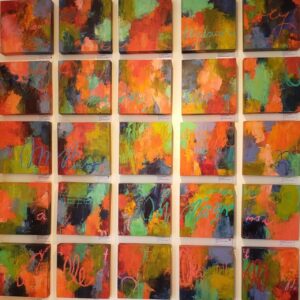
I did an earlier post about Howard’s hanging of my 25-piece grid made up of individual 8×8 inch pieces, and you can see that post by clicking here.

The show is up through June 28, 2022.

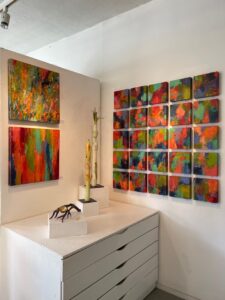
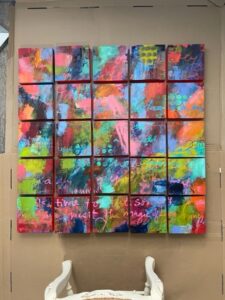
Full of Delightful Mischief: A Grid of 25

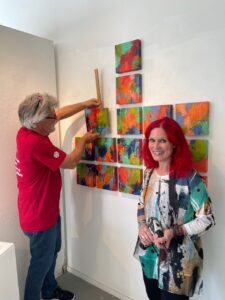
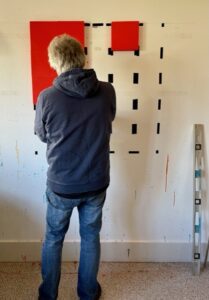
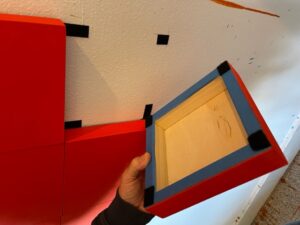
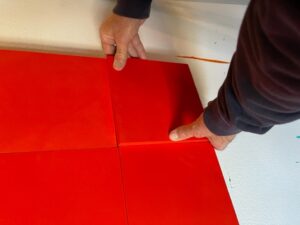
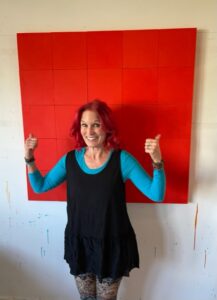
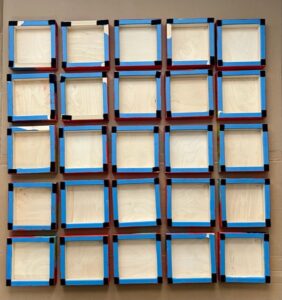
I had an idea for a painting I wanted in my show at Guardino Gallery. I envisioned a grid of smaller paintings hung together to create a large 40×40 inch piece of art. I decided the small paintings would be 8×8 inches. But the initial problem was how to hang 25 paintings in a manner that would allow me to work on all 25 at the same time, as if I was actually painting a 40×40-inch piece of art. My studio assistant came to the rescue. He devised a system using Velcro. He attached Velcro to the back of the 25 8×8-inch cradled panels, then matched up the other piece of Velcro to the wall, allowing all of the paintings to hang together, but could easily be removed for me to 1) paint the edges, and 2) work on each piece individually when it became time to resolve each piece as a single painting.

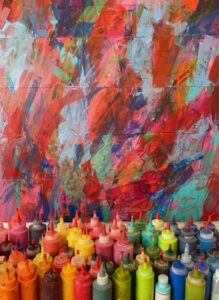
After I secured the 25 panels (thank you Art Department for ordering so many boards for me), they were primed with fluorescent pink and orange acrylic paint by my studio assistant. I decided to start the painting process using acrylic paint to get lots of layers of color and marks. It was such fun to paint across the surface with grand swaths of paint, and occasionally pull the panels off the wall to wrap paint around and onto the edges.

Priming the 25 boards.
Howard measuring and attaching the Velcro.
An ingenious system.
Snapping the last panel into place.
My grid of smaller panels is a reality!
The backs are taped and Velcroed.
Acrylic paints below the works in progress.
A section of painted panels. Can you see where they are nestled close together?
Art quotes were added across the surface of the 25 pieces.

After a few layers of acrylic, I switched to oil paint mixed with cold wax, and began enhancing and adding more layers, words, and marks.

Refining each piece individually.
Layers, layers, and more layers of oil and cold wax.
Making progress. The view from standing on a chair.
Documenting the progress.
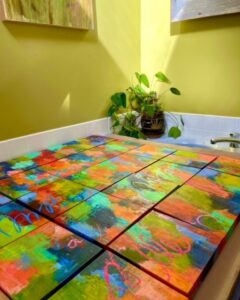
Drying across the bathtub on a warm, sunny day.
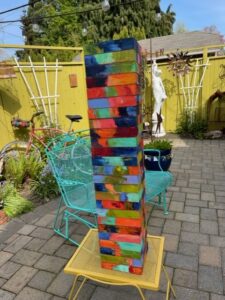
A stack of completed paintings. I love the edges!

And today the grid was hung at the gallery!

Getting started.
I was Howard’s assistant for a change.
One by one, Howard got all 25 pieces hung.
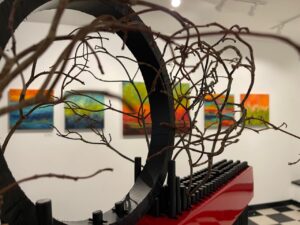
My art next to three of Nadine Gay’s beautiful sculptures.
It was sure wonderful to hang the show with three red dots!


The Evolution of a Scavenged Painting


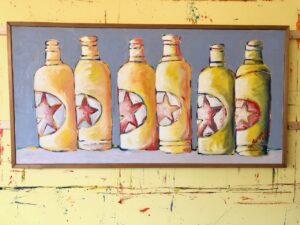
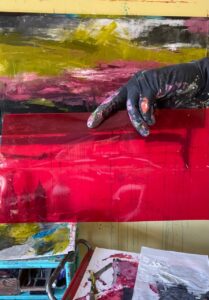
About ten years ago I discovered this 25×49 inch framed painting on canvas at a local Goodwill; I think I might have paid $25. I didn’t buy it for the painting, but as an inexpensive canvas to repurpose for my own art. The canvas got tucked away in our shed, and I forgot about it. Last year I rediscovered it and took a closer look. It was signed on the back by M. Runyan and it had been painted in 1985. I asked my artist friend Bonnie Hull, who is familiar with many artists in Salem over the years, if she knew of the artist, but the name didn’t ring a bell. So I decided I would give the painting a makeover. And as it turns out, another makeover, and then another until I was finally satisfied. For now, anyway.

I opened a big bucket of gesso and began covering erasing the six starred bottles (I kind of cringed and then cried a bit).

And then I began applying paint.
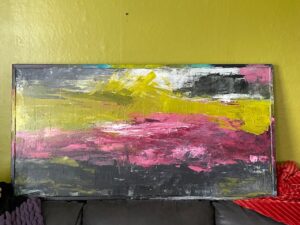
Life got busy and once again I abandoned this canvas. The bottles were gone, gesso applied, and some bands of color slapped on. Not sure where I stored the canvas, probably in the upstairs hallway, but it got tucked away until last July when I pulled it out again. This time I started adding swaths of black, green, pink, and burgundy.

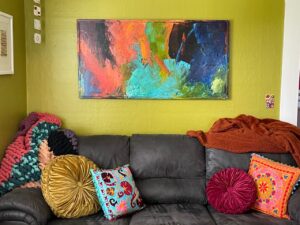
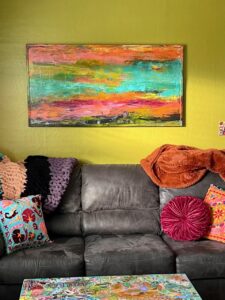
It was at a stopping point and I hid it away again for many months. Until two weeks ago when we packed it into our car and drove to Astoria. I thought maybe it would look nice in our House of Color since we were in need of a piece of art above our couch.

Nope. It didn’t look good at all and I didn’t even like the painting anymore, so instead of dragging it home, I took it upstairs to my studio and painted some swaths of wild color.

It was fine, kind of fun, definitely colorful, but it lacked any kind of KAPOW, so back upstairs it went. I pulled out more paint, began spreading, scraping, and marking.
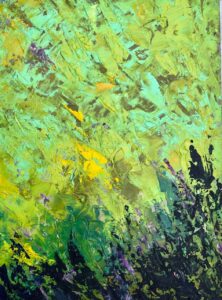
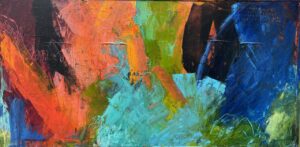
It was finally what I had wanted all along (but didn’t know what that was until it appeared). Here is the final painting and some close ups of different areas.

“A Courageous Act of Flamboyance,” 25-1/2 x 49-1/2 inches, acrylic on canvas, sealed with cold wax, and a painted frame, by Dayna Collins.

But guess what? I needed a big painting for Fogue Gallery in Seattle, so this finally finished pop of color piece of art will be heading north on Thursday and be on display and for sale just in time for the Georgetown Art Attack on Saturday, April 7.

And the wall above our couch is once again empty and in need of art.
 

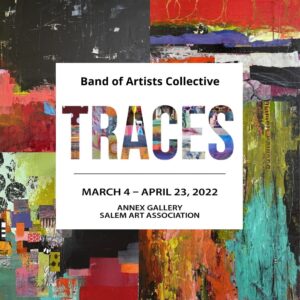
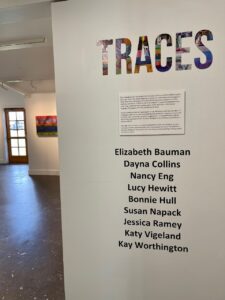
TRACES: Band of Artists Collective

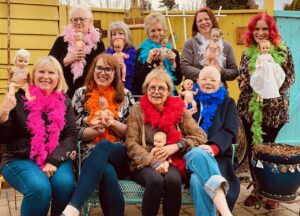
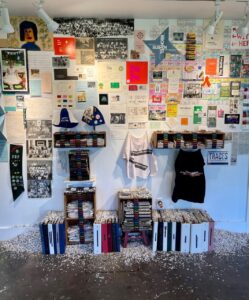
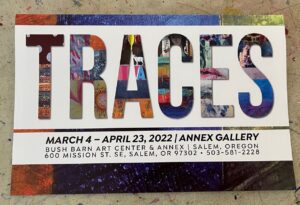
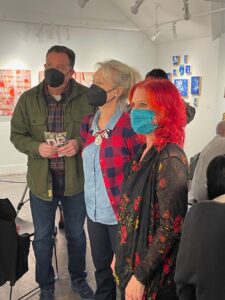
Finally, our long overdue and postponed group show, Traces, is now on view at the Salem Art Association Annex Gallery. During the two-year wait for things to reopen and get our show rescheduled, we changed our name from the Salem Art group to the Band of Artists Collective, but we’re the same group of talented artists. We’ve been plotting and planning for this show over the past few months, and got together in February to make final preparations (and take a very serious group photo). 
Band of Artists Collective, February, 2022.

The title of our show Traces, could be interpreted however we chose, but our group show statement explains it in more detail:

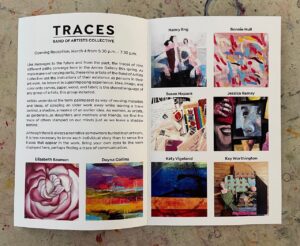
Like messages to the future and from the past, the traces of nine different paths converge here in the Annex Gallery this spring. As mark makers of varying sorts, these nine artists of the Band of Artists Collective use the indications of their existence as persons in their art work. An interest in superimposing experience, idea, image, and color onto canvas, paper, wood, and fabric is the shared language of any group of artists, this group included.

Artists understand the term palimpsest as way of reusing materials and ideas, of scraping an older work away while leaving a trace behind, a shadow, a nuance of an earlier idea. As women, as artists, as gardeners…as daughters and mothers and friends, we find the trace of others stamped on our minds just as we leave a shadow behind.

Although there is always a narrative somewhere buried in an artwork, it is less necessary to know each individual story than to sense the traces that appear in the work. Bring your own eyes to the work displayed here, perhaps finding a trace of communication. 

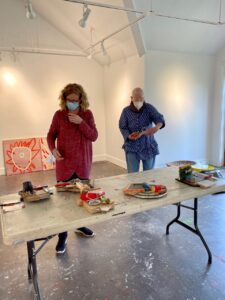
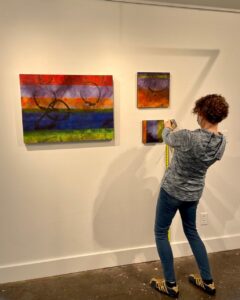
Earlier this week, art work was dropped off. The day I dropped off my work, Kay was dropping off her pieces and Robin was busily hanging Katy’s work, while Kathy was trying to keep track of all of the final details.

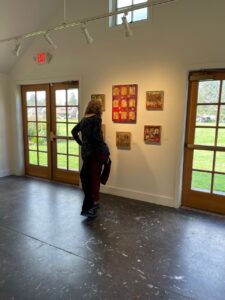
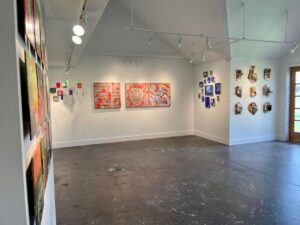
Fast forward to Thursday. I was out for my weekly walk with Joni, and we decided to swing by the Art Annex to see the show. It was so nice to walk into the space and have it to ourselves. It’s a stunning show.

Joni viewing the show

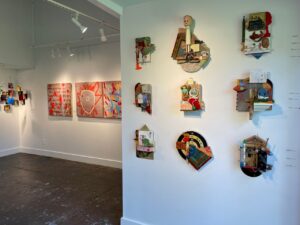
The work for each of the nine artists:

Katy Vigland
Nancy Eng
Kay Worthington
Elizabeth Bauman
Bonnie Hull
Jessica Ramey
Dayna Collins
Susan Napack

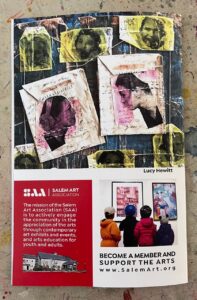
Salem Art Association prepared a beautiful color brochure, which includes a photo of everyone’s work along with individual artist statements.

Here is what I wrote for my Artist Statement – even before I had created my body of work.

Mixed media is often a wild goose chase down a twisted rabbit hole. It involves a series of what if questions and actions. What if I glued this down, drew a line over the top, added some paint, glued something else down, and then took a sander to it to reveal the first layer of collage, added more paint, then glued something else down, wrote with a wax crayon, then started over?

It is all a grand experimental mystery, which somehow all comes together one way or another. This project fits perfectly with my 2022 word of the year: RISK. I am taking a risk working in a new way, one I have been intrigued with for several years but somehow fear held me back: How can I cover a beautiful collage with paint? And yet covering it, excavating, concealing, and revealing is what I love doing and something I do in paint all the time.

Creating my mixed media pieces is a messy affair, a wild cacophony of cutting, tearing, drawing, gluing, painting, writing, scraping, sanding, layering, revealing, and varnishing. My pieces reflect my curiosity, playfulness, irreverence, and my love of texture, history, and a touch of surprise.

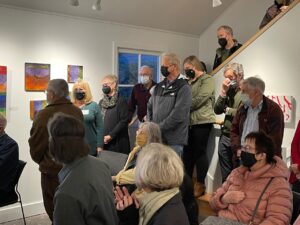
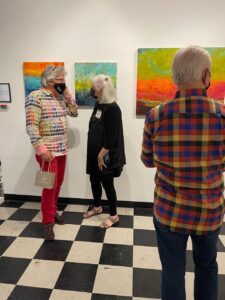
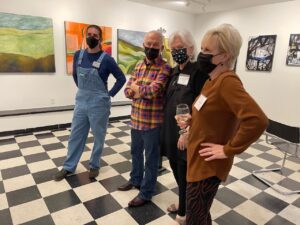
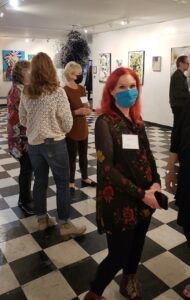
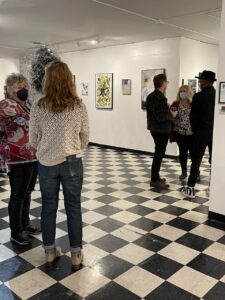
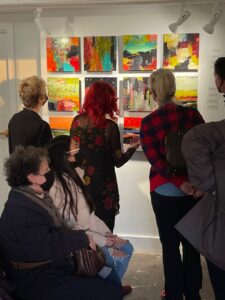
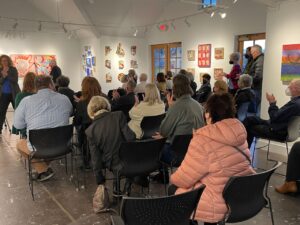
The opening reception was held tonight, it was a marvelous gathering of artists, art lovers, friends, family, and supporters.

With Kathleen Dinges, the curator of our show.

The show runs from March 4 – April 23, 2022.


A New Gallery For Me!

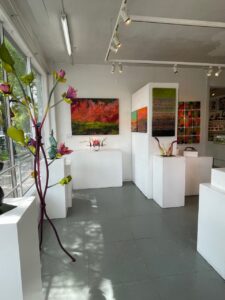
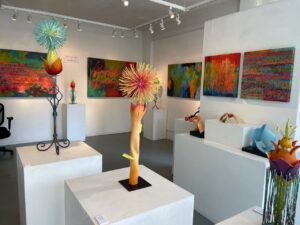
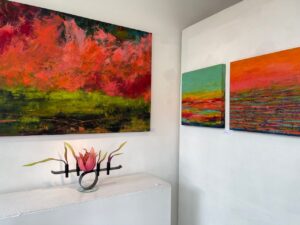
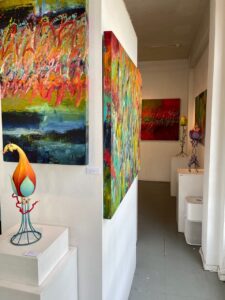
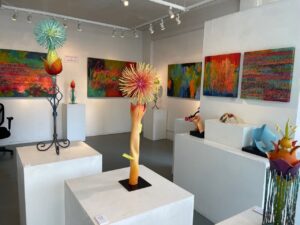
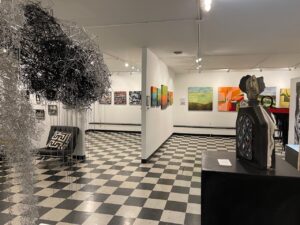
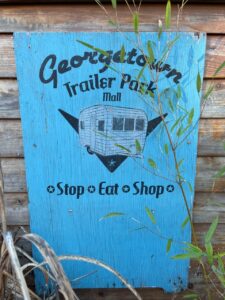
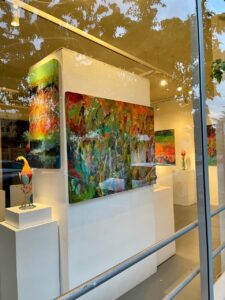
I’m delighted to share the news that my art is in a new gallery (and in a new state). I was invited by the owner of Fogue Gallery, Kerry Gates, to display my art at this lovely Georgetown gallery, located about four miles south of downtown Seattle. Georgetown is a lively and funky neighborhood, with several art galleries, numerous restaurants, eclectic shops, and the Georgetown Trailer Mall.

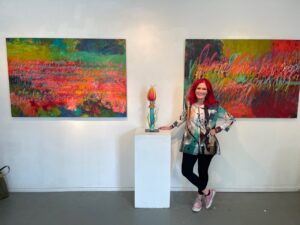
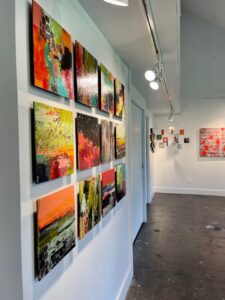
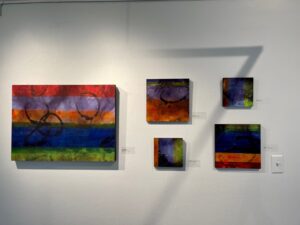
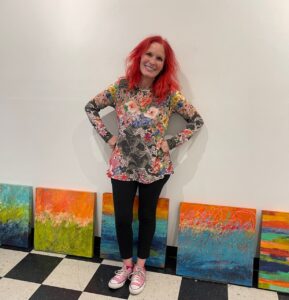
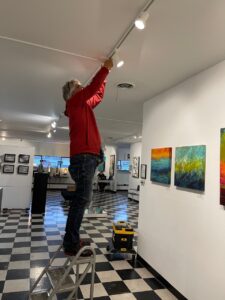
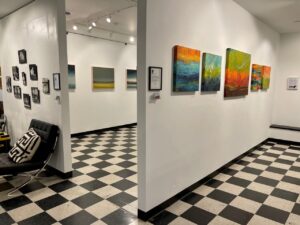
Last month, Howard and I made the drive north to the gallery to hang my art on a beautiful, freshly painted white wall, where we hung five of my oil and cold wax paintings.

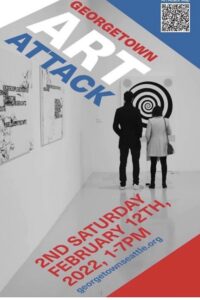
The second Saturday of every month is Georgetown’s Art Attack, so we got a room at the Georgetown Inn and attended our first art walk. What a blast!

I got to see my friend Kathleen, who has been a longtime artist at the gallery, and she was gracious enough to introduce me to several of the other artists showing their work in the gallery.

Our oldest daughter lives in Tacoma and she drove up to show her support and cheer me on.

What an evening.

A tiny peek at Georgetown in case you’ve never been . . .

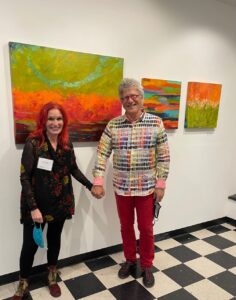
And my biggest thanks goes to my husband, Howard, who does ALL of the behind the scenes work like wiring, inventory, cataloging, schlepping, hanging, adjusting lights, and color coordinating his clothes to match my art.

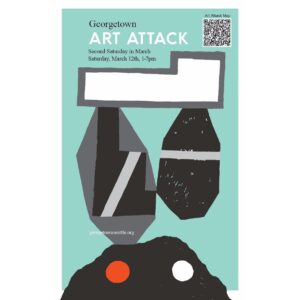
The next Georgetown Art Attack is Saturday, March 12. I’ll be there, so stop by and say hello.