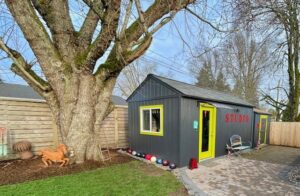
From Shed to Art Studio

It has been a whirlwind of activity since last fall, beginning with the selling of our house and the purchase of a new one all within days of each other (I wrote about this here.)
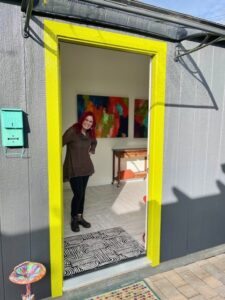
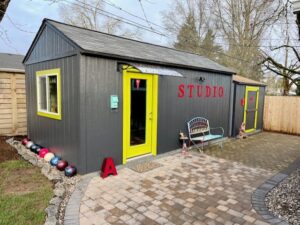
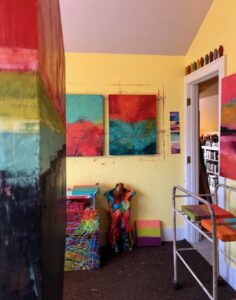
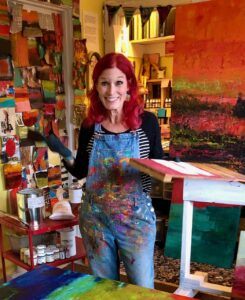
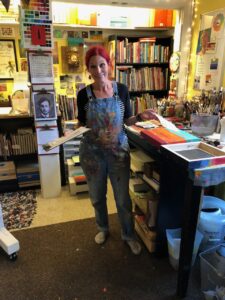
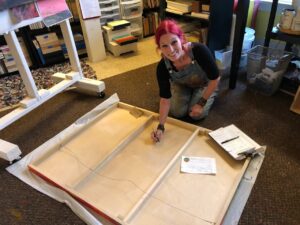
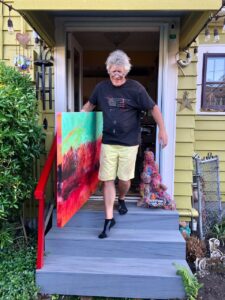
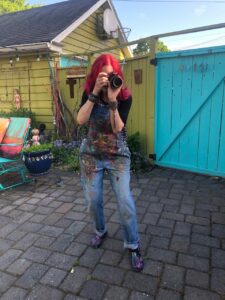
Welcome to my new studio!

When we purchased our new home, we knew it didn’t have a space inside for a studio, but at that time, we were more focused on finding the right house and figuring out my studio space later. We used one extra bedroom in the house as my collage studio, but where a painting studio would be located was a problem to solve. We considered the garage, but we needed the garage for other things, so that wasn’t feasible. We discussed my finding a studio space in an off-site location, but monthly rent adds up quickly.
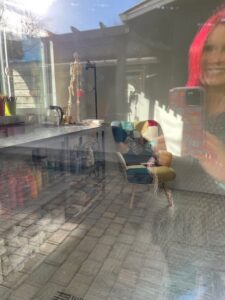
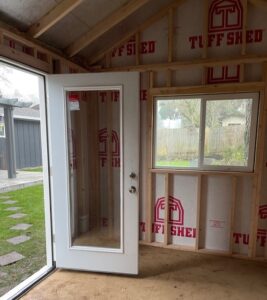
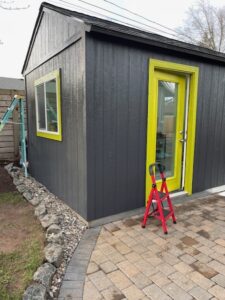
A view through the door with a reflection from the clear awning.

In our backyard on a pad of pavers, was a 10×10 Tuff Shed, which the previous owners used for storing garden materials. Howard came up with the idea of purchasing another 10×10 Tuff Shed and connecting the new shed with the old. We explored that option, but there were a lot of problems in making that work, which led us down the rabbit hole of having a stand alone shed built next to the existing shed. We worked with a Tuff Shed expert to design the new shed, choosing a 10×20 model (the largest possible without getting permits). I got to pick out the height of the walls and roof (8 foot walls with a pitched roof), what kind of door I wanted (a residential door with glass), and how many and where I wanted windows (one window on the south wall). My goal for one window and a single door was to maximize working wall space for hanging my art boards.

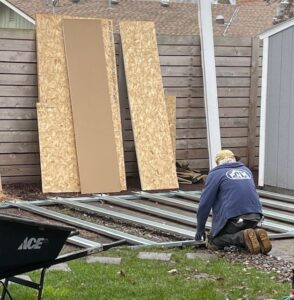
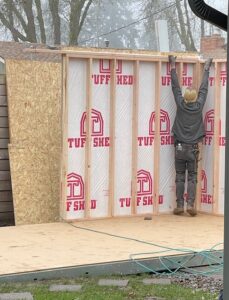
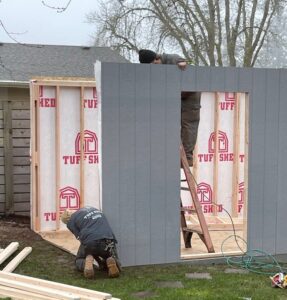
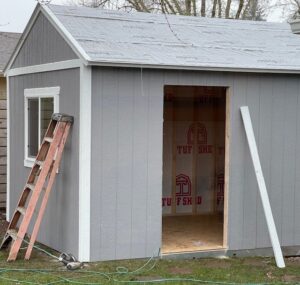
Once decisions were made, and the shed ordered (after being ordered, it was delivered the following week!), the ground needed to be excavated in order for the shed to be installed. Howard dug and dug and dug, piling the dirt next to the garage. Installation day arrived and two great guys showed up, unloaded the foundation, walls, window, and door. Like magic and by early afternoon, the shed was installed and ready to be converted to my studio.
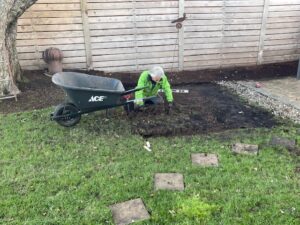
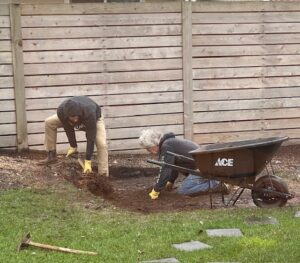
Building the studio: Howard dug out a LOT of dirt to make room for the studio foundation.
Building the studio: The foundation needed to have 16 more inches dug out at the last minute.
Building the studio: Installing the foundation.
Building the studio: Installing the walls.
Building the studio: Putting up the walls.
Building the studio.
Building the studio: the door and window installed.
Building the studio: It is built!

Once the shed was in place, the finishing projects went like this:

Electrical

This was the only thing that took a long time to get scheduled – two weeks – it seemed like an eternity, but once the electrical was installed, Howard was ready to go. (Side note: the existing 10×10 shed had an electrical panel, so wiring the new studio was easy since the electricians could tap into the already installed panel.)

Insulation
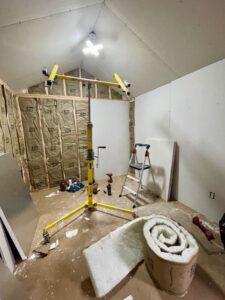
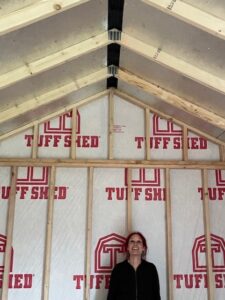
Building the studio: Insulation and then wall boards.

Wall board, Mudding, and Sanding

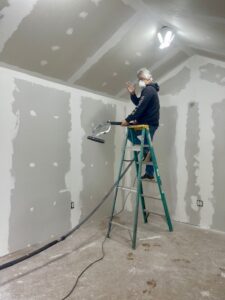
Building the studio: Sanding the mud.

This took a while because each layer of mud had to dry, and it was messy because of all of the sanding.

Priming and Painting
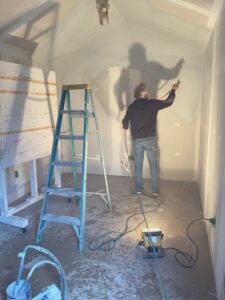
Building the studio: Priming the walls.

It took two coats of primer to get the new walls sealed, and then I had to choose what color to paint the walls. I knew I wanted white, but did I want a warm white or a cool white? I posed this question on my Facebook page and received dozens of suggestions and ideas for what white (and surprisingly, a lot of suggestions to use grey). I went to Benjamin Moore and Sherwin Williams and gathered a couple dozen whites – warm and cool. By a process of research about the whites, and relying on my Spidey senses, I chose Sherwin Williams White Flour, a warm white with creamy undertones. Thank you to everyone who took the time to write such thoughtful responses.

Flooring

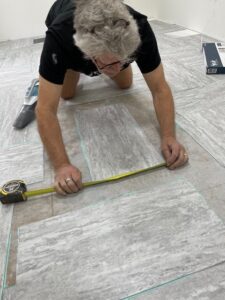
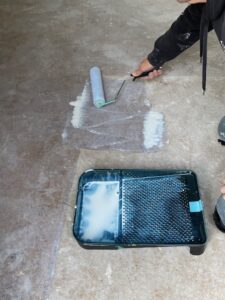
I had originally thought to just paint the floor, and for a little while thought about throwing down cheap rugs, but then my Portland artist friend, Maude May, who also has a Tuff Shed converted to her studio, suggested peel and stick vinyl flooring. Hello! What a brilliant idea. Off to Lowe’s we went and found the perfect pattern for my studio. Howard cleaned the splotches of mud and paint from the flooring, applied two coats of special flooring primer, then over the course of three days, applied the peel and stick tiles rather willy nilly, creating the perfect, random pattern. I love it!
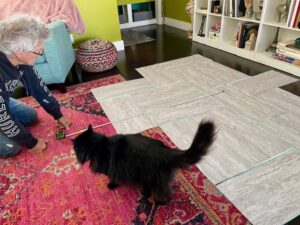
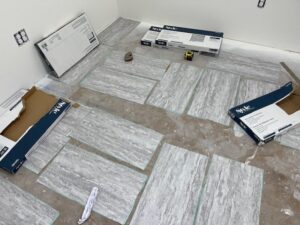
Building the studio: Playing with the layout of the vinyl peel and stick floor tiles.
Building the studio: Howard putting on the first layer of floor primer.
Building the studio: Preparing to install peel and stick vinyl tiles.
Building the studio: Installing peel and stick vinyl tiles.

Walls for Hanging Art

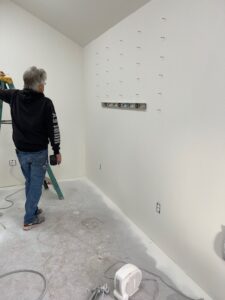
Building the studio: Howard installing the 120 screws for hanging and moving my cradled panels around.
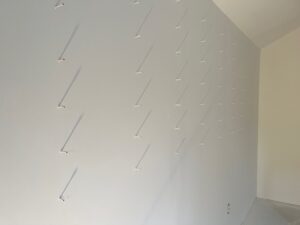
Building the studio: 120 screws put into the walls for hanging my cradled panels. The rows are 16 inches apart and the columns are six inches apart,

Howard installed 60 screws on each of my two long walls, for a grand total of 120 screws. He had just finished painting the walls, so he still had his paint sprayer set up: he misted the two walls with paint so that the screws blended into the walls.

Moving In
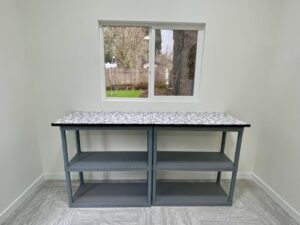
Ahhhhh, beginning to put together the studio infrastructure.
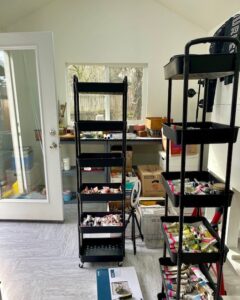
Organizing my new rolling carts: A shelf for each color of oil paint.

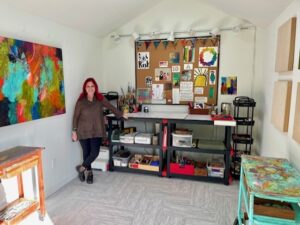
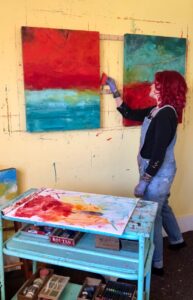
I knew I wanted two work stations on opposite ends of the studio; the south work station is for my acrylic and water-based media and the north work station is for my oil and cold wax. I ordered an inexpensive funky chair online to have a contemplation chair, and brought in two of my vintage rolling work carts (I have four); I also purchased two tower rolling carts to store my oil paints divided by color.
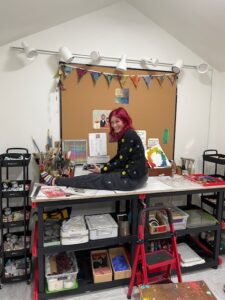
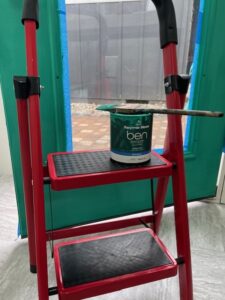
I saved the best for last: Deciding what to hang on my inspiration board.
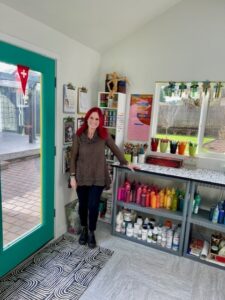
The walls are white . . . . but not the door.
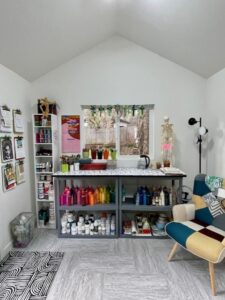
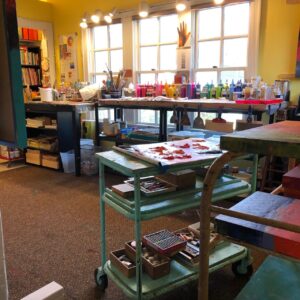
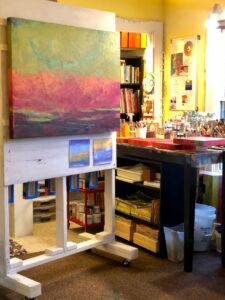
My oil and cold wax work area.
My water-based work area.
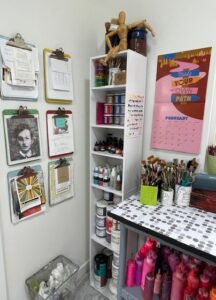
A favorite corner, storage for water-based media.
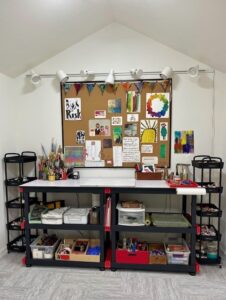
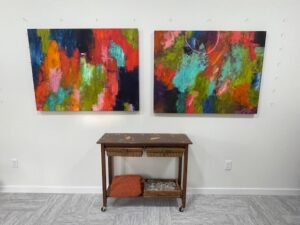
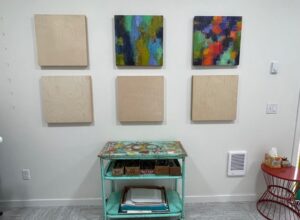
The west wall of my studio.
The east wall of my studio.

Outside Finish Work

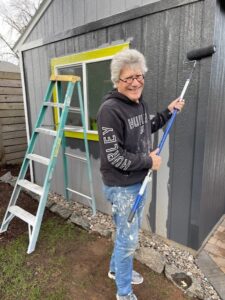
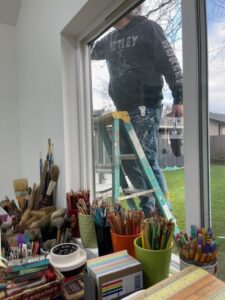
Building the studio: My painter.
Building the studio: The first coat of paint has been applied.
The studio is finished. But is it ever really finished? I don’t think so.

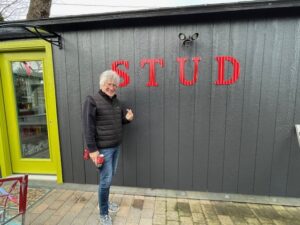
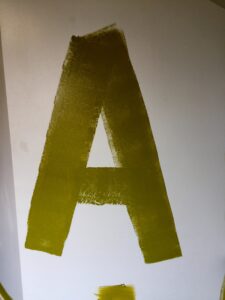
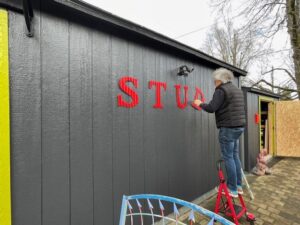
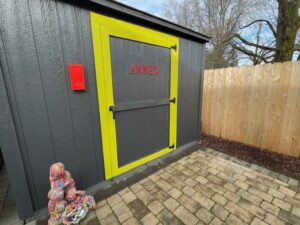
We had a few good days of weather, so Howard and I jumped into action and painted the outside walls and trim (just the front facing walls – we still have the back and three sides to do – it wasn’t that nice for that long). I had pre painted some big metal letters, and Howard got those installed. We also realized we needed some kind of awning for the doorway so I wouldn’t get soaked unlocking the door, so we ordered a nice awning from Wayfair and Howard got that installed just in time for the next rain shower (we live in Oregon, the awning was essential).
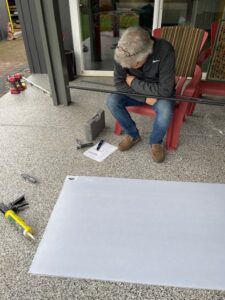
Howard reading the directions for putting together the studio awning.

Howard installing the letters. Of course, when he got to this point, I told him I needed a photo.
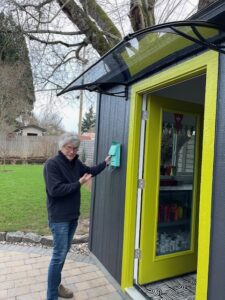
Installing the mailbox. I don’t anticipate getting much mail. . . .

Pavers and Art Plaza

As the studio was being put together, we decided that it would be nice to have a clean, attractive space between the house and the studios. There were already existing pavers around the Art Annex (the original 10×10 Tuff Shed), so we decided to extend them to the edge of the new studio. In the middle of working on the inside of the studio, a crew of three guys arrived and spent three full days excavating and then installing pavers and a small rock wall. We call this our Art Plaza. (NOTE: We used our neighbor’s business to do the work, Curb Appeal, and they did beautiful work. They finished on a Friday afternoon just before the snow arrived, so I got to enjoy the Plaza for about an hour and then I didn’t get to see it again for a week, until the snow melted.)
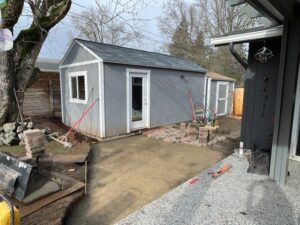
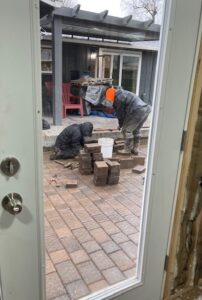
Preparing for pavers.
Installing the pavers.

Art Annex

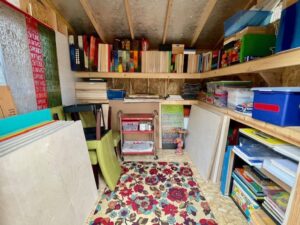
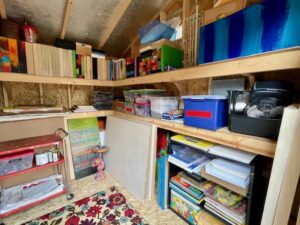
The little Tuff Shed that came with the house had been set up for gardening supplies. It had built in shelves, electricity, and lights, making it a perfect place to store all of my blank art substrates as well as excess paper, art supplies, surplus rolling carts, and finished art. I plopped down a rug, turned on some heat, and created a perfect auxiliary studio.
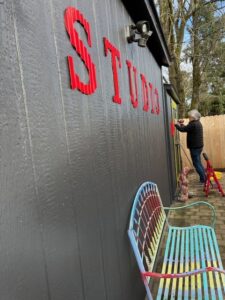
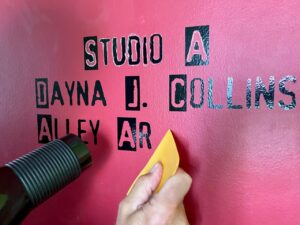
Installing all of the painted letters.
The Annex.
The Annex: Art storage for boards and supplies (the painted floor mat covering the window was done by Sloy).

A Working Studio

I have two work stations: this one for oil and cold wax; at the other end of the studio is acrylics and water-based materials.
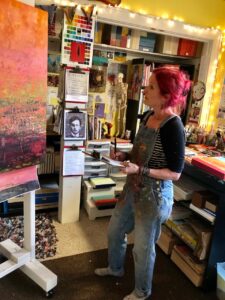
So pleased with my new studio.

The Cost

In case you’re interested in what all of this cost, I know I was looking for this kind of information when we first set out on this adventure, I want to give you a rough estimate of what we spent to create this 10×20 studio in our backyard. We had out of pocket costs, but Howard did the majority of the work: he excavated the ground for the foundation (with some help from our strong son, Scott), cut down a tree limb, did the insulation, installed the wallboard, mudded, and sanded (with the help of our wonderful handyperson, Nancy), primed and painted the walls, installed the peel and stick tiles, painted the outside, and put up the awning over the door. All costs are rounded and approximate:

Tuff Shed $9,300; electrical $1,300 (a second bid we got was $3,300! so glad we got two bids); wallboard $400; help with wallboard installation $500; peel and stick vinyl flooring $400; paint and primer $300; insulation $600; awning $200. Howard loosely estimates his labor at $2,000. So the total project (NOT including the pavers since those didn’t have anything to do with the building of the studio): $15,000. We had anticipated it would cost around $14,000, so we were pleased to be within $1,000 of our estimate.
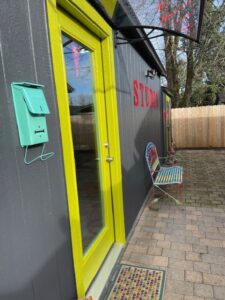
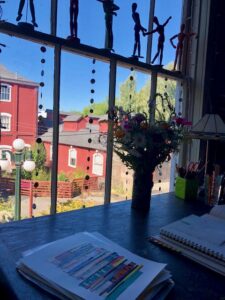
A place to rest and get some fresh air.


New Year, New Journal

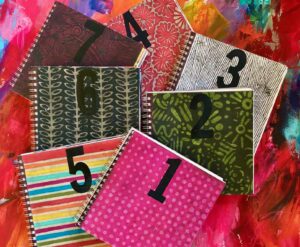
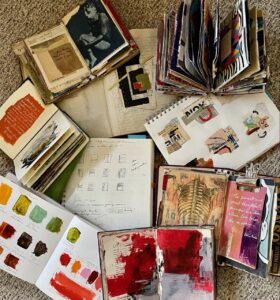
I have too many flippin’ journals all going at once, so what am I thinking starting another one. I am a sucker for journals. At the current time I am actively working in several. Follow me . . . .
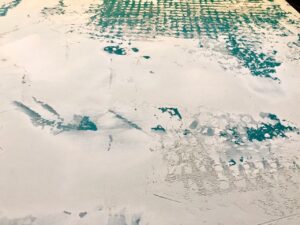
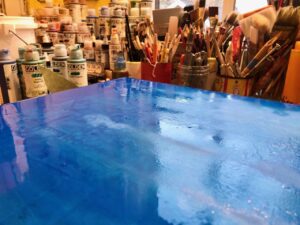
  • Color Journal: A place to keep track of colors I like, the brands of colors because not all colors are the same, what happens when certain colors are mixed together, formulas of colors I like, and the Pantone color of the year (this year it is Very Peri).
  • A small painting journal where I have combined paintings with art quotes on the opposite page. This has been in process for the past couple of years.
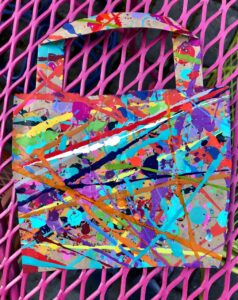
  • A vintage book where I wipe off excess paint from my palette, clean off my brushes on the pages, glue in leftover tidbits, and experiment with quick ideas that pop into my head.
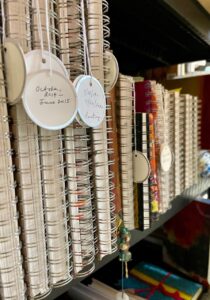
  • Visual Journal: This 9×12 inch journal is my hard-working jack of all trades journal. I take notes in it when I take a class, record ideas for a painting or a show, sketch out ideas, and take notes at art meetings. This is my official visual journal and has been a key part of my art practice for many years. The journals are lined up in my studio with little tags indicating the dates covered in each journal.
  • Collage Journal: An old composition book where a student kept notes and did engineering types of drawing, and also glued in tests and notes. I use this journal to create collage compositions right over the writing and drawings. The glued in papers I have torn out, but gluey residue peeks through on many of the pages.
  • Junk Journal: I created this big chunky book out of hundreds of pieces of old papers, collage materials, and ephemera, and created three signatures (or was it four? the journal is thick). The junk part was my use of junky papers, but then I have gone back in and embellished the pages, fleshing out more complete collage compositions. I have been working on this one for months!
  • Covid Journal: When Covid hit in full force in early 2020, I took one of the junk journals I had made and recorded milestones and statistics for the first full year of our lockdown. Every once in a while I will go back in make a note or update the statistics. Sadly, I am entering the third year of entries.
  • Travel Journal: Anytime we take a biggish trip, I maintain a travel journal. My most recent travel journal was done in September when we spent a couple of weeks in New York. I used a handmade artist journal and cut and glued paper and ephemera from our daily excursions.

Which brings me to January, 2022, and the decision to what I plan to do regarding a journal in the new year. In 2019 I committed to painting a painting a day in a 9×9 inch journal and somehow I pulled it off. Sometimes I was playing catch up, but for the most part keeping that painting journal got me into my studio. Every. Single.Day. (And it took seven journals to get through the year.)

A few of my favorite paintings from my 2019 journals:

Day 35
Day 224
Day 294
Day 239

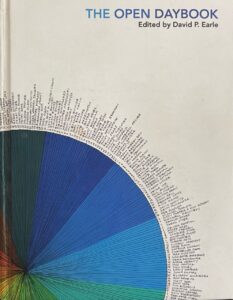
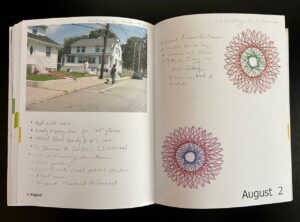
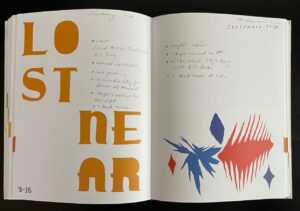
In deciding what kind of journal would be most enjoyable, I flashed back to 2012 when I used “The Open Daybook,” a perpetual calendar book, edited by David P. Earle. I remember buying this big book of a journal at Monograph Bookwerks (fine art books, objects, + ephemera), located in NE Portland, and I was so excited to use it to record what I did every day for a year. Each page has original art by 365 artists (actually 371 as some worked in groups), so the imagery and graphics were always a treat.

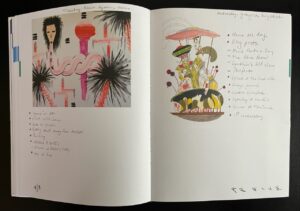
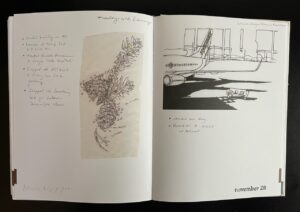
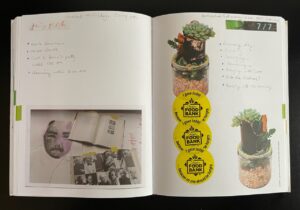
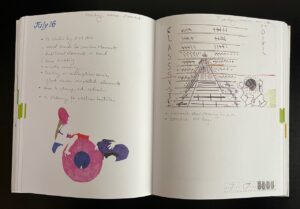
A few of my pages from 2012. My entries were short and sweet, but really captured in detail how I spent my days.

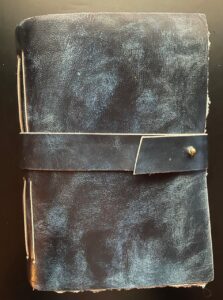
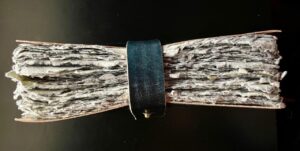
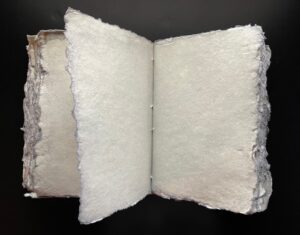
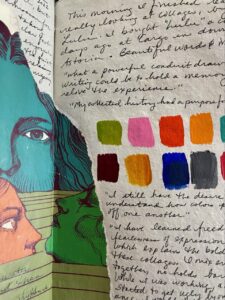
That year of record keeping got me to thinking about what kind of journal I would keep now, ten years later. I keep a lot of visual journals (obviously, from the list above), and I have a calendar on my desk. But what if I kept my own sort of Daybook, a cross between what I did today, but coupled with a sprinkling of collage, dabs of paint, imagery, ideas, quotes, and what is on my mind (now there’s a scary thought). I liked the sound of this combination and I just happened to have the right journal for the job (cue the dramatic music), a chunky beast of a journal, built by Leather Village craftspeople.

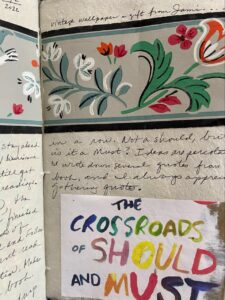
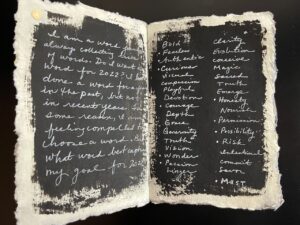
I wrote a private preamble on New Year’s Eve, then jumped in on January 1st.

I am off and running.

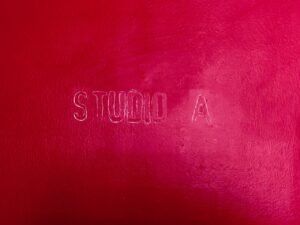
Saying Goodbye to Studio A

A week ago, I announced in my newsletter that I was giving up my studio at Studios at the Mill.

I wrote an extensive history about my studio space on my blog in August of 2020, and I’ve included a link in case you want to know more about my tenure at the studios. In a nutshell, I was one of the original members of the studios seven years ago. Interestingly, this was what I wrote in that 2020 post:

I love how sparse it is right now and full of possibilities. I have absolutely no idea how I will use my refurbished, refreshed, and quiet space. Maybe for reading art books that I never seem to have time for. Maybe for journaling. Maybe for writing about ideas. Maybe I’ll bring a specific project to work on. Or bring a limited number of materials and do a collage or journal page using only what is before me. Maybe, maybe, maybe . . . .

It turns out that I used the studio once a couple of months ago when I invited a friend to join me for an afternoon of art-making. We each brought a project to work on; we pulled our tables together and had the best afternoon. That was the first and last time I used my space since August of 2020, and even then, I hadn’t used my studio since March of 2020. All my art-making supplies had been brought home early last year. I have two nice studios at my home: a painting studio upstairs and a wonderful collage and assemblage studio in my basement.

Studio A has served me well, but it was never big enough for what I needed and I never made it there to just sit and read or write or draw, as I had dreamed of doing. I realized it just wasn’t going to happen, but it took a few months for me to come to this realization.

Shortly after I gave my notice, I started removing what remained in my studio, primarily furniture. After three full days of shuffling at home, I found a place for everything. In the process, my basement studio now has an expansive work space and is more functional. My upstairs studio wasn’t too impacted, and remains a great space to paint. I don’t have any regrets about my decision, but it was bittersweet when I closed the door for the final time.


Turns of the Kaleidoscope

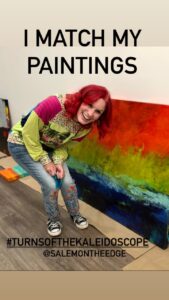
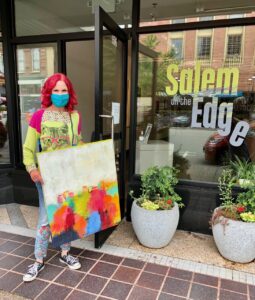
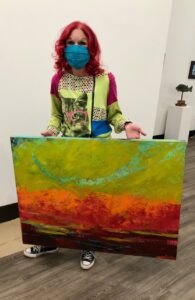
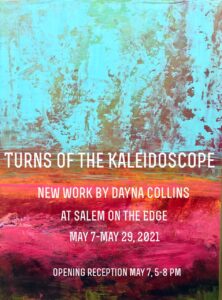
Yesterday I dropped off 17 new plaster, oil, and cold wax paintings at Salem on the Edge for my show Turns of the Kaleidoscope. The pieces range in size from 12×12 inches, up to 30×60 inches, all created to be hung on 48 feet of wall space! When I began working on this series, I had trouble imagining filling that long, blank wall. But I did it with one painting to spare. (If you happen to see the show during the month of May, ask Melanie to see the 36×48 inch piece, Life’s Distractions and Enticements.)

Rather than blather about creating the pieces, I’m going to share my process with a series of photos, after all, this is a post about an art show. Here we go . . . .

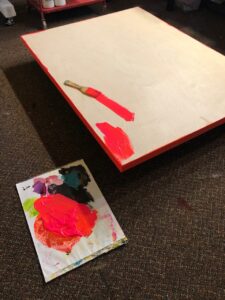
Sealing the board with fluorescent paint.
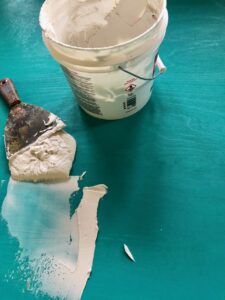
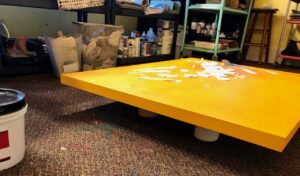
Bucket of mud!
Applying plaster.
I love this stage of applying plaster.
Plaster being sealed.
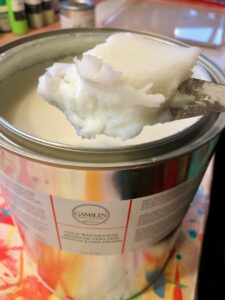
A brand new gallon of Gamblin’s Cold Wax.
Early layers.
Working on a 12×12 inch piece.
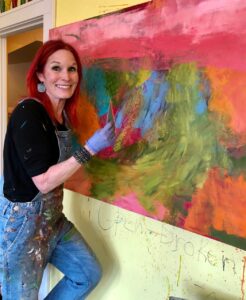
Active studio.
Rolling wall comes in so handy.
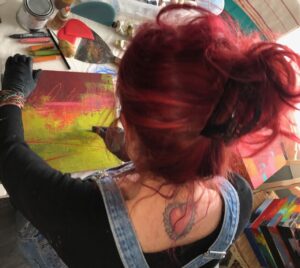
New trend in makeup?
Painting the edges.
Works in progress.
Paying the price.
Sweet spot.
Doing a demo on Instagram about final coat of wax. (My IG: DaynaLovesArt)
Feedback and critique from Howard.
Peeling off the tape.
Sanding the backs of the boards.
Drying in the warm, dry air.
Choosing titles.
Signing paintings.
Preparing to photograph.
Photographing paintings in the perfect outdoor light.
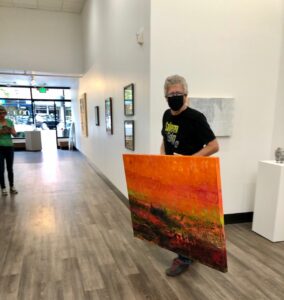
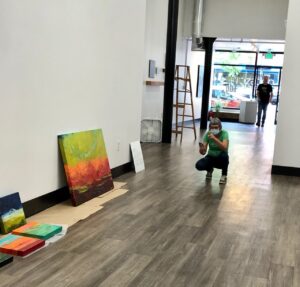
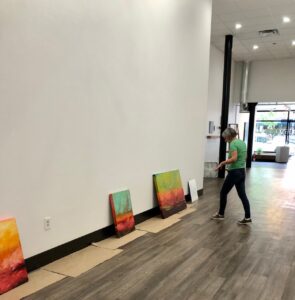
Arrival with paintings!
The namesake piece, “Turns of the Kaleidoscope.”
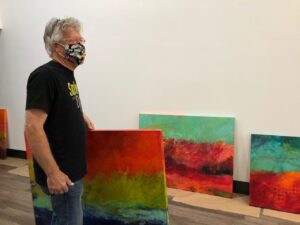
Howard carries in “Baffled Amazement,” one of three 36×48 inch pieces.
Melanie sizing things up.
The beginning of the curating process by Melanie.
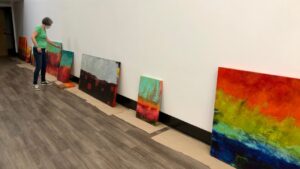
Arranging and rearranging . . . .
“Where does this go?”
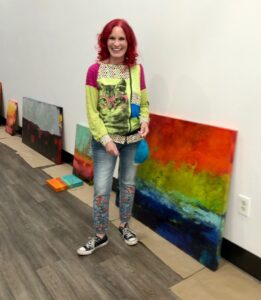
Happy that the pieces are at the gallery and ready to be hung.


How I Title My Paintings

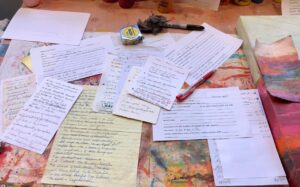
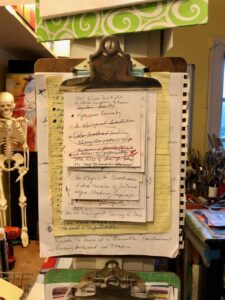
I am often asked how I come up with the titles for my paintings, so I’m going to spill the beans. Whenever I’m reading a beautifully written novel, I keep a piece of paper and a pen handy to jot down portions of sentences or phrases that resonate with how the words are put together. I do the same when I am reading poetry, just taking a few of the words, or “word fragments,” and scribbling them on a scrap of paper. I keep all of my pieces of paper gathered together on a clipboard, which I then refer to when it is time to name a painting. And I get to use one of my vintage clipboards!

It is a bit of a wonky system, and takes some maneuvering, but it has worked for me for many years and I enjoy the process of looking through my scribbles and putting together new combinations of words from the word fragments on my scraps of paper.

I have painted hundreds of paintings over the years, but here is a sampling of my work and the titles I have chosen.

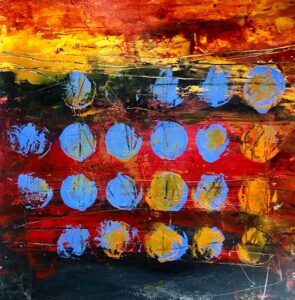
“A Narrow Illumination,” plaster, oil, and cold wax on cradled birch panel, by Dayna J. Collins
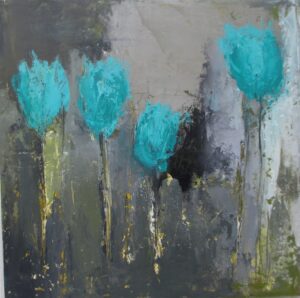
“According to Sylvia Plath, the tulips are subtle, they seem to float,” plaster, oil, and cold wax on cradled birch panel, by Dayna J. Collins
“A Protective Charm,” acrylic on 300 lb. watercolor paper, by Dayna J. Collins
“A Ghostly Process of Waves,” oil and cold wax on cradled birch panel, by Dayna J. Collins
“Small Bursts of Illumination,” acrylic on wood panel, mounted in floating frame, by Dayna J. Collins
“Fallen Sun,” oil and cold wax on cradled birch panel, by Dayna J. Collins


#the100dayproject – Halfway Through

On January 31st, I jumped into the #100dayproject. This project is facilitated by Lindsay Jean Thompson and you can learn more about the project by simply clicking right HERE. If you don’t feel like clicking, here is what the project is about:

Pick something you want to do every day for the 100 days of the project. You’ll post each instance of 100 on your Instagram account with the hashtag #The100DayProject. What can you do? Anything at all! Paint, draw, dance, knit, doodle, sing, brush your teeth. Once you have an idea, here are some practical tips: Make sure you can do it in 5-10 minutes a day. More time is nice if you have it, but if it’s a really time-consuming project you probably won’t do it every day. What are you curious about? What do you love to do just because? What do you want to get better at? Brainstorm with a friend or make a list of ideas. What have other people done that you find interesting? Or maybe your project is 100 days of figuring out what to do. That’s cool! Another good place to start is by thinking about what you want to get out of doing the project.

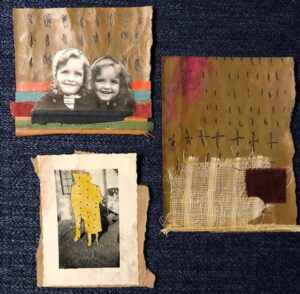
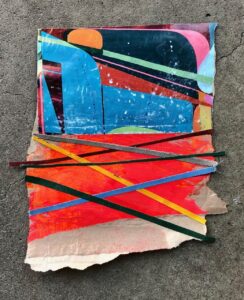
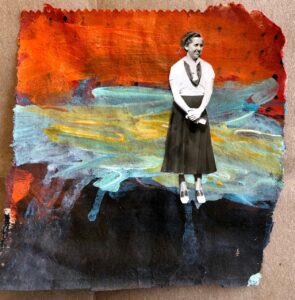
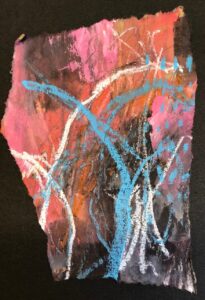
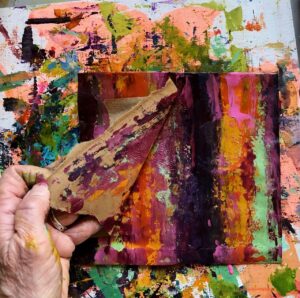
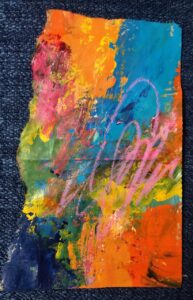
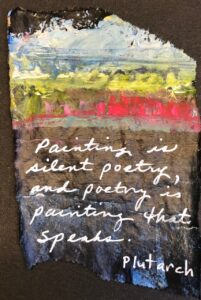
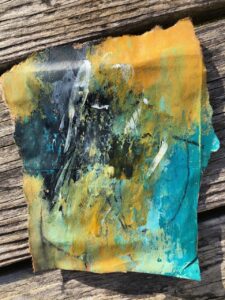
I decided I wanted to explore working on a non precious substrate and what is more non precious than brown paper bags. I carry my own reusable bags with me, but somehow I always seem to accumulate brown paper bags that I don’t throw away (or even recycle). It might be from when I order take out, or when I purchase something that doesn’t fit into the portable cloth bag I carry in my purse. For whatever reason, I decided to tear up an abundant resource and experiment with different kinds of art on a scrap of brown craft paper.

My first post on Instagram (you can find me at DaynaLovesArt) at the beginning of the project:

I’m jumping in to #the100dayproject and the challenge I’ve set up for my 100 day project is to paint a quick abstract painting or make paint marks on a scrap of a brown paper bag every day for 100 days. I needed something quick and easy, portable for my sometimes portable life, and a way to try out new ideas: colors, composition, marks…… and to create collage fodder for my stash…….and imagine the cool jumbo collage I can make with all of the brown paper bag painted scraps. #the100dayswithdayna 1/100

Now here it is 50 days later, the halfway point. Over the past 50 days I have created in my painting studio, in my basement studio, along the Oregon Coast, in Northern California, in Gig Harbor, and in Astoria. I get around. I have also used a multitude of materials, including (disclaimer: but not limited to):  acrylic paint, Stabilo pencils, plaster, oil paint, cold wax, collage, black and white photos, book scraps, varnish, charcoal, Woody pencils, acrylic pens, and oil pastels.

I have already incorporated some of the pieces I have created in other projects, Salvage Collage on book boards, and in my 2021 journal.

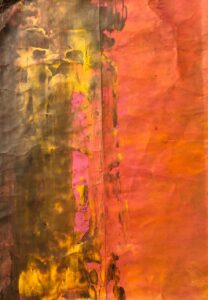
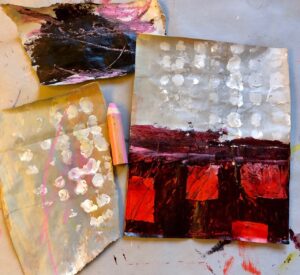
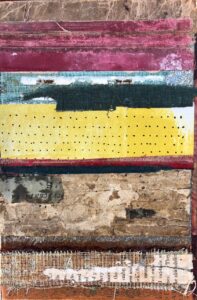
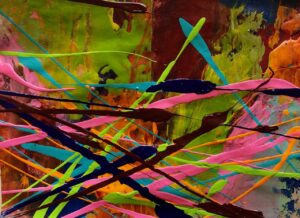
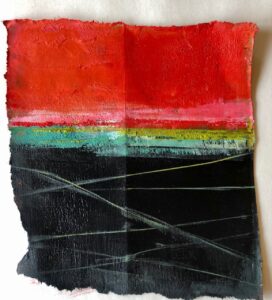
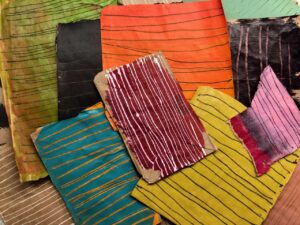
In no particular order, here is a smattering of the pieces I have created on the lowly brown paper bag.

And only 50 more days to go!


Subjectiv. A journal of visual and literary arts

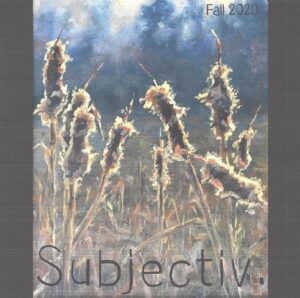
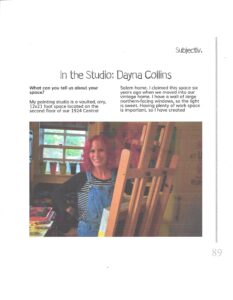
I am delighted to share the Fall 2020 issue of Subjectiv: A Journal of Visual and Literary Arts. This is a stunning online journal, filled to the brim with art and words. Riis Griffen is the editor and C.W. Griffen is responsible for the layout. I was contacted by Riis the end of August, asking if I would be the featured artist for their In the Studio article. Hello, yes, please.

Interview questions were sent, answers written out, photos were taken, photos were edited. And now here it is, in living color, a beautiful reminder of how art and words heal, help us process, bring joy, teach us to solve problems, and as Riis says in the opening of this issue, I hope you can find a few moments of peace browsing through these pages, and enjoy a break from the tumult of the world.

There are two ways to view Subjectiv. You can go to the website by clicking HERE (you can also see past issues by using this link). Or if you prefer to view it in a magazine format, click HERE.

A teaser . . . you can read my interview and see photos on pages 89-96.


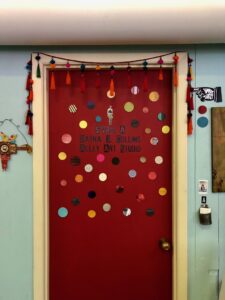
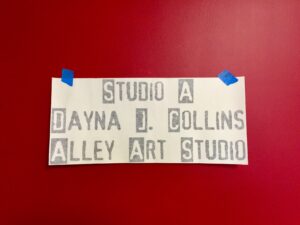
What’s Happening Behind the Door of Studio A?

A History: Art Studios at Mission Mill

Studio F Shared With Tory

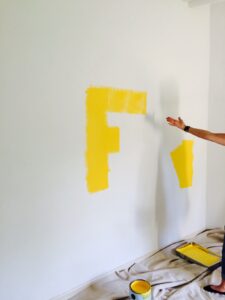
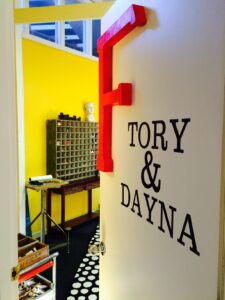
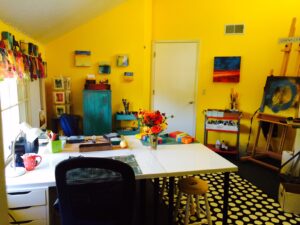
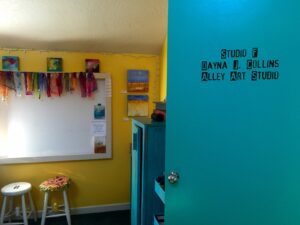
In August of 2014, my friend Tory and I were invited to join a group of artists who were opening a studio space at the Willamette Heritage Center; we named ourselves the Art Studios at Mission Mill. The space was pretty bland and boring, but in no time at all, we put our mark on our chosen studio: Studio F.

I used the studio for painting, but not as much as I had planned, partially because the space was just too small and I wanted to paint big. And partially because my process is messy.

Studio F By Myself

Then, in June of 2015, two studios opened up. When a studio space opens because an artist leaves, anyone who is interested states their interest and if more than one artist is wanting the vacant space, names are put in a hat and an impartial person draws out a name. Studio A and B both opened in 2015 and several of us put our names in the hat for Studio A. I didn’t get it, but Studio B was also open and Tory put her name in for that one and she got it, leaving me to have all of Studio F for myself.

Studio A

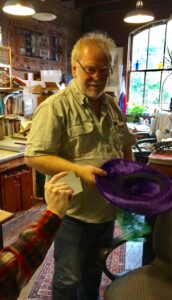
Fast forward to October, 2016, when Studio A opened up again. Two of us put our names into the hat, Rollie and myself, and we asked Max, the bookbinder, to draw a name.

This time my name was drawn and I moved to Studio A, leaving Studio F available, which Rollie moved into. Are you still with me? After all, this is about Studio A . . . .

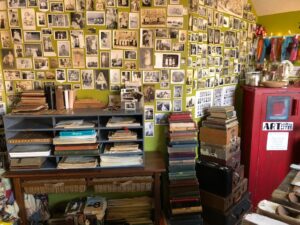
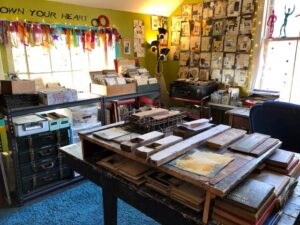
By the time I moved down the hall to Studio A four years ago, I had already moved my painting practice home and started using my Mill studio for paper and collage projects. I quickly filled my space to the brim, the BRIM, with ephemera, black and white photographs, handwritten letters, typewritten documents, 3D tidbits, vintage this and vintage that . . . .

You get the idea. Although my projects morphed from my What’s Your Story collage series using black and white photos to using discarded books to create Salvage Collages, I just kept schlepping stuff into my studio, tucking things tighter and deeper. Fortunately, I’m organized, so things always looked pretty orderly, but the space was plump with stuff.

Studio A: Revamped

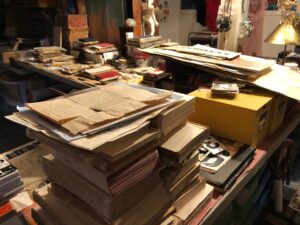
And then the pandemic hit in March. I started working on collages at home, so I took everything related to my Salvage Collages to my home studio: old books, book pages, book scraps, book linen, book boards – several loads over several weeks. I was content to work on book board collages for several months. Then two weeks ago, as my collage work was taking yet another turn, I found I was wanting more of my original paper collage materials: the letters, the ephemera, the booklets, the multitude of paper things I had tucked in bins and drawers. So with the help of Howard, we started making trips to the studio to bring things home. I discovered I wanted to bring it all home, not just the paper stuff, but also the fabric, trims, negatives, the whole shebang. We brought load after load and dumped it in the basement, my auxillary studio where I have all of my assemblage, found objects, and book collage material.

It two weeks to bring it home and two weeks for me to sort and find a place for it. At first it was so I would have access to the materials, but then it became about revamping Studio A.

Studio A: Revamped

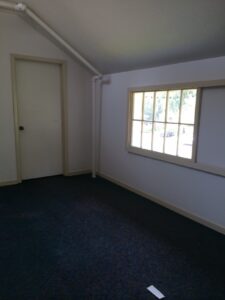
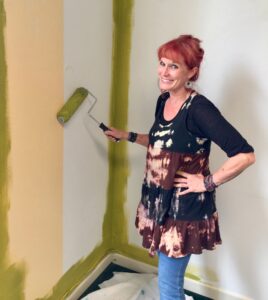
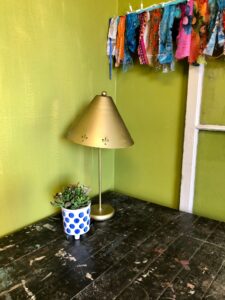
Yesterday I brought home the remnants of what I wanted out, along with some of the furniture that filled the space. Today I spent the morning patching the holes (there were alot!), painting the patches, and vacuuming all of the nooks and crannies.


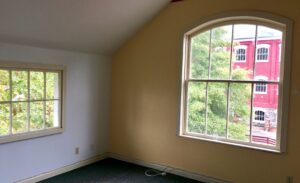
I love how sparse it is right now and full of possibilities. I have absolutely no idea how I will use my refurbished, refreshed, and quiet space. Maybe for reading art books that I never seem to have time for. Maybe for journaling. Maybe for writing about ideas. Maybe I’ll bring a specific project to work on. Or bring a limited number of materials and do a collage or journal page using only what is before me. Maybe, maybe, maybe . . . . .


What’s Your Story: Open Studios Mini Workshop

Once a quarter, The Art Studios at Mission Mill, host Art After Dark/Open Studios. Our most recent event was January 11th. I was the featured artist in the studio gallery/classroom and I decided in addition to hanging some of my recent work, I would offer a mini workshop on creating a modified What’s Your Story mixed media collage. I set up some of the walls in the gallery as teaching walls. One wall told the history of the project, another showed samples of possible backgrounds, and then one wall showed the progression from blank 140 lb. watercolor paper to finished mixed media collages. (The other two walls were my most recent work using old, defaced books, but I’ll share those pieces in a separate post.)

I created three small sample collages, done using original letters, envelopes, and an assortment of ephemera, along with photocopies of black and white photographs.

With my guidance, guests were invited to create a little mixed media collage.

All ages participated, and Alex sat and read old letters to us during the evening.

Of course, sometimes the adults found it difficult to resist reading the letters.

Some of the collages created during the evening event.

All of this was a great set up and preparation for last weekend, when I taught the first of my two-day full length What’s Your Story, Real of Imagined workshop. I’ll be doing a post about my workshops in the coming days.


Up, Down, and All Around

I am working on three different projects right now, in three different studios. Come on, I’ll take you on a quick tour.

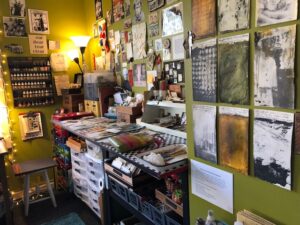
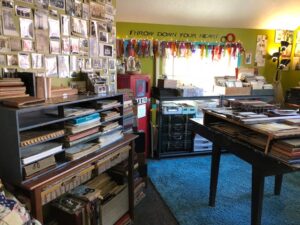
This is a look at my second floor studio located at the Willamette Heritage Center and part of The Art Studios at Mission Mill. I have converted my studio from an all purpose space to an area devoted to working on my What’s Your Story mixed media/collage project.

Here’s a sample of my project.


At my central Salem home, I use the basement of my 1926 house as my assemblage studio. Currently, I’m putting the finishing touches on a piece for the Salem Reads: One Book, One Community Project. Salem is hosting their first ever community reads event and several artists were invited to create a piece of art in response to the book Spare Parts.

My piece, Everything Accounted For, will be hung in the Salem Library Spare Parts art exhibit at the end of this month. I’ll share my completed piece once I have put the finishing touches on it.

Finally, my painting studio is in a big airy space upstairs at my house. Right now, I’m immersed in oil and cold wax in preparation for two upcoming shows in 2017.

Here’s a piece I’ve been working on this week for my Waterlines show at Guardino Gallery in May.


I’ll be sharing more about all of these projects in the future.