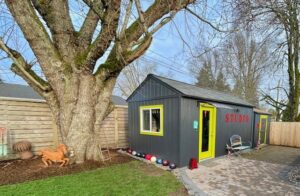
From Shed to Art Studio

It has been a whirlwind of activity since last fall, beginning with the selling of our house and the purchase of a new one all within days of each other (I wrote about this here.)
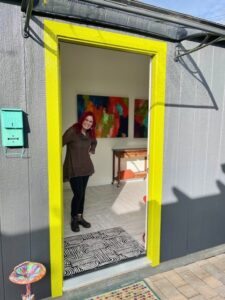
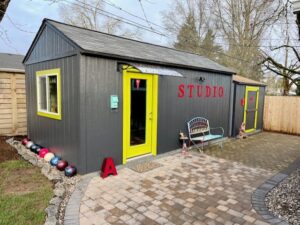
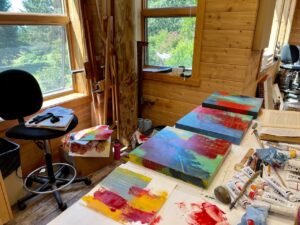
Welcome to my new studio!

When we purchased our new home, we knew it didn’t have a space inside for a studio, but at that time, we were more focused on finding the right house and figuring out my studio space later. We used one extra bedroom in the house as my collage studio, but where a painting studio would be located was a problem to solve. We considered the garage, but we needed the garage for other things, so that wasn’t feasible. We discussed my finding a studio space in an off-site location, but monthly rent adds up quickly.
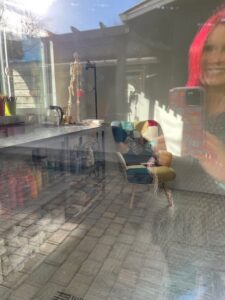
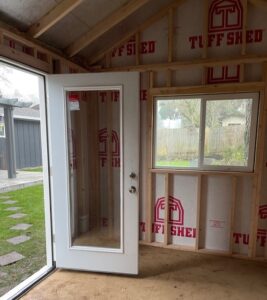
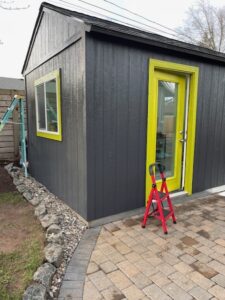
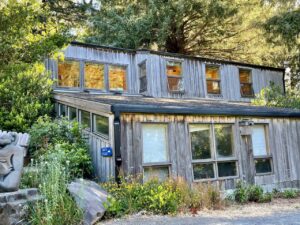
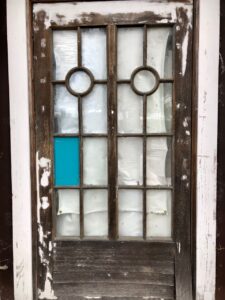
A view through the door with a reflection from the clear awning.

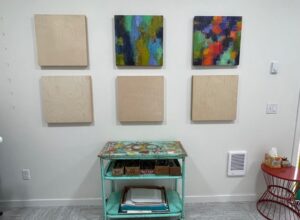
In our backyard on a pad of pavers, was a 10×10 Tuff Shed, which the previous owners used for storing garden materials. Howard came up with the idea of purchasing another 10×10 Tuff Shed and connecting the new shed with the old. We explored that option, but there were a lot of problems in making that work, which led us down the rabbit hole of having a stand alone shed built next to the existing shed. We worked with a Tuff Shed expert to design the new shed, choosing a 10×20 model (the largest possible without getting permits). I got to pick out the height of the walls and roof (8 foot walls with a pitched roof), what kind of door I wanted (a residential door with glass), and how many and where I wanted windows (one window on the south wall). My goal for one window and a single door was to maximize working wall space for hanging my art boards.

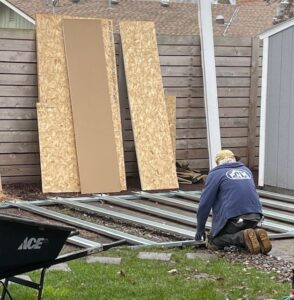
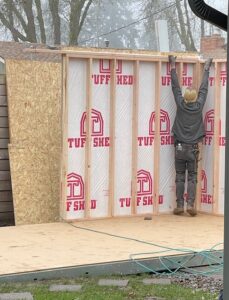
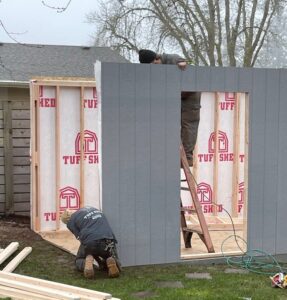
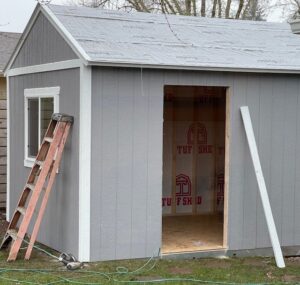
Once decisions were made, and the shed ordered (after being ordered, it was delivered the following week!), the ground needed to be excavated in order for the shed to be installed. Howard dug and dug and dug, piling the dirt next to the garage. Installation day arrived and two great guys showed up, unloaded the foundation, walls, window, and door. Like magic and by early afternoon, the shed was installed and ready to be converted to my studio.
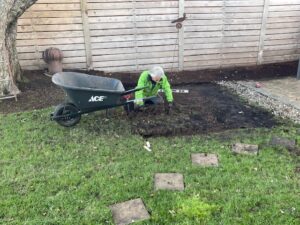
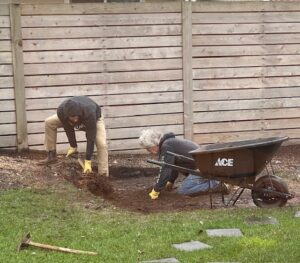
Building the studio: Howard dug out a LOT of dirt to make room for the studio foundation.
Building the studio: The foundation needed to have 16 more inches dug out at the last minute.
Building the studio: Installing the foundation.
Building the studio: Installing the walls.
Building the studio: Putting up the walls.
Building the studio.
Building the studio: the door and window installed.
Building the studio: It is built!

Once the shed was in place, the finishing projects went like this:

Electrical

This was the only thing that took a long time to get scheduled – two weeks – it seemed like an eternity, but once the electrical was installed, Howard was ready to go. (Side note: the existing 10×10 shed had an electrical panel, so wiring the new studio was easy since the electricians could tap into the already installed panel.)

Insulation
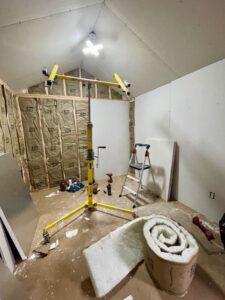
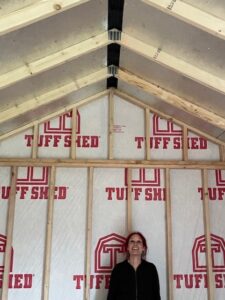
Building the studio: Insulation and then wall boards.

Wall board, Mudding, and Sanding

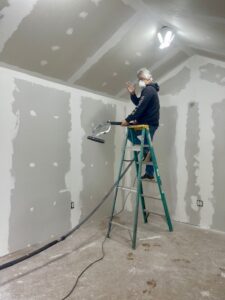
Building the studio: Sanding the mud.

This took a while because each layer of mud had to dry, and it was messy because of all of the sanding.

Priming and Painting
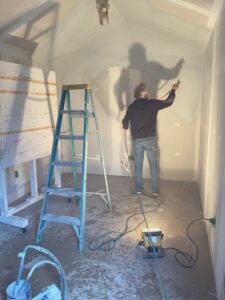
Building the studio: Priming the walls.

It took two coats of primer to get the new walls sealed, and then I had to choose what color to paint the walls. I knew I wanted white, but did I want a warm white or a cool white? I posed this question on my Facebook page and received dozens of suggestions and ideas for what white (and surprisingly, a lot of suggestions to use grey). I went to Benjamin Moore and Sherwin Williams and gathered a couple dozen whites – warm and cool. By a process of research about the whites, and relying on my Spidey senses, I chose Sherwin Williams White Flour, a warm white with creamy undertones. Thank you to everyone who took the time to write such thoughtful responses.

Flooring

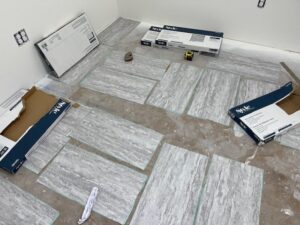
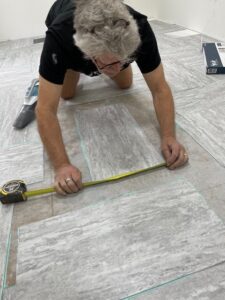
I had originally thought to just paint the floor, and for a little while thought about throwing down cheap rugs, but then my Portland artist friend, Maude May, who also has a Tuff Shed converted to her studio, suggested peel and stick vinyl flooring. Hello! What a brilliant idea. Off to Lowe’s we went and found the perfect pattern for my studio. Howard cleaned the splotches of mud and paint from the flooring, applied two coats of special flooring primer, then over the course of three days, applied the peel and stick tiles rather willy nilly, creating the perfect, random pattern. I love it!
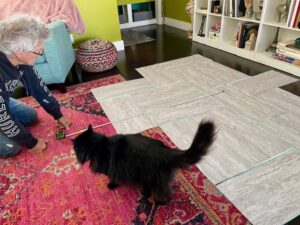
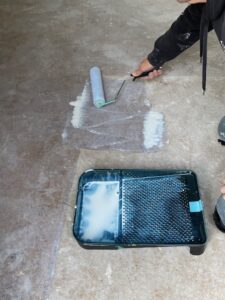
Building the studio: Playing with the layout of the vinyl peel and stick floor tiles.
Building the studio: Howard putting on the first layer of floor primer.
Building the studio: Preparing to install peel and stick vinyl tiles.
Building the studio: Installing peel and stick vinyl tiles.

Walls for Hanging Art

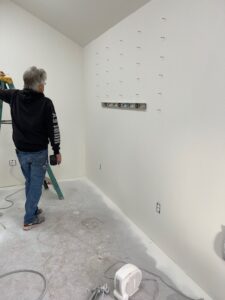
Building the studio: Howard installing the 120 screws for hanging and moving my cradled panels around.
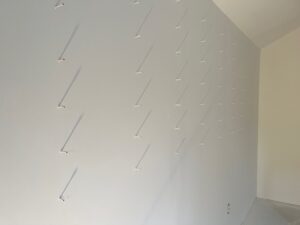
Building the studio: 120 screws put into the walls for hanging my cradled panels. The rows are 16 inches apart and the columns are six inches apart,

Howard installed 60 screws on each of my two long walls, for a grand total of 120 screws. He had just finished painting the walls, so he still had his paint sprayer set up: he misted the two walls with paint so that the screws blended into the walls.

Moving In
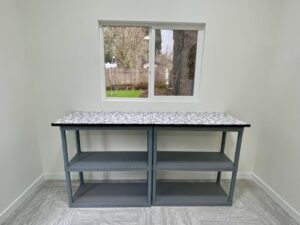
Ahhhhh, beginning to put together the studio infrastructure.
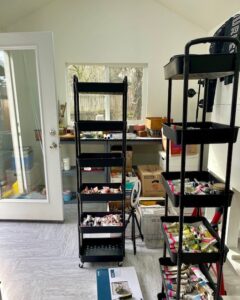
Organizing my new rolling carts: A shelf for each color of oil paint.

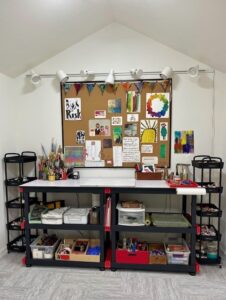
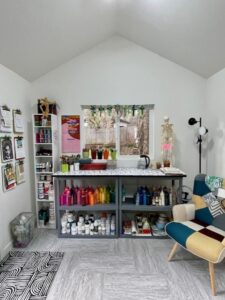
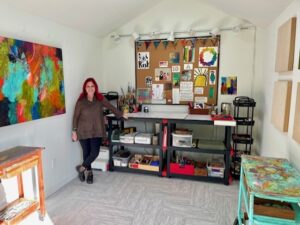
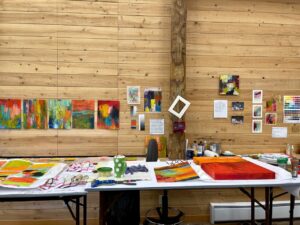
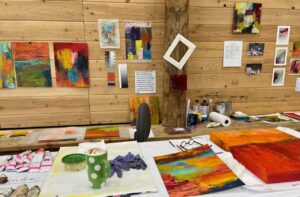
I knew I wanted two work stations on opposite ends of the studio; the south work station is for my acrylic and water-based media and the north work station is for my oil and cold wax. I ordered an inexpensive funky chair online to have a contemplation chair, and brought in two of my vintage rolling work carts (I have four); I also purchased two tower rolling carts to store my oil paints divided by color.
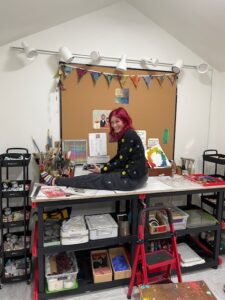
I saved the best for last: Deciding what to hang on my inspiration board.
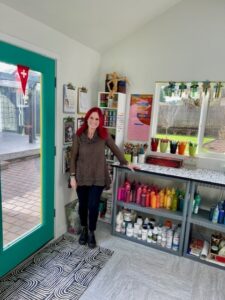
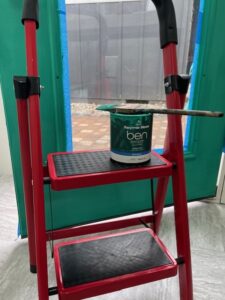
The walls are white . . . . but not the door.
My oil and cold wax work area.
My water-based work area.
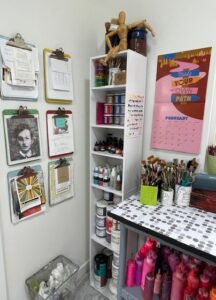
A favorite corner, storage for water-based media.
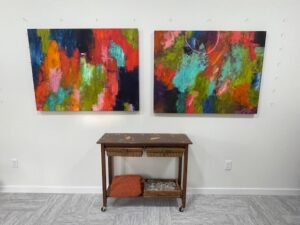
The west wall of my studio.
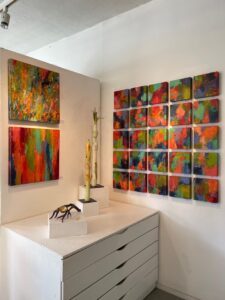
The east wall of my studio.

Outside Finish Work

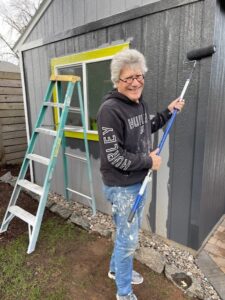
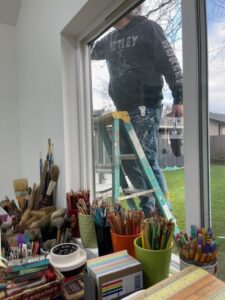
Building the studio: My painter.
Building the studio: The first coat of paint has been applied.
The studio is finished. But is it ever really finished? I don’t think so.

We had a few good days of weather, so Howard and I jumped into action and painted the outside walls and trim (just the front facing walls – we still have the back and three sides to do – it wasn’t that nice for that long). I had pre painted some big metal letters, and Howard got those installed. We also realized we needed some kind of awning for the doorway so I wouldn’t get soaked unlocking the door, so we ordered a nice awning from Wayfair and Howard got that installed just in time for the next rain shower (we live in Oregon, the awning was essential).
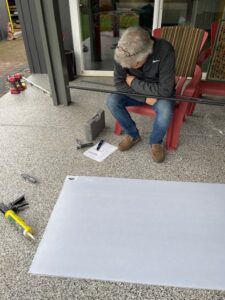
Howard reading the directions for putting together the studio awning.

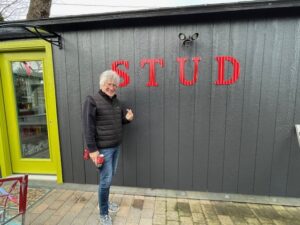
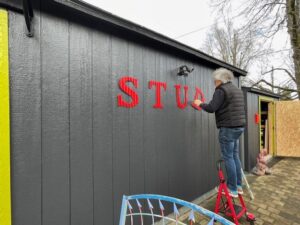
Howard installing the letters. Of course, when he got to this point, I told him I needed a photo.
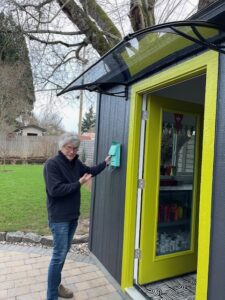
Installing the mailbox. I don’t anticipate getting much mail. . . .

Pavers and Art Plaza

As the studio was being put together, we decided that it would be nice to have a clean, attractive space between the house and the studios. There were already existing pavers around the Art Annex (the original 10×10 Tuff Shed), so we decided to extend them to the edge of the new studio. In the middle of working on the inside of the studio, a crew of three guys arrived and spent three full days excavating and then installing pavers and a small rock wall. We call this our Art Plaza. (NOTE: We used our neighbor’s business to do the work, Curb Appeal, and they did beautiful work. They finished on a Friday afternoon just before the snow arrived, so I got to enjoy the Plaza for about an hour and then I didn’t get to see it again for a week, until the snow melted.)
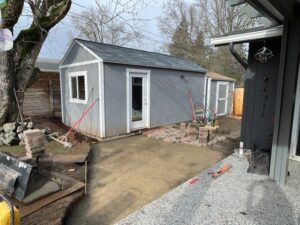
Preparing for pavers.
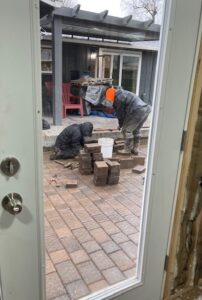
Installing the pavers.

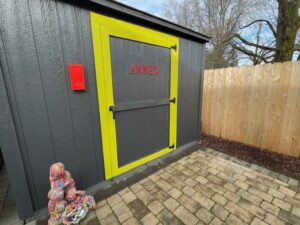
Art Annex

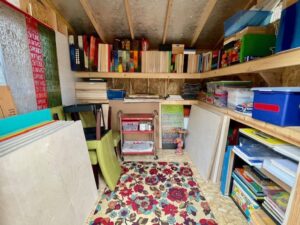
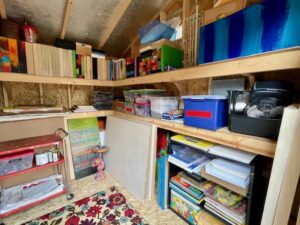
The little Tuff Shed that came with the house had been set up for gardening supplies. It had built in shelves, electricity, and lights, making it a perfect place to store all of my blank art substrates as well as excess paper, art supplies, surplus rolling carts, and finished art. I plopped down a rug, turned on some heat, and created a perfect auxiliary studio.
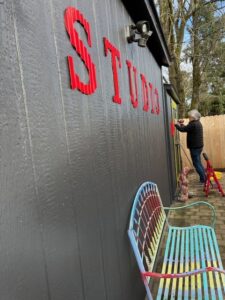
Installing all of the painted letters.
The Annex.
The Annex: Art storage for boards and supplies (the painted floor mat covering the window was done by Sloy).

A Working Studio

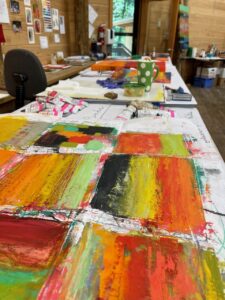
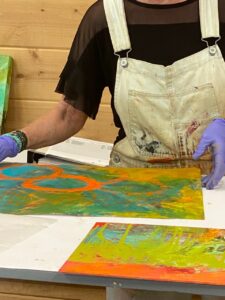
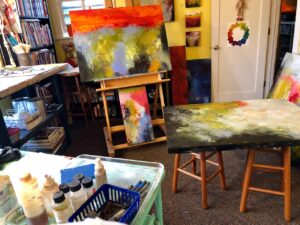
I have two work stations: this one for oil and cold wax; at the other end of the studio is acrylics and water-based materials.
So pleased with my new studio.

The Cost

In case you’re interested in what all of this cost, I know I was looking for this kind of information when we first set out on this adventure, I want to give you a rough estimate of what we spent to create this 10×20 studio in our backyard. We had out of pocket costs, but Howard did the majority of the work: he excavated the ground for the foundation (with some help from our strong son, Scott), cut down a tree limb, did the insulation, installed the wallboard, mudded, and sanded (with the help of our wonderful handyperson, Nancy), primed and painted the walls, installed the peel and stick tiles, painted the outside, and put up the awning over the door. All costs are rounded and approximate:

Tuff Shed $9,300; electrical $1,300 (a second bid we got was $3,300! so glad we got two bids); wallboard $400; help with wallboard installation $500; peel and stick vinyl flooring $400; paint and primer $300; insulation $600; awning $200. Howard loosely estimates his labor at $2,000. So the total project (NOT including the pavers since those didn’t have anything to do with the building of the studio): $15,000. We had anticipated it would cost around $14,000, so we were pleased to be within $1,000 of our estimate.
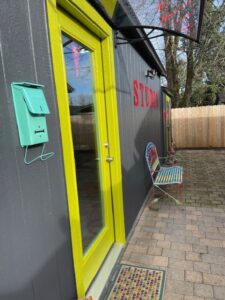
A place to rest and get some fresh air.


Salem Reads 2023: Boundless Optimism

My January newsletter went out this week and in it I shared about my participation in the 2023 Salem Reads program. This community-wide reading event has been sponsored by the Salem Public Library Foundation since 2017. I was one of the original artists, and although I have been invited to participate each year since, I didn’t jump on the opportunity. . . .until this year. The chosen book is Trevor Noah’s Born a Crime: Stories from a South African Childhood.

Invited artists were instructed to read the book and then create a piece of art in response. I listened to the book on Audible, which was read by Trevor; I loved hearing Trevor’s accent and his inflections, making for an enjoyable and humorous experience. The book was presented as a series of short stories, focusing on different eras of his life as a child and young man. The book was heartwarming, funny, tragic, tender, and ultimately a story of redemption as Trevor rose above his tough circumstances.

I was aware of apartheid and knew a little about it, but Trevor’s stories brought it alive through his eyes of a child growing up during the extreme segregation of whites and blacks.

In my artist statement, I was able to share what led me to create what I did for this exhibit.

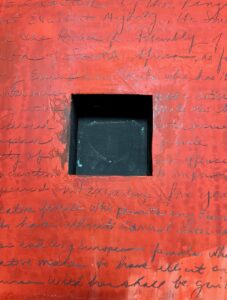
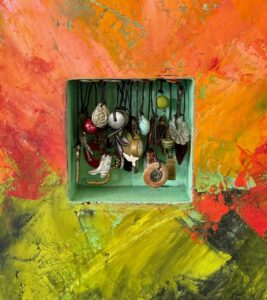
As I read ‘Born a Crime,’ so many images swirled in my mind. Trevor was born to a black mother and a white father during the extreme racial segregation of South African apartheid. Despite their circumstances, Trevor’s mother demonstrated feistiness, determination, and perseverance. As Trevor matured, he exhibited many of the characteristics of his mother, carving out a life filled with humor, music, inventiveness, and friendship. Before I began my painting in response to ‘Born a Crime,’ I wrote out the text from the Immorality Act of 1927 across the surface of my board, reminding me of the laws in place when Trevor was conceived and born. I painted this piece with the idea of a young man rising out of the darkness of apartheid, which I translated into colors. I filled the niche with objects representing Trevor’s creativity, spirit, and abundance despite his circumstances.

The piece I created is 16×16 inches square and three inches deep, with a 5×5 inch niche filled with charms and small trinkets. I attached these small items using string, which I tacked to the top of the niche using vintage, colorful thumb tacks.

The 2023 show runs from February 1-25, and will be held in the Art Hall at the Salem Public Library. At the end of February, the show will be packed up and transported to a series of regional libraries; my piece will return to Salem in June.

If you’re interested in learning more about the pieces of art created for the show, several of the participating artists (myself included), appeared on Joel Zak’s KMUZ radio show, Talking About Art, last Friday. A recording of the show can be found on the KMUZ website by going HERE. During my segment, I talked about my motivation behind the piece of art I created for the show.


Interested in signing up for my newsletter? I send it out once a month and I share what I am doing, something about my art practice, special projects, a book review and recommendation, and an art quote. Follow this link to sign up.
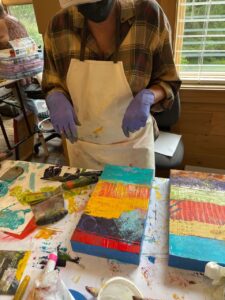
Teaching at Sitka: Part 2

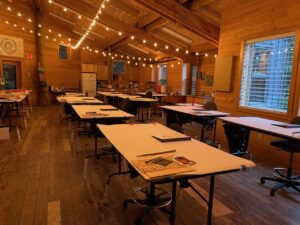
After my first oil and cold wax class at Sitka Center for Art and Ecology concluded on July 3, the staff at Sitka lugged all of my stuff from Smith Studio up to the larger Boyden Studio. I spent the evening getting set up for my second class. I love preparing the studio for teaching.

Evening of July 3: all set up for class to begin on July 5.

I spent July 4th enjoying the quiet of the Sitka campus. The office was closed, and no one was around, so I wandered, rested, and puttered in the studio. On July 5th, I was ready for the artists to arrive.
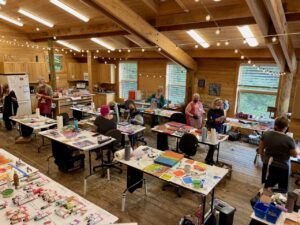
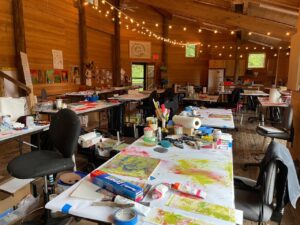
Distance view. I have three big tables to work on.
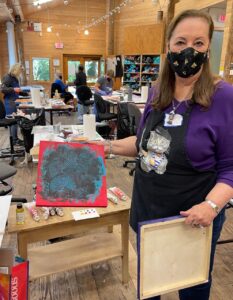
My working and demo space.

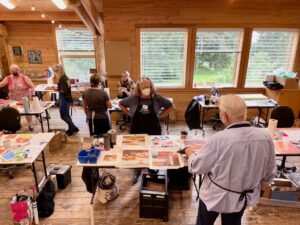
Like my last post, Teaching at Sitka – Part I, I feel that photos tell the story better than any words that I cobble together. I’ve made comments on each of the photos, so it tells a bit more about the week than just sharing the photos. But I will say, this group was hardworking, productive, energetic, talented, and supportive of each other. All the ingredients for a fantastic workshop.

Side view of my space.
So many techniques to share.
Demo using solvent to scrape off paint.
Getting paint on the boards.
Everyone deep into the process.
Tissue for blotting.
Mixing up paint.
Words matter.
A table of work in progress.
Work in progress.
From above.
Love the swaths of color, interrupted by marks.
An active scene.
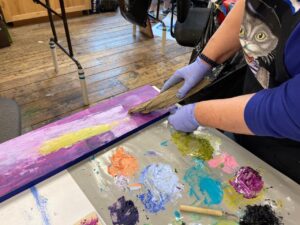
A glorious pile of paint.
Work in progress.
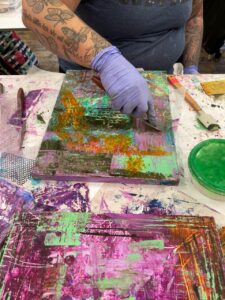
Spreading swaths of thick, juicy paint.
Work in progress. Done? Perhaps.
Pink! Work in progress.
More pink! Yes, please.
Early layers.
Work in progress.
Hard-working class.
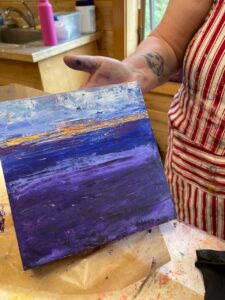
A lovely, abstracted landscape.
Scraping a grid composition.
Using wonky chunks of driftwood to make wonky marks.
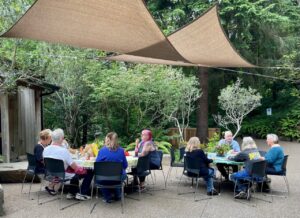
Lunch in the courtyard.
Painting. Layering. Scraping. Contemplating.
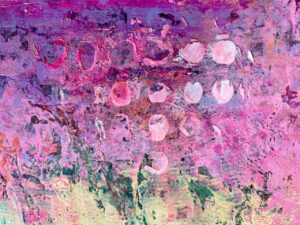
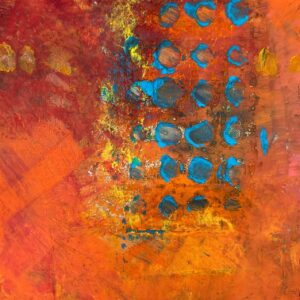
More dots and such a great example of complementary colors.
We all thought this piece would make a fantastic album cover!
Framing discussion.
Margaret and her beautiful series using a limited palette.
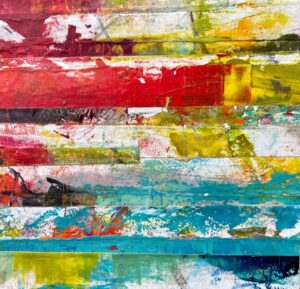
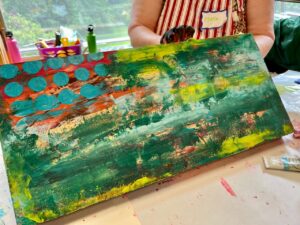
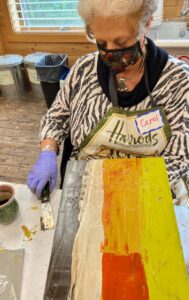
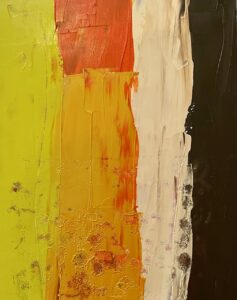
I’m crazy for stripes and swaths of color – Carol nailed it.
I wanted to call this a “Carnival of Color,” but that’s just me.
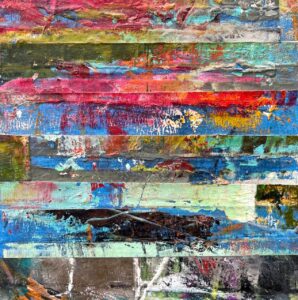
More bands of color and marks.
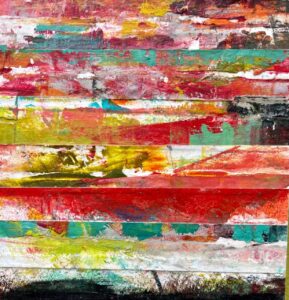
An active workspace.
So many ways to apply paint and make marks.
Sharing work.
A thematic series of work.
Such crazy and unique marks.
Work in progress.
I love the collegial nature of a class.
Applying paint to a very textural and three-dimensional piece.
A vibrant series of work.
I’m always crazy for dots.
An excellent example of a strata composition. And then there’s the color . . .
A successful and colorful grid.
Work in progress. Done? Hope so.
An energetic work in progress.
A beautiful series of lines, marks, and colors.
Such sexy curves.
A lovely and simple abstracted landscape.
A thematic series of work.
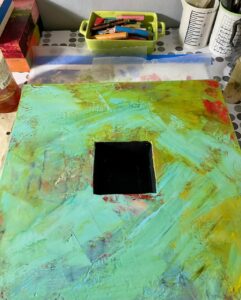
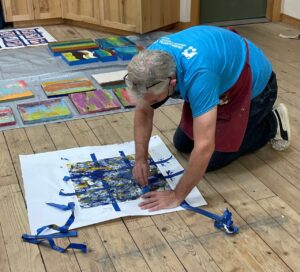
Pulling tape and revealing nine little paintings.
I love the solitude at the end of the day.
The peace at the end of the day.
All but one in this class photo!

I have received such wonderful feedback from the artists in my class and I want to share two of the comments. Reading these inspiring and positive words make my heart swell and it is why I love teaching.

The first one from Carol:

I was so grateful to have had the opportunity to be a student in this class. It was amazing to meet Dayna in person, and to be present in her instruction. She provided a manual, many supplies, demos, readings, and many examples of her work in various stages. She was very engaged and provided such positive suggestions and constant energy. It was truly a great pleasure in an incredible setting. . . . I am still processing all that I learned and felt, and continue to feel so grateful. Thank you, Dayna.            Terri

Full of Delightful Mischief: A Grid of 25

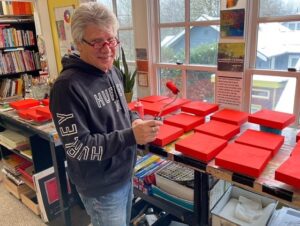
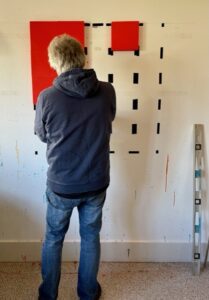
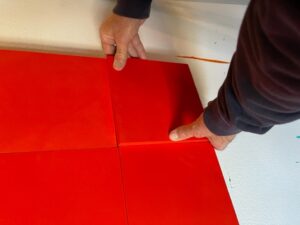
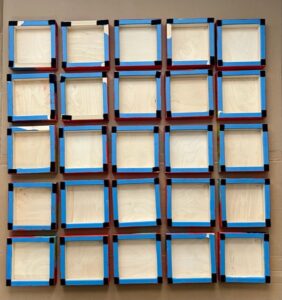
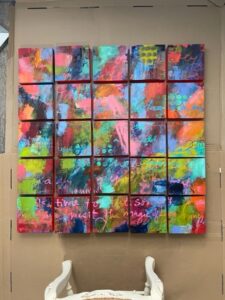
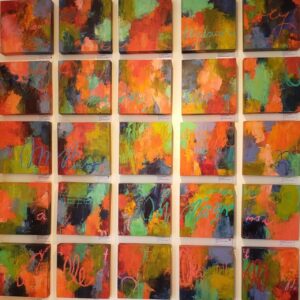
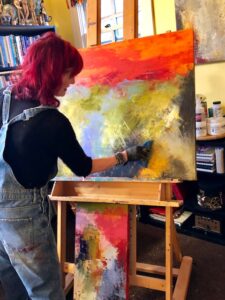
I had an idea for a painting I wanted in my show at Guardino Gallery. I envisioned a grid of smaller paintings hung together to create a large 40×40 inch piece of art. I decided the small paintings would be 8×8 inches. But the initial problem was how to hang 25 paintings in a manner that would allow me to work on all 25 at the same time, as if I was actually painting a 40×40-inch piece of art. My studio assistant came to the rescue. He devised a system using Velcro. He attached Velcro to the back of the 25 8×8-inch cradled panels, then matched up the other piece of Velcro to the wall, allowing all of the paintings to hang together, but could easily be removed for me to 1) paint the edges, and 2) work on each piece individually when it became time to resolve each piece as a single painting.

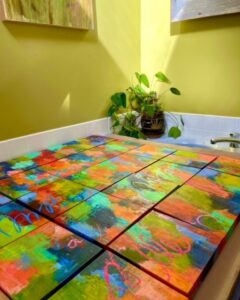
After I secured the 25 panels (thank you Art Department for ordering so many boards for me), they were primed with fluorescent pink and orange acrylic paint by my studio assistant. I decided to start the painting process using acrylic paint to get lots of layers of color and marks. It was such fun to paint across the surface with grand swaths of paint, and occasionally pull the panels off the wall to wrap paint around and onto the edges.

Priming the 25 boards.
Howard measuring and attaching the Velcro.
An ingenious system.
Snapping the last panel into place.
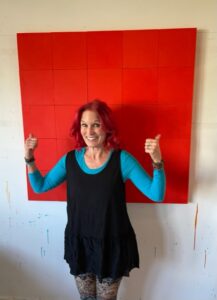
My grid of smaller panels is a reality!
The backs are taped and Velcroed.
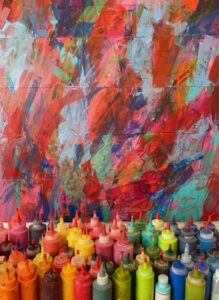
Acrylic paints below the works in progress.
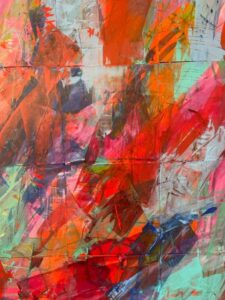
A section of painted panels. Can you see where they are nestled close together?
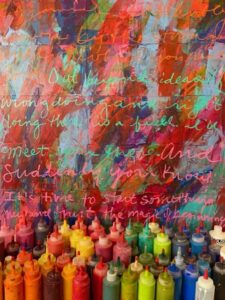
Art quotes were added across the surface of the 25 pieces.

After a few layers of acrylic, I switched to oil paint mixed with cold wax, and began enhancing and adding more layers, words, and marks.

Refining each piece individually.
Layers, layers, and more layers of oil and cold wax.
Making progress. The view from standing on a chair.
Documenting the progress.
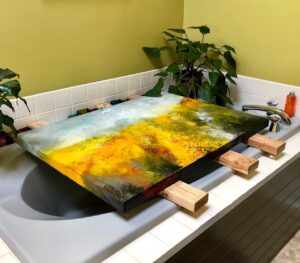
Drying across the bathtub on a warm, sunny day.
A stack of completed paintings. I love the edges!

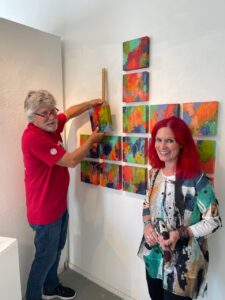
And today the grid was hung at the gallery!

Getting started.
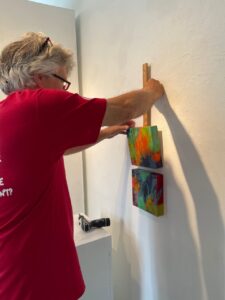
I was Howard’s assistant for a change.
One by one, Howard got all 25 pieces hung.
My art next to three of Nadine Gay’s beautiful sculptures.
It was sure wonderful to hang the show with three red dots!


Painter’s Tape Abstract Art

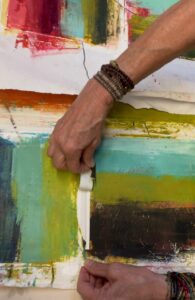
In my last post, Little Paintings, I shared how I painted small oil and cold wax paintings on Arches Oil Paper by taping small squares of the paper to a large piece of newsprint or butcher paper. I briefly mentioned how I remove the tape . . . . this post is what I do with the tape that I removed.

Removing tape from Arches Oil Paper.

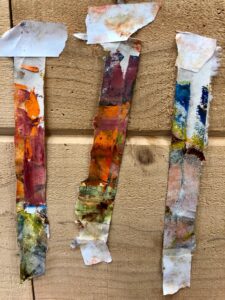
Over the past couple of years, I have saved and collected all of the pieces of tape I have removed from the little taped down paintings. (Do you think I’m a bit compulsive? Or obsessive?)

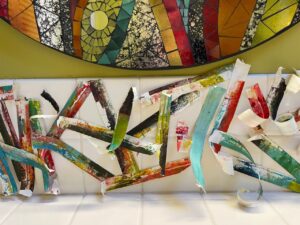
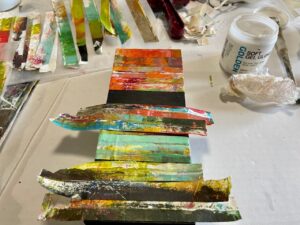
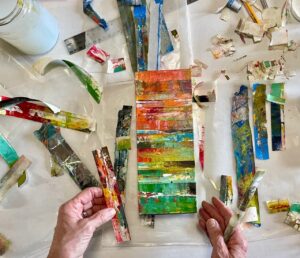
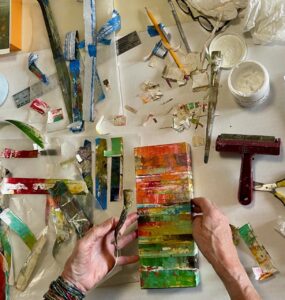
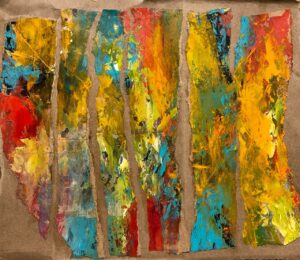
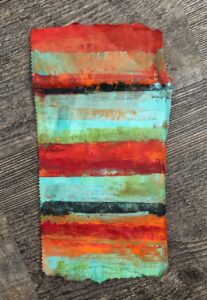
I am always amazed by the beautiful little abstract paintings on the pieces of tape, sometimes even wishing I could paint a larger painting using the pieces of tape as inspiration. . . . and then inspiration struck. What if I used the strips of tape to create an abstract painting? I like stripes, I like color, I like abstract, and I like recycling and reuse. I started auditioning the strips of tape. Before too long, I had a pleasing arrangement and composition and I started gluing down the strips.

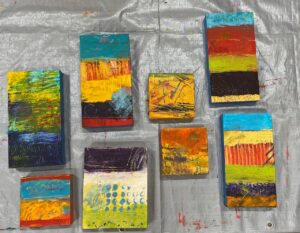
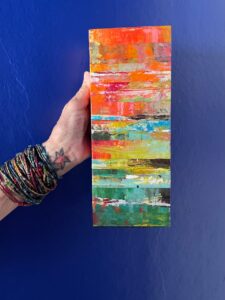
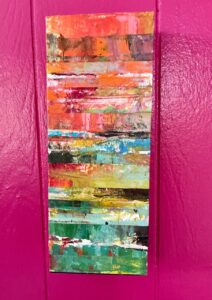
For my first piece, I mounted the tape pieces onto a 4×10 inch cradled panel.

And hung it in our brightly colored kitchen at the House of Color in Astoria.

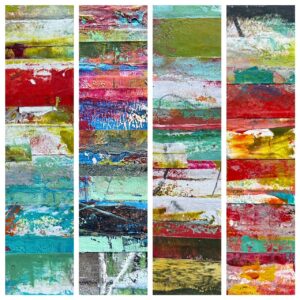
By then I was smitten so I forged ahead and taped down strips of color onto four 6×6-inch cradled panels.

“Profound Harmony,” 6×6 inches, oil and cold wax on white painter’s tape, mounted to cradled wood panel, by Dayna Collins.
“Deep Knowledge,” 6×6 inches, oil and cold wax on blue painter’s tape, mounted on cradled wood panel, by Dayna Collins.
“Changing Emotions” 6×6 inches, oil and cold wax on white painters tape, mounted on cradled wood panel, by Dayna Collins.
“Small Curiosities,” 6×6 inches, oil and cold wax on white painter’s tape, mounted on cradled wood panel, by Dayna Collins.

These four pieces have been added to my online shop and are $100 each (which includes shipping in the US).


Abstract Investigations with Zoe Cohen

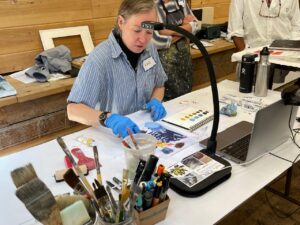
Last week I was finally back at Sitka in the beautiful Boyden studio, not teaching, but taking a class from Eugene artist Zoe Cohen. The class was titled Abstract Investigations: Color and Composition. What a great class in my one of my favorite locations — on the Oregon coast at Cascade Head.

Zoe’s description of the class:

This four-day workshop is designed specifically for abstract painters to help clarify visual language and bring intentionality to their painting practice. We will make a deep inquiry into what inspires our art through examining contemporary abstract art, informal writing exercises and instructor demos. We will traverse the full range of the spectrum from intuition to deliberate action, from right brain to left brain and from spontaneity to decision, and we will learn to travel back and forth between these polarities. 

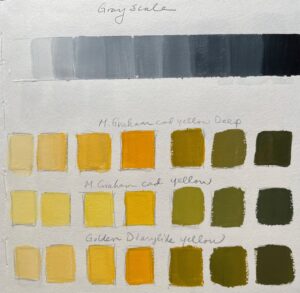
The class had all the elements that are important and that I love. The first day we focused on value and color mixing, always a good place to start.

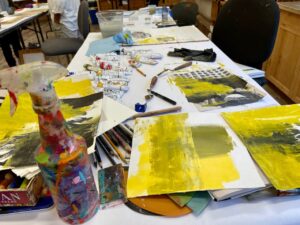
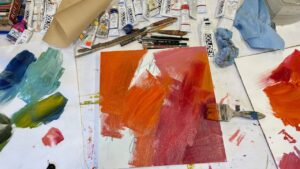
The second day we focused on tools and techniques, and we were all off to the races after a couple of demos by Zoe. The day for me was dedicated to initial layers and playing around with leftover paint.

Day 3 was more layers and exploration of abstraction, intuitive versus deliberate actions. We began to look for the composition in our paintings and move our pieces forward. I worked on 10×10-inch pieces of Stonehenge printmaking paper, 12×12-inch wood panels, and 14×14-inch cradled birch panels. I liked jumping between these three substrates.

On the final day, we primarily focused on painting and completing a few pieces. It was a whirlwind of a day, especially since we had to stop a little early to pack up and have a show and tell before class concluded.

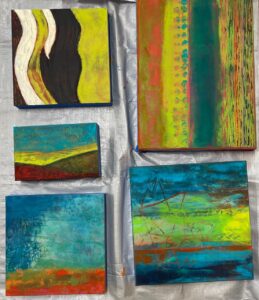
These are the pieces that I moved forward to various stages of completion; a few of them I have declared finished and the others, I’ve just stopped at interesting places.

Post script . . . . .


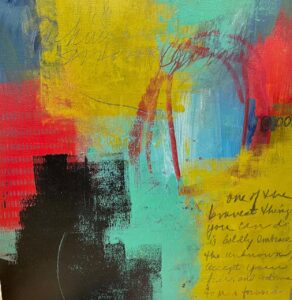
Each morning before heading to class, I read a section from jung pueblo’s Clarity and Connection.When I read something that resonated with me, I jotted the words down in my visual journal–the journal I took to class and where I took notes. On our final day, this was the passage I wrote in my journal:

one of the bravest things

you can do

is boldly embrace the unknown,

accept your fear,

and continue to move forward


a clear mission

does not always have a clear path


                                                    jung pueblo

#the100dayproject – The Power of a Frame

So what happened to those 100+pieces of art I created from January 31 through mid May? The ones I blogged about on March 21st at the half way point and the ones I celebrated on May 12th when I completed the project?

I turned some of them into cards so I can write thank you notes to people who purchase paintings.

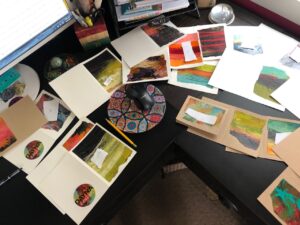
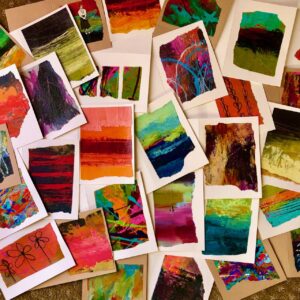
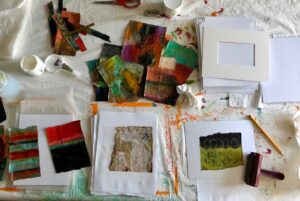
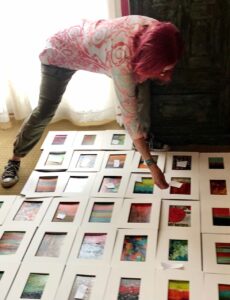
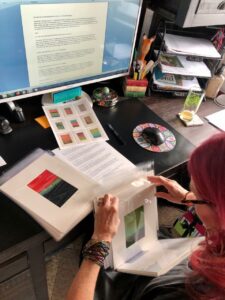
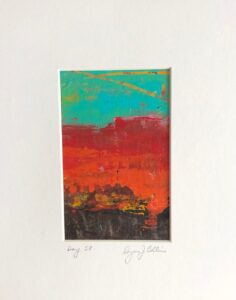
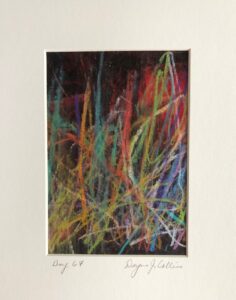
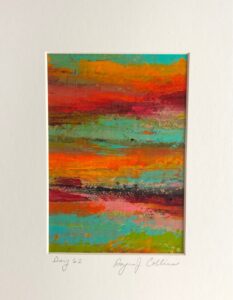
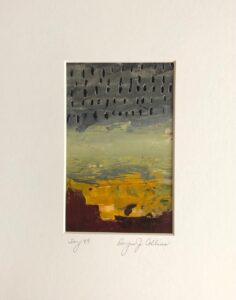
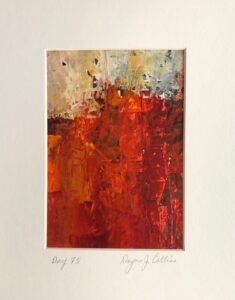
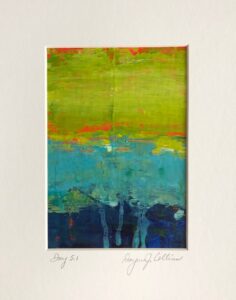
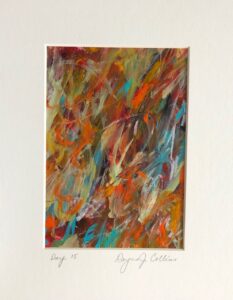
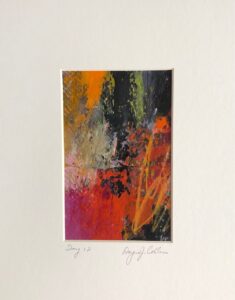
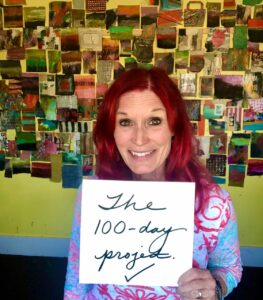
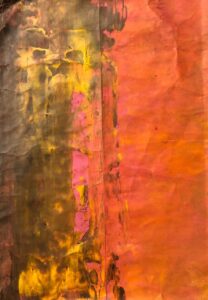
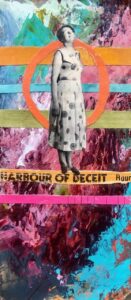
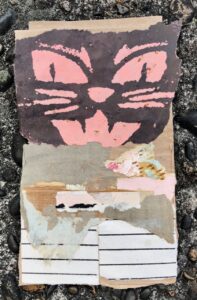
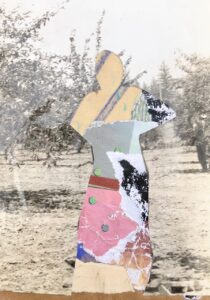
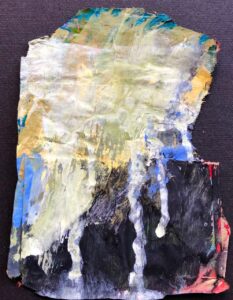
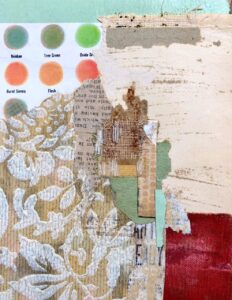
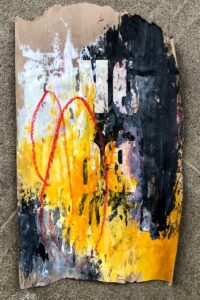
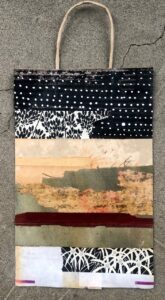
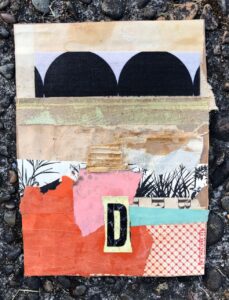
But I had the most fun matting 44 of the paintings and collages I created. If you aren’t familiar with the project, artists were challenged to create a piece of art or do something creative for 100 days (my entire process was documented on Instagram at DaynaLovesArt). We were encouraged to investigate a particular medium, theme, or idea. My chosen project was to create art on scraps of the lowly brown paper bag. So, I ripped apart lots of paper bags that I had stashed away, and for 100 days I painted using acrylics or oil and cold wax, or I collaged using scraps of paper, or I combined a bit of paint and collage. I ended up with over 100 pieces of abstract art. I chose 44 of them to seal with varnish, then glued those pieces to a backer board, adhered a 45-degree beveled edge mat to frame the art, wrote the day I created the piece, signed my name, and put each piece in a clear bag. Whew. I’m tired just writing the various steps.

Then the more behind the scenes work began. After the pieces were ready, I wrote a description of how I created each piece, took photos, and turned the photos and text over to my IT/business manager/website guru specialist willing partner for posting in my Shop: 100 Day Project. But here’s the thing/the small print/the catch. I have been trying to grow my email list so I am shamelessly soliciting sign ups by announcing when this special shop will open to subscribers ahead of when I announce it more publicly. My June newsletter is about ready to launch, so I thought I would make a final push and give my friends, art lovers, curious followers, and even my family, the opportunity to sign up for my newsletter. The newsletter will share two things in particular about this project: 1) when the shop will open for purchasing these pieces, and 2) why I am pricing these pieces at $49 (which includes shipping). You might be thinking, “Another newsletter?!?” Yawn. I promise that my newsletters aren’t too long, I include content that isn’t shared on other social medium platforms (or at least different photos), and I won’t bombard you with lots of emails. If I have your interest at all, just click on the link, which will take you to my website where you can sign up. NEWSLETTER LINK

About now you are probably thinking, or at least I would be, enough with the words, show us some art. Here are some of the pieces that will be available for sale for $49.

Day 58 Oil and cold wax on brown paper bag, by Dayna Collins
Day 67 Acrylic and wax crayon on brown paper bag, by Dayna Collins
Day 62 Acrylic on brown paper bag, by Dayna Collins
Day 49 Acrylic and Stabilo pencil on brown paper bag, by Dayna Collins
Day 75 Acrylic and collage on brown paper bag, by Dayna Collins
Day 5.1 Acrylic on brown paper bag, by Dayna Collins
Day 15 Acrylic on brown paper bag, by Dayna Collins
Day 12 Acrylic and wax crayon on brown paper bag, by Dayna Collins

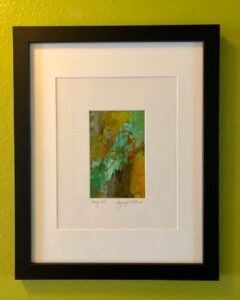
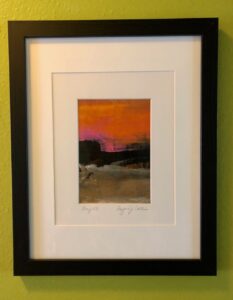
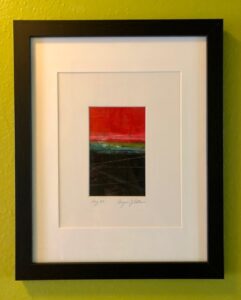
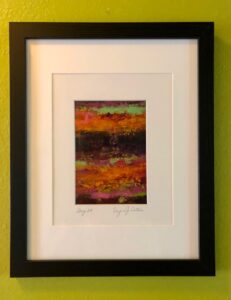
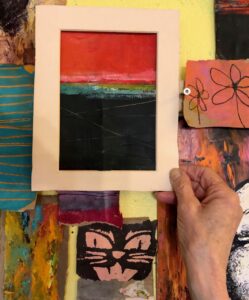
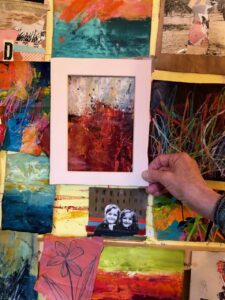
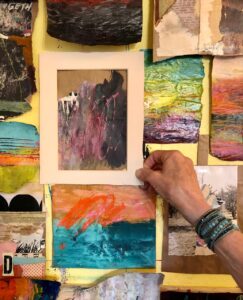
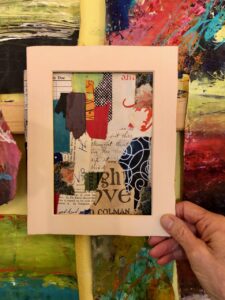
Each of these pieces is matted to fit an 8×10 (or larger) frame. In case you can’t envision what that would look like, I put different pieces in an 11×14 frame (with an 8×10 cutout), so you can see the power of a frame.

Day 32 Acrylic and wax crayon on brown paper bag, by Dayna Collins (frame not included)
Day 29 Acrylic on brown paper bag, by Dayna Collins (frame not included)
Day 48 Oil and cold wax on brown paper bag, by Dayna Collins (frame not included)
Day 28 Acrylic on brown paper bag, by Dayna Collins (frame not included)

This was a frame I got very inexpensively at Michael’s, so you can either use a nice frame or an inexpensive one. If you want a smaller profile, these mats will also fit nicely in a simple 8×10 frame.

Thank you for reading my blog. I appreciate each of you who support me and my art journey.


Boutique Hotel + My Art = A Beautiful Collaboration

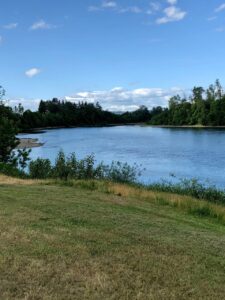
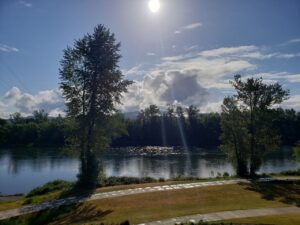
Reflection photo taken from our balcony, with the river in the background.

Back in the fall of 2019, I was invited to show my art in a new hotel in Independence, Oregon, a small town about 15 minutes from Salem and across the Willamette River. The hotel, The Independence, was along the river and wanted to feature local artists and makers. I painted three paintings with the hotel in mind and its location along the river.

Working on two of the pieces for The Independence Hotel.
Adding more layers to “Patterns Revealed Themselves.”
“It Smelled Like the End of Summer” drying on our upstairs bathtub.

The three paintings for the hotel, oil and cold wax over plaster, and 30×40 inches each, were delivered in November, 2019. A reception was planned for the end of March, 2020.

And then the pandemic hit and everything was cancelled.

Fast forward to May, 2021, and we were finally able to visit the hotel and see my art in place. The hotel invited us to stay, so last week we planned a two night staycation. It was lovely to only drive 15 minutes to reach our destination, and what a beautiful destination.

Arrival at The Independence Hotel.

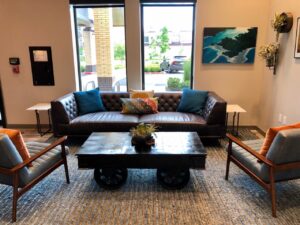
The beautiful lobby.

The hotel lobby.
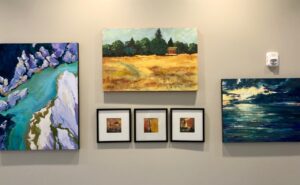
Local art in the lobby.

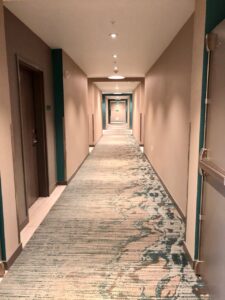
Into the elevator and down the hallway . . .

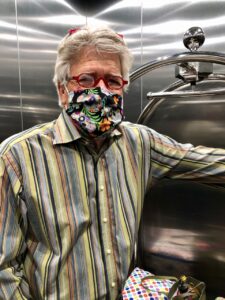
Shiny large elevator.

Arrival on the third floor.

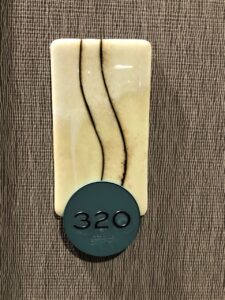
Room 320.
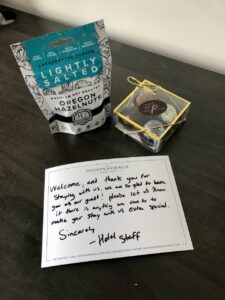
A special treat and thank you for staying.
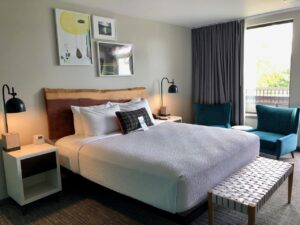
Our room with a view! Heavenly.
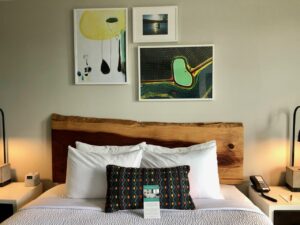
Local art above the bed.
The cool bathroom in our room.
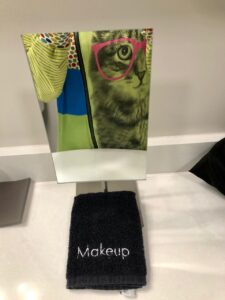
Meow.
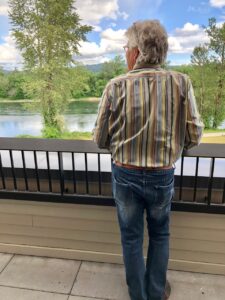
Standing on our balcony, looking down the Willamette River toward Salem.
The view along the river walk.

As soon as we were settled, we took off to visit my art.

Seeing my painting for the first time: 2nd floor elevator lobby.
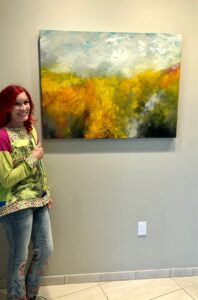
“Patterns Revealed Themselves,” 30×40 inches, oil and cold wax over plaster. This painting is for sale and available.
Howard exploring “Remnants of Morning Mist.”
Revisiting “Remnants of Morning Mist.”
“Remnants of Morning Mist,” 30×40 inches, oil and cold wax over plaster; located on the 4th floor elevator lobby. This painting is for sale and available.
Visiting “It Smelled Like the End of Summer,” 30×40 inches, oil and cold wax over plaster, located on the 3rd floor elevator lobby. This painting is for sale and available.
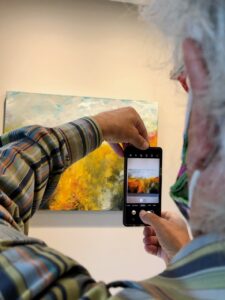
Howard taking photos of my painting.

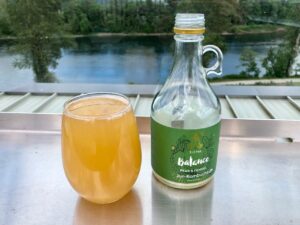
The next thing we did was to grab kombuchas and head to the rooftop patio.

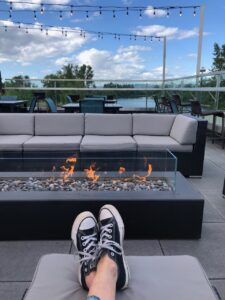
Afternoon kombucha on the rooftop patio.
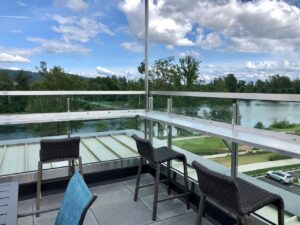
Rooftop patio.
Relaxing on the rooftop patio.

Then we did a little exploring in downtown Independence.

A nice little antique store in downtown Independence.
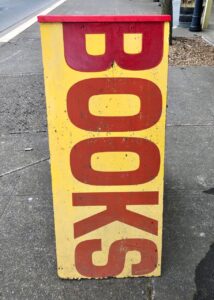
Independence has a great used bookstore on Main Street.
Exploring downtown Independence.
Exploring Riverview Park in Independence.

What a lovely location and a beautiful hotel.

The view from our balcony.

In preparation for our visit, The Independence Hotel interviewed me and posted the interview on their blog. Here’s a LINK.

Coming next month, a visit to The Dundee Hotel in Dundee, Oregon, where I have nine pieces of art on display!

#the100dayproject – COMPLETED

It is hard to believe that 100 days ago I embarked on a project where I committed to make a piece of art every day for 100 days. That’s a lot of days and a lot of art. I wrote about the project on Day 50, so if you want more info just click on the link.

Very first piece for #the100dayproject: acrylic painting on a scrap of brown paper bag.

In a nutshell, over the past 100 days I created art using scraps of brown paper bags. The mediums I used included oil and cold wax, acrylic paint, and collage. Some of the materials I used in the pieces: black and white photographs, Stabilo Woody Crayons, pencils, vintage ephemera, book scraps, paper frames, and charcoal. Techniques and designs included splatter painting, drawing, stripes, circles, stencils, scraping, tearing, gluing, squeegees, and mark-making.

Last piece for #the100dayproject: Acrylic painting on a scrap of a brown paper bag, with strips from discarded books, and a B&W photo found at a flea market.

What I learned during the past 100 days:

  • True art is in the doing and there is no shortcut for that.
  • I like to work fast to keep the inner critic quiet.
  • It was freeing to work on such an unimportant substrate as a brown paper bag.
  • I kept pushing myself to be bolder and to make more startling moves on my daily pieces.
  • It was amazing to create so many pieces, and although each piece was different, they created a unified body of work.
  • Some days it was this project that propelled me to go into my studio. Sometimes I stayed.
  • Several new ideas emerged from this project and I am letting them percolate for future projects.
  • A very exciting byproduct was how two of the paper pieces I created inspired bigger paintings!

Here is a random assortment of pieces from the second half of the project:

Right now I am celebrating the completion of the project . . . .

. . . . but I have some ideas brewing for moving forward with these pieces.

I have this wacky idea of offering some of these completed pieces for sale and giving first notice to those who are on my mailing list. Haven’t signed up yet? Want to? Here’s a LINK.

Salem Poetry Festival

I was invited by the Salem Poetry Festival to paint while two poets read a series of their poems during the Salem Poetry Festival. Last Thursday, I arrived early at the Ike Box in downtown Salem to set up my table. I chose to bring four 11 x 14 canvases and two table easels, with the plan to paint two pieces as each poet read their poetry for about 30 minutes each.

The idea was that my painting would be in response to the poems being read. To prepare for the evening of painting, I repurposed four canvases I had bought at SCRAP, painting over someone’s previous painting to prepare it for my use; I painted two of the canvases black and two in hot pink and orange, giving me something to respond to other than a blank, white canvas.


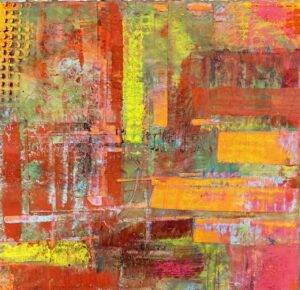
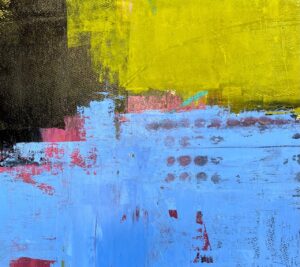
Poet Carol Hottle kicked off the event and my first painting was in response to her reading a series of poems about a transformational experience she had, surviving a horrific auto accident.

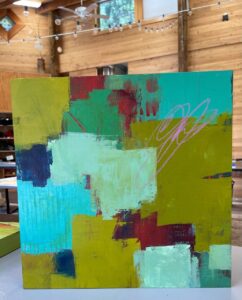
My second painting was in response to a series of poems that reflected positive experiences, and I allowed myself to focus on the visual images Carol painted with her words.

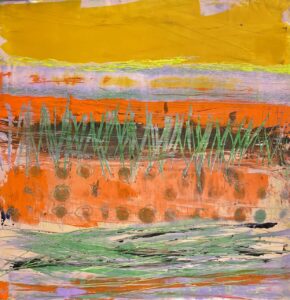
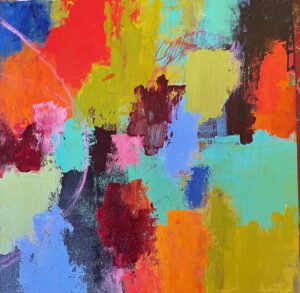
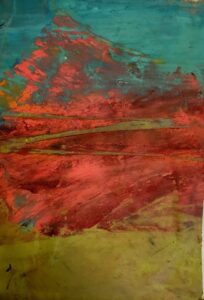
When it was time for poet Mike Shuler to read, I listened as he read until I picked up on a poem about children joyfully playing along the banks of a river, and I couldn’t resist painting a bright abstracted landscape.

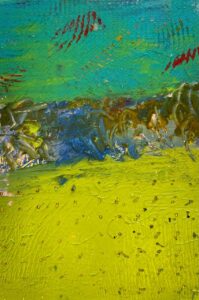
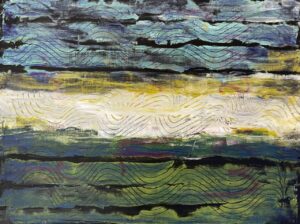
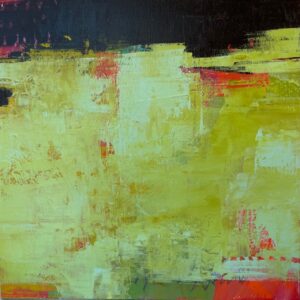
The second piece I painted was in response to Mike sharing how much he loves hiking in the Cascade Head area, a place that is near and dear to me because it is where Sitka Center For Art and Ecology is located (and where I taught two painting classes this summer).

The whole experience was positive and fun and once I started painting, I tuned out the room full of people and just focused on the flow of words and the flow of paint.  At the conclusion of the evening, I invited both poets to choose a painting to take with them.

Salem Poetry Festival
Thursday, September 12, 2019
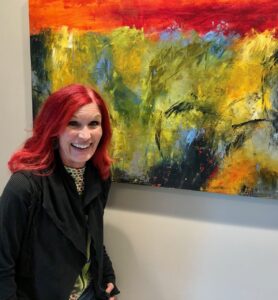
Carol, Dayna, and Mike