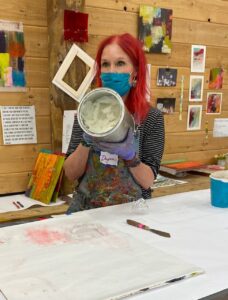
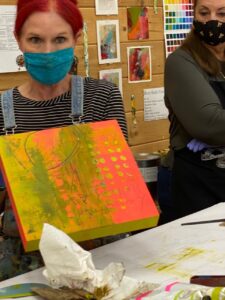
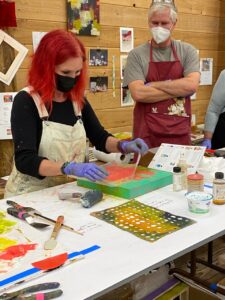
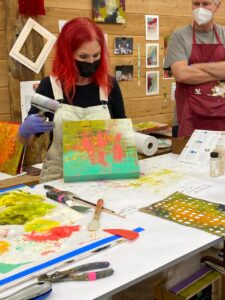
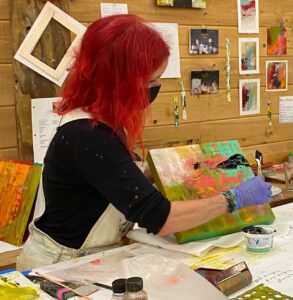
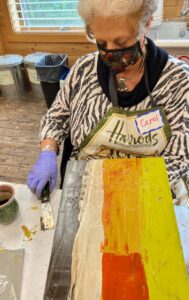
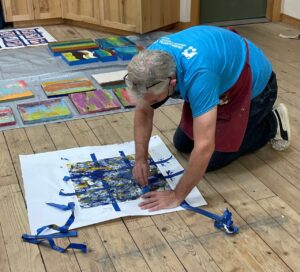
I am frequently asked about how to work with oil paint mixed with cold wax medium, especially on Instagram (you can find my Instagram at DaynaLovesArt). When I post videos of my process, I get a lot of interest and questions. Since I recently taught two four-day workshops in oil and cold wax at Sitka Center for Art and Ecology, I thought I would post a series of photos of the process. Thank you to several of my students for taking photos and generously sharing them with me.
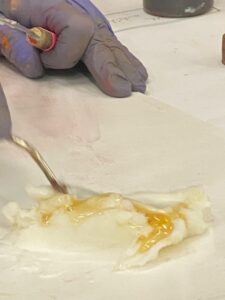
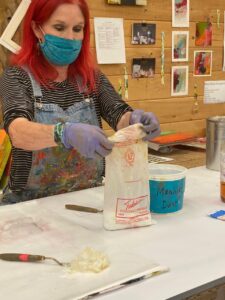
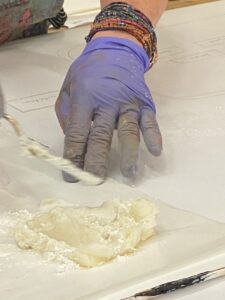
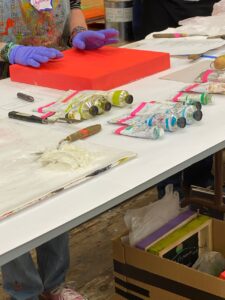
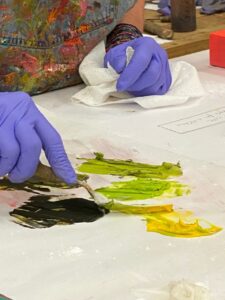
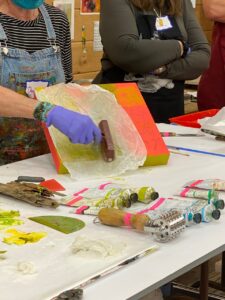
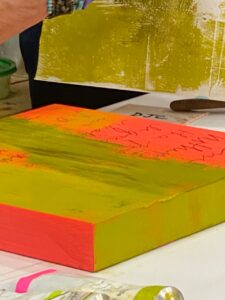
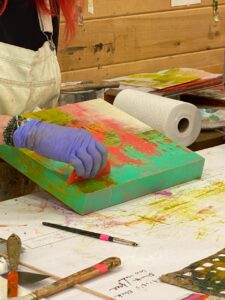
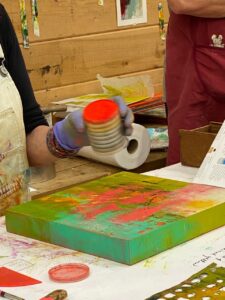
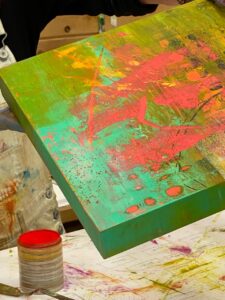
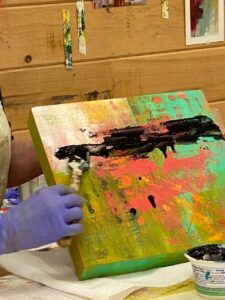
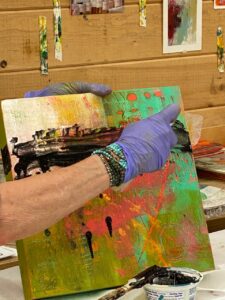
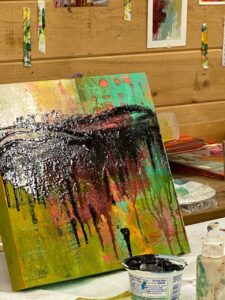
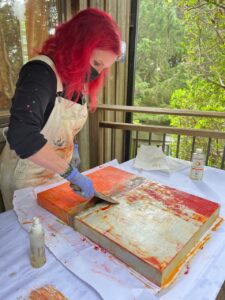
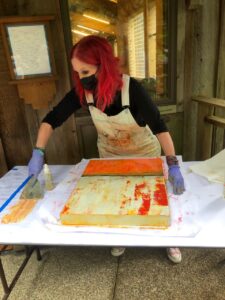
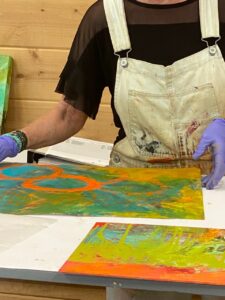
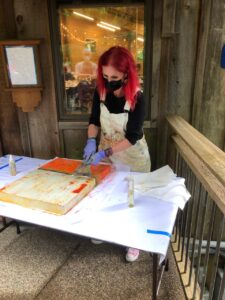
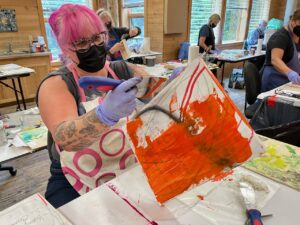
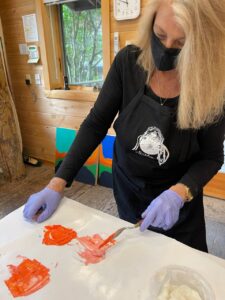
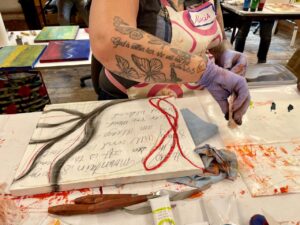
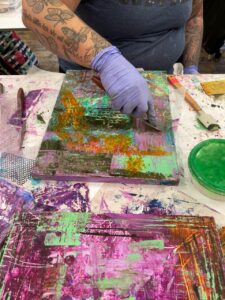
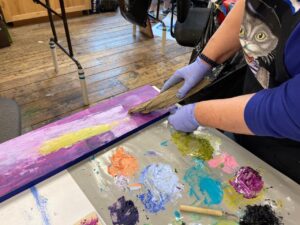
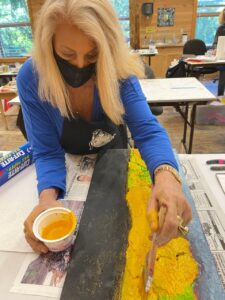
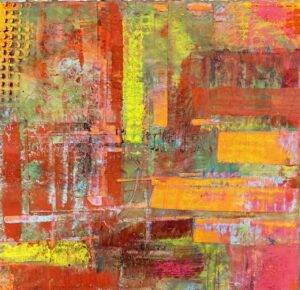
Mixing Gamblin’s Cold Wax Medium with their Galkyd (which helps speed the drying time).Pulling out a bag of Fedrix powdered marble dust.Mixing marble dust into Gamblin’s Cold Wax Medium and Galkyd. The marble dust acts as another agent to speed the drying time. It can also be used to thicken the consistency of the cold wax.Ready to mix paint!Mixing oil paint with the cold wax mixture. I mix 50/50: 50% oil paint with 50% cold wax medium (with the Galkyd & marble dust already added).An early demo of applying oil and cold wax mixture to the painted cradled panel. I am using a flexible metal putty knife from the hardware store.Using a brayer and wax paper, I am “lifting” paint and creating irregular texture on the surface of the board.Applying a nice layer of paint to the painted surface (with words added before the paint). I then lay down a piece of wax paper to lift some of the paint to create interesting texture.Showing the demo board with some of the techniques: applying paint, applying paint with a stencil, removing paint with a stencil, making marks.Using wax paper to “lift” paint (and then that lifted paint will be applied to a different work in progress to move the orange paint around).Using a brayer to apply a thin veil of white oil and cold wax (in the upper right corner) over dry oil and cold wax paint.Applying a thin layer of cold wax in preparation for adding flecks of Pan Pastel.Applying flecks of Pan Pastels using a small palette knife to scrape a tiny bit of the pastel onto the surface; a thin layer of cold wax applied so the flecks of pastel will adhere.Tiny little flecks of red pastel add fun interest. Once the flecks have been added, I use a piece of wax paper over the surface and then brayer over the wax paper to embed the pastel.Applying a layer of thinned out oil and cold wax (thinned with Gamblin’s Gamsol, oderless mineral spirits).Spreading out the oil and cold wax with added Gamsol to thin out the paint mixture.Spraying Gamblin’s Gamsol to thin out the swath of oil and cold wax to create drips.The drips.Scraping off a layer of oil and cold wax using Citra Solv and a metal putty knife.*Wiping paint from putty knife onto paper.Any questions?!?
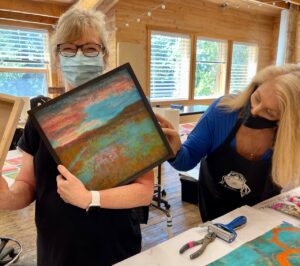
A beautiful comment from Angela, who has taken my class several times:
It was amazing to see you obliterate a piece, reveal fabulous lower layers and ultimately create your incredible composition. Seeing you do this in class was huge? The lesson in itself was the best possible, teaching us more by showing, creating and telling us your thoughts throughout. Angela
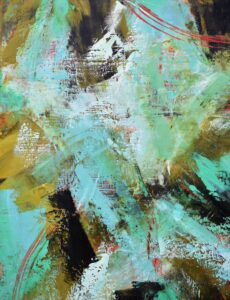
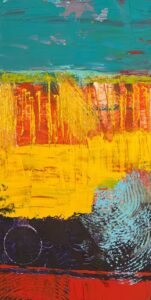
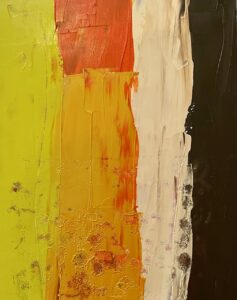
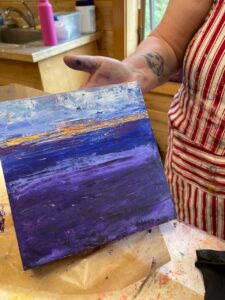
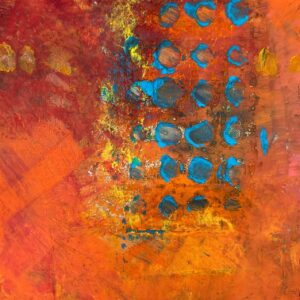
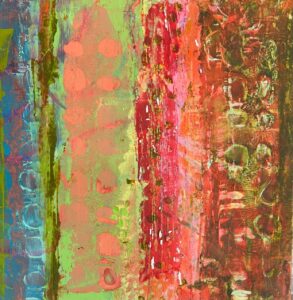
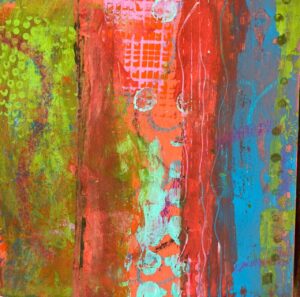
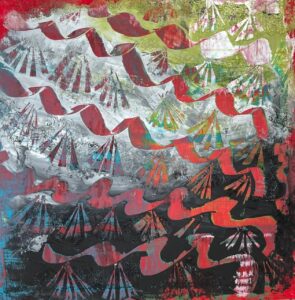
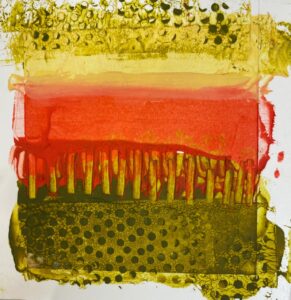
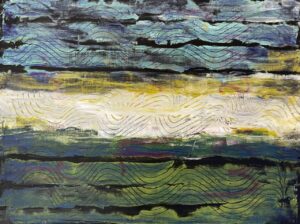
*This demo piece went on to become this painting:
“Storm Mounting,” the piece I created for an upcoming show, which I will be writing about soon.
If you are interested in more information about what I’m doing, books I recommend, techniques, shows, workshops, etc., please subscribe to my monthly newsletter by clicking HERE. In my September newsletter I will be sharing about my recent Personal Art Retreat, all the work that goes into creating art behind the scenes and sharing about the book Creative Authenticity.
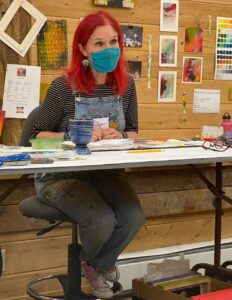
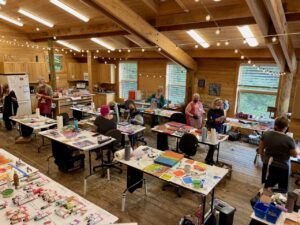
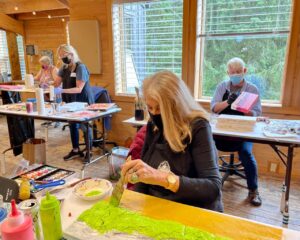
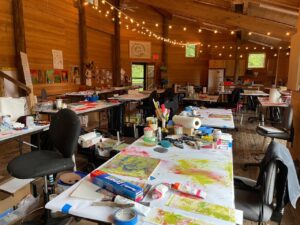
After my first oil and cold wax class at Sitka Center for Art and Ecology concluded on July 3, the staff at Sitka lugged all of my stuff from Smith Studio up to the larger Boyden Studio. I spent the evening getting set up for my second class. I love preparing the studio for teaching.
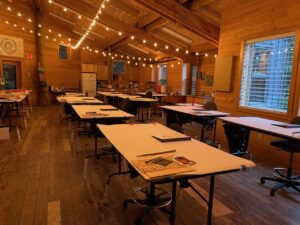
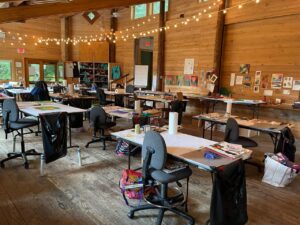
Evening of July 3: all set up for class to begin on July 5.
I spent July 4th enjoying the quiet of the Sitka campus. The office was closed, and no one was around, so I wandered, rested, and puttered in the studio. On July 5th, I was ready for the artists to arrive.
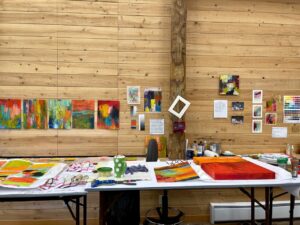
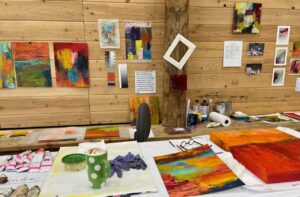
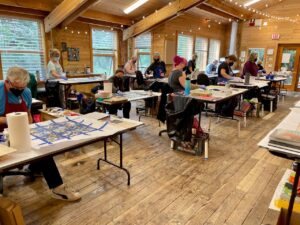
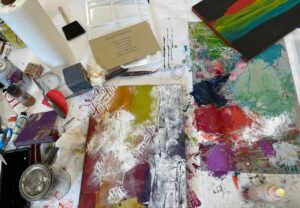
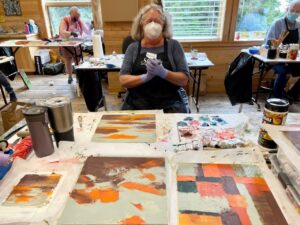
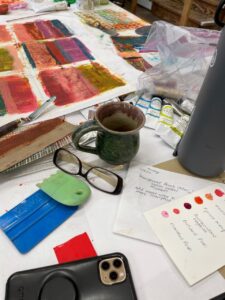
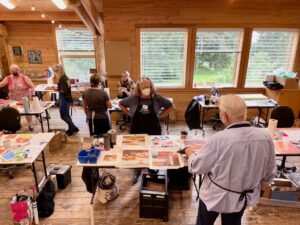
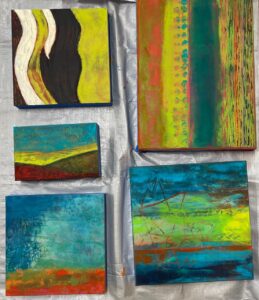
Distance view. I have three big tables to work on.My working and demo space.
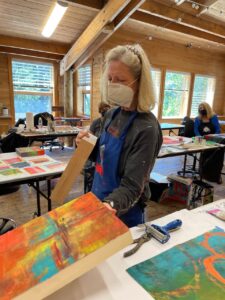
Like my last post, Teaching at Sitka – Part I, I feel that photos tell the story better than any words that I cobble together. I’ve made comments on each of the photos, so it tells a bit more about the week than just sharing the photos. But I will say, this group was hardworking, productive, energetic, talented, and supportive of each other. All the ingredients for a fantastic workshop.
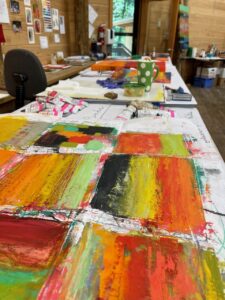
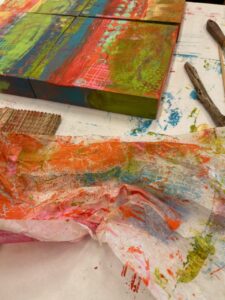
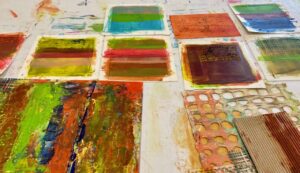
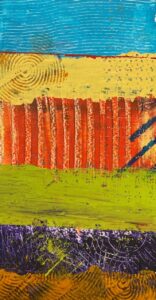
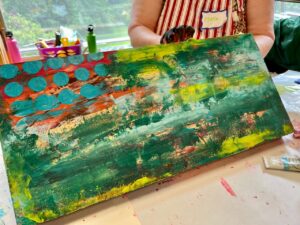
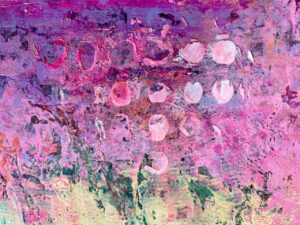
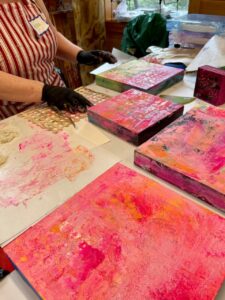
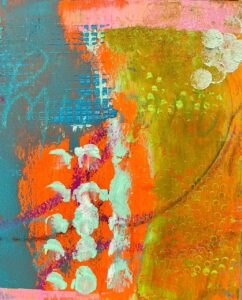
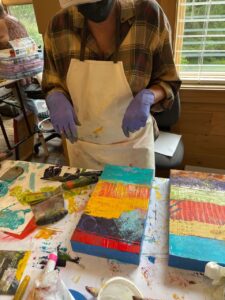
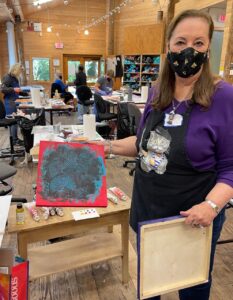
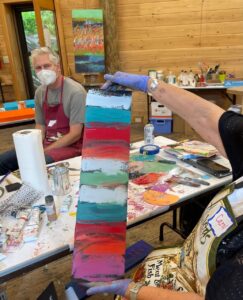
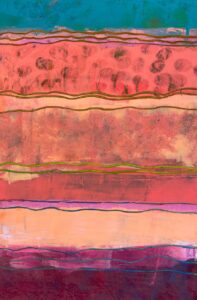
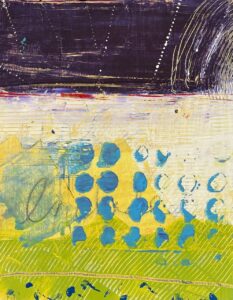
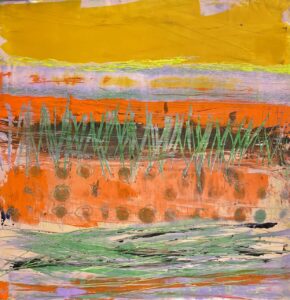
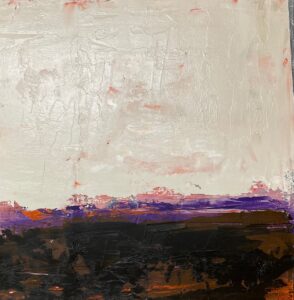
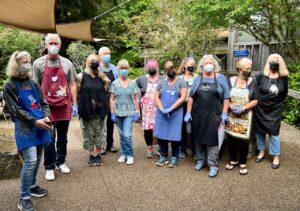
Side view of my space.So many techniques to share.Demo using solvent to scrape off paint.Getting paint on the boards.Everyone deep into the process.Tissue for blotting.Mixing up paint.Words matter.A table of work in progress.Work in progress.From above.Love the swaths of color, interrupted by marks.An active scene.A glorious pile of paint.Work in progress.Spreading swaths of thick, juicy paint.Work in progress. Done? Perhaps.Pink! Work in progress.More pink! Yes, please.Early layers.Work in progress.Hard-working class.A lovely, abstracted landscape.Scraping a grid composition.Using wonky chunks of driftwood to make wonky marks.Lunch in the courtyard.Painting. Layering. Scraping. Contemplating.More dots and such a great example of complementary colors.We all thought this piece would make a fantastic album cover!Framing discussion.Margaret and her beautiful series using a limited palette.I’m crazy for stripes and swaths of color – Carol nailed it.I wanted to call this a “Carnival of Color,” but that’s just me.More bands of color and marks.An active workspace.So many ways to apply paint and make marks.Sharing work.A thematic series of work.Such crazy and unique marks.Work in progress.I love the collegial nature of a class.Applying paint to a very textural and three-dimensional piece.A vibrant series of work.I’m always crazy for dots.An excellent example of a strata composition. And then there’s the color . . .A successful and colorful grid.Work in progress. Done? Hope so.An energetic work in progress.A beautiful series of lines, marks, and colors.Such sexy curves.A lovely and simple abstracted landscape.A thematic series of work.Pulling tape and revealing nine little paintings.I love the solitude at the end of the day.The peace at the end of the day.All but one in this class photo!
I have received such wonderful feedback from the artists in my class and I want to share two of the comments. Reading these inspiring and positive words make my heart swell and it is why I love teaching.
The first one from Carol:
I was so grateful to have had the opportunity to be a student in this class. It was amazing to meet Dayna in person, and to be present in her instruction. She provided a manual, many supplies, demos, readings, and many examples of her work in various stages. She was very engaged and provided such positive suggestions and constant energy. It was truly a great pleasure in an incredible setting. . . . I am still processing all that I learned and felt, and continue to feel so grateful. Thank you, Dayna. Terri