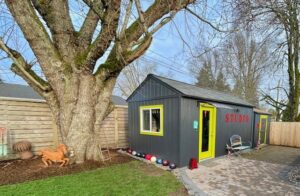
From Shed to Art Studio

It has been a whirlwind of activity since last fall, beginning with the selling of our house and the purchase of a new one all within days of each other (I wrote about this here.)
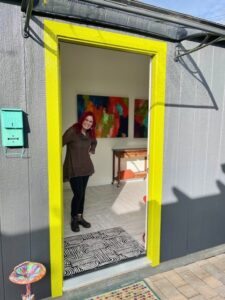
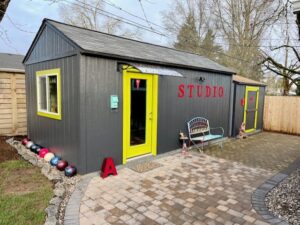
Welcome to my new studio!

When we purchased our new home, we knew it didn’t have a space inside for a studio, but at that time, we were more focused on finding the right house and figuring out my studio space later. We used one extra bedroom in the house as my collage studio, but where a painting studio would be located was a problem to solve. We considered the garage, but we needed the garage for other things, so that wasn’t feasible. We discussed my finding a studio space in an off-site location, but monthly rent adds up quickly.
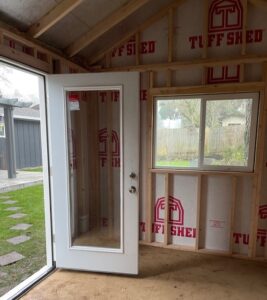
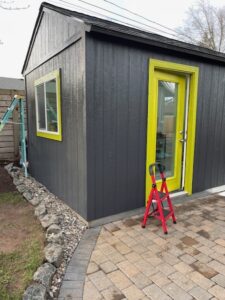
A view through the door with a reflection from the clear awning.

In our backyard on a pad of pavers, was a 10×10 Tuff Shed, which the previous owners used for storing garden materials. Howard came up with the idea of purchasing another 10×10 Tuff Shed and connecting the new shed with the old. We explored that option, but there were a lot of problems in making that work, which led us down the rabbit hole of having a stand alone shed built next to the existing shed. We worked with a Tuff Shed expert to design the new shed, choosing a 10×20 model (the largest possible without getting permits). I got to pick out the height of the walls and roof (8 foot walls with a pitched roof), what kind of door I wanted (a residential door with glass), and how many and where I wanted windows (one window on the south wall). My goal for one window and a single door was to maximize working wall space for hanging my art boards.

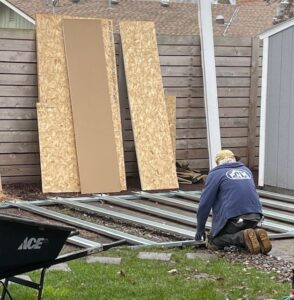
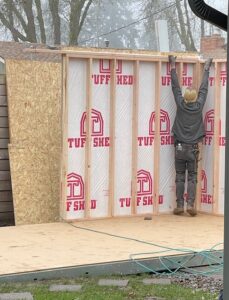
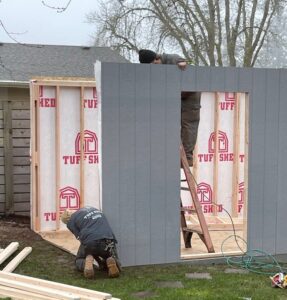
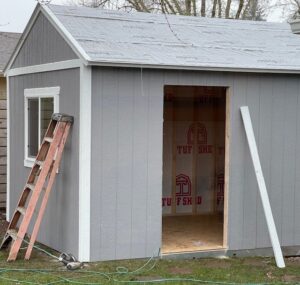
Once decisions were made, and the shed ordered (after being ordered, it was delivered the following week!), the ground needed to be excavated in order for the shed to be installed. Howard dug and dug and dug, piling the dirt next to the garage. Installation day arrived and two great guys showed up, unloaded the foundation, walls, window, and door. Like magic and by early afternoon, the shed was installed and ready to be converted to my studio.
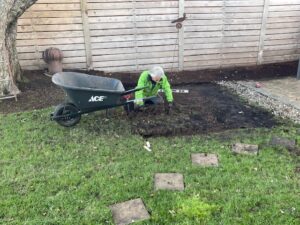
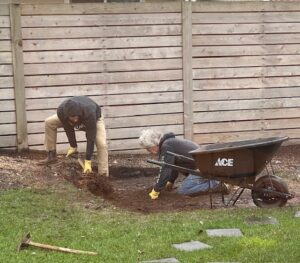
Building the studio: Howard dug out a LOT of dirt to make room for the studio foundation.
Building the studio: The foundation needed to have 16 more inches dug out at the last minute.
Building the studio: Installing the foundation.
Building the studio: Installing the walls.
Building the studio: Putting up the walls.
Building the studio.
Building the studio: the door and window installed.
Building the studio: It is built!

Once the shed was in place, the finishing projects went like this:

Electrical

This was the only thing that took a long time to get scheduled – two weeks – it seemed like an eternity, but once the electrical was installed, Howard was ready to go. (Side note: the existing 10×10 shed had an electrical panel, so wiring the new studio was easy since the electricians could tap into the already installed panel.)

Insulation
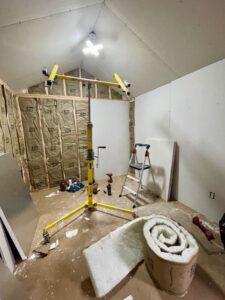
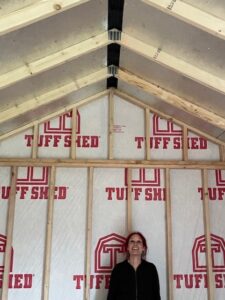
Building the studio: Insulation and then wall boards.

Wall board, Mudding, and Sanding

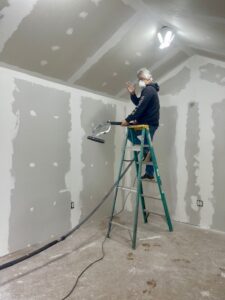
Building the studio: Sanding the mud.

This took a while because each layer of mud had to dry, and it was messy because of all of the sanding.

Priming and Painting
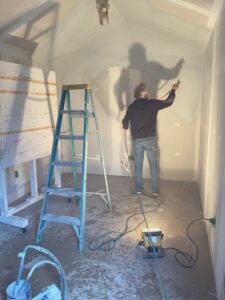
Building the studio: Priming the walls.

It took two coats of primer to get the new walls sealed, and then I had to choose what color to paint the walls. I knew I wanted white, but did I want a warm white or a cool white? I posed this question on my Facebook page and received dozens of suggestions and ideas for what white (and surprisingly, a lot of suggestions to use grey). I went to Benjamin Moore and Sherwin Williams and gathered a couple dozen whites – warm and cool. By a process of research about the whites, and relying on my Spidey senses, I chose Sherwin Williams White Flour, a warm white with creamy undertones. Thank you to everyone who took the time to write such thoughtful responses.

Flooring

I had originally thought to just paint the floor, and for a little while thought about throwing down cheap rugs, but then my Portland artist friend, Maude May, who also has a Tuff Shed converted to her studio, suggested peel and stick vinyl flooring. Hello! What a brilliant idea. Off to Lowe’s we went and found the perfect pattern for my studio. Howard cleaned the splotches of mud and paint from the flooring, applied two coats of special flooring primer, then over the course of three days, applied the peel and stick tiles rather willy nilly, creating the perfect, random pattern. I love it!
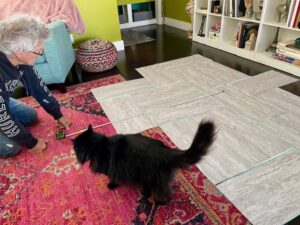
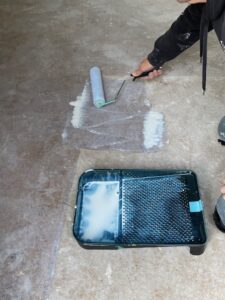
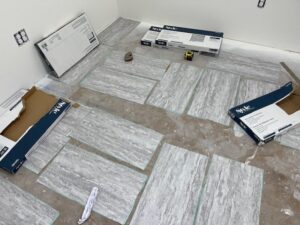
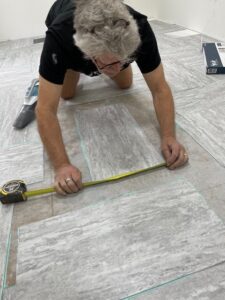
Building the studio: Playing with the layout of the vinyl peel and stick floor tiles.
Building the studio: Howard putting on the first layer of floor primer.
Building the studio: Preparing to install peel and stick vinyl tiles.
Building the studio: Installing peel and stick vinyl tiles.

Walls for Hanging Art

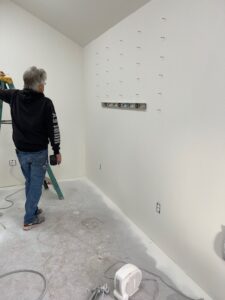
Building the studio: Howard installing the 120 screws for hanging and moving my cradled panels around.
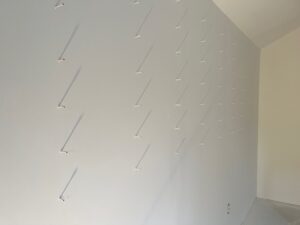
Building the studio: 120 screws put into the walls for hanging my cradled panels. The rows are 16 inches apart and the columns are six inches apart,

Howard installed 60 screws on each of my two long walls, for a grand total of 120 screws. He had just finished painting the walls, so he still had his paint sprayer set up: he misted the two walls with paint so that the screws blended into the walls.

Moving In
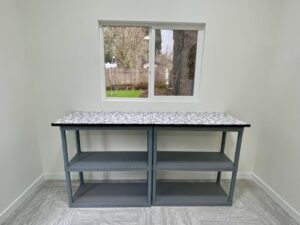
Ahhhhh, beginning to put together the studio infrastructure.
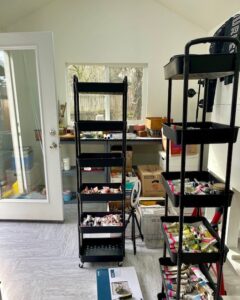
Organizing my new rolling carts: A shelf for each color of oil paint.

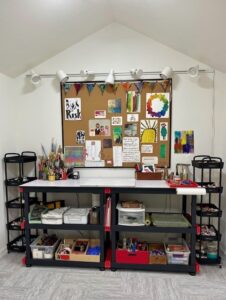
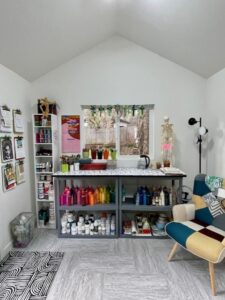
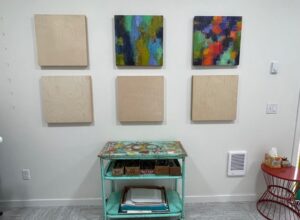
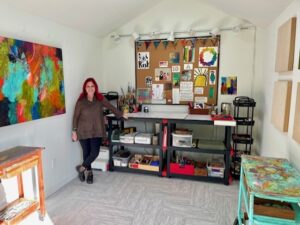
I knew I wanted two work stations on opposite ends of the studio; the south work station is for my acrylic and water-based media and the north work station is for my oil and cold wax. I ordered an inexpensive funky chair online to have a contemplation chair, and brought in two of my vintage rolling work carts (I have four); I also purchased two tower rolling carts to store my oil paints divided by color.
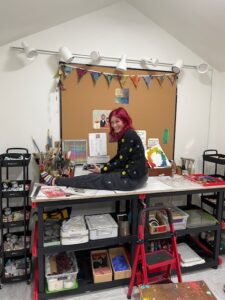
I saved the best for last: Deciding what to hang on my inspiration board.
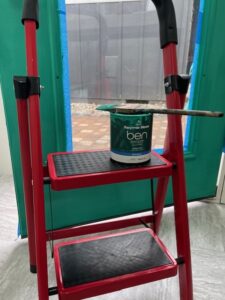
The walls are white . . . . but not the door.
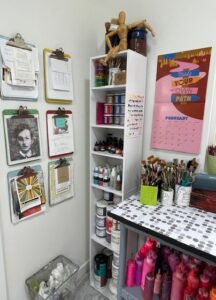
My oil and cold wax work area.
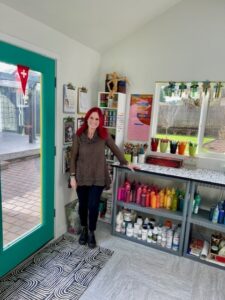
My water-based work area.
A favorite corner, storage for water-based media.
The west wall of my studio.
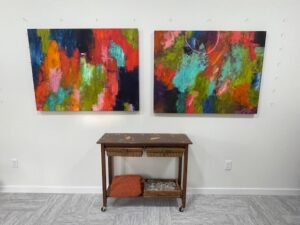
The east wall of my studio.

Outside Finish Work

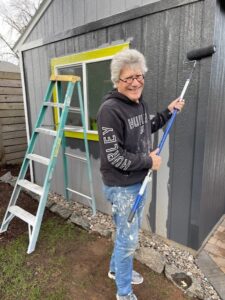
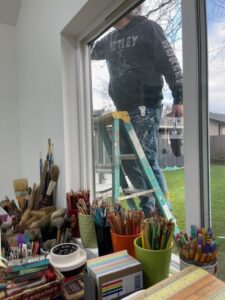
Building the studio: My painter.
Building the studio: The first coat of paint has been applied.
The studio is finished. But is it ever really finished? I don’t think so.

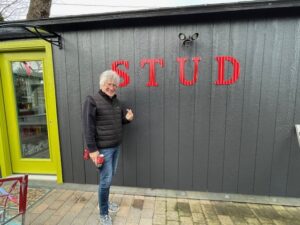
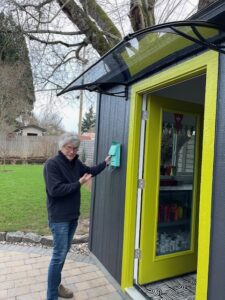
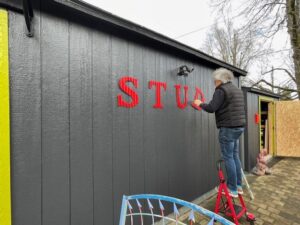
We had a few good days of weather, so Howard and I jumped into action and painted the outside walls and trim (just the front facing walls – we still have the back and three sides to do – it wasn’t that nice for that long). I had pre painted some big metal letters, and Howard got those installed. We also realized we needed some kind of awning for the doorway so I wouldn’t get soaked unlocking the door, so we ordered a nice awning from Wayfair and Howard got that installed just in time for the next rain shower (we live in Oregon, the awning was essential).
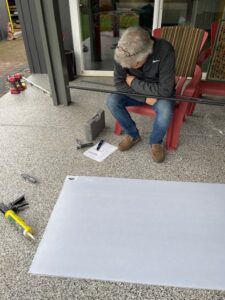
Howard reading the directions for putting together the studio awning.

Howard installing the letters. Of course, when he got to this point, I told him I needed a photo.
Installing the mailbox. I don’t anticipate getting much mail. . . .

Pavers and Art Plaza

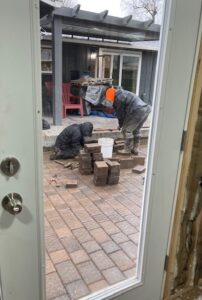
As the studio was being put together, we decided that it would be nice to have a clean, attractive space between the house and the studios. There were already existing pavers around the Art Annex (the original 10×10 Tuff Shed), so we decided to extend them to the edge of the new studio. In the middle of working on the inside of the studio, a crew of three guys arrived and spent three full days excavating and then installing pavers and a small rock wall. We call this our Art Plaza. (NOTE: We used our neighbor’s business to do the work, Curb Appeal, and they did beautiful work. They finished on a Friday afternoon just before the snow arrived, so I got to enjoy the Plaza for about an hour and then I didn’t get to see it again for a week, until the snow melted.)
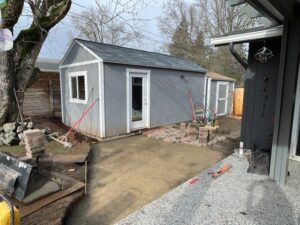
Preparing for pavers.
Installing the pavers.

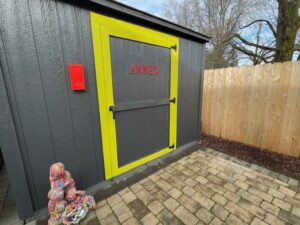
Art Annex

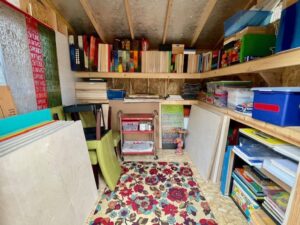
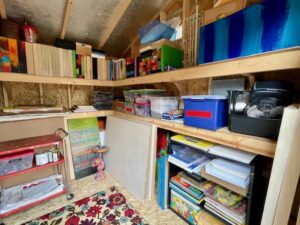
The little Tuff Shed that came with the house had been set up for gardening supplies. It had built in shelves, electricity, and lights, making it a perfect place to store all of my blank art substrates as well as excess paper, art supplies, surplus rolling carts, and finished art. I plopped down a rug, turned on some heat, and created a perfect auxiliary studio.
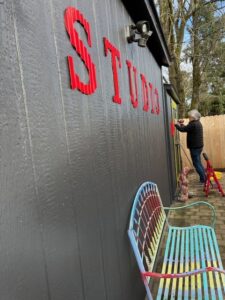
Installing all of the painted letters.
The Annex.
The Annex: Art storage for boards and supplies (the painted floor mat covering the window was done by Sloy).

A Working Studio

I have two work stations: this one for oil and cold wax; at the other end of the studio is acrylics and water-based materials.
So pleased with my new studio.

The Cost

In case you’re interested in what all of this cost, I know I was looking for this kind of information when we first set out on this adventure, I want to give you a rough estimate of what we spent to create this 10×20 studio in our backyard. We had out of pocket costs, but Howard did the majority of the work: he excavated the ground for the foundation (with some help from our strong son, Scott), cut down a tree limb, did the insulation, installed the wallboard, mudded, and sanded (with the help of our wonderful handyperson, Nancy), primed and painted the walls, installed the peel and stick tiles, painted the outside, and put up the awning over the door. All costs are rounded and approximate:

Tuff Shed $9,300; electrical $1,300 (a second bid we got was $3,300! so glad we got two bids); wallboard $400; help with wallboard installation $500; peel and stick vinyl flooring $400; paint and primer $300; insulation $600; awning $200. Howard loosely estimates his labor at $2,000. So the total project (NOT including the pavers since those didn’t have anything to do with the building of the studio): $15,000. We had anticipated it would cost around $14,000, so we were pleased to be within $1,000 of our estimate.
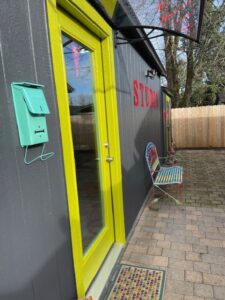
A place to rest and get some fresh air.


Word and Image: Writers and Artists in Dialogue

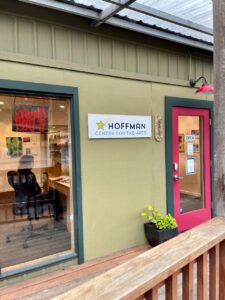
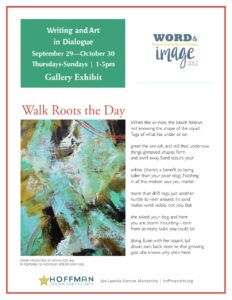
The Word and Image show is one of my favorite projects and it took place last month at the Hoffman Center for the Arts in Manzanita (on the Oregon coast). This event occurs biennially, and I was fortunate to have participated in 2020, so I was eager to apply for 2022. The process for the show goes like this:

Artists and writers are invited to submit samples of their work; artists submit three art images and writers submit three poems/short stories. The jury then chooses 12 artists and 12 writers. A pairing event is held where an artist’s name is pulled from a hat, then a writer’s name is pulled from a hat, and voila! those two are partners. The artist choses one of the three writing entries and creates a new piece of art in response to the words, likewise, the writer choses a piece of art from those submitted and writes a poem or short story in response. This new work is submitted electronically so beautiful broadsides can be printed and a book prepared and published.

MY PAINTING PROCESS

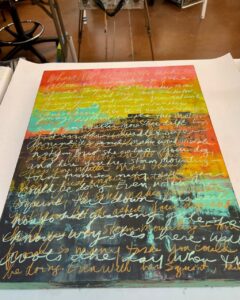
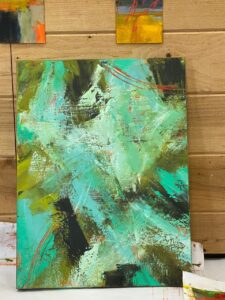
I chose to use an 18×28 inch cradled birch panel. I prepared it with acrylic paint, a layer of plaster, more acrylic paint to seal the plaster, and a couple layers of oil and cold wax. This was all the preparation to begin painting in response to the writer I was paired with, Simeon Dreyfuss. I chose Simeon’s poem, Walk Roots the Day as the piece I was using for my responsive painting. When the initial layers of my prepped board were completely dry, I wrote Simeon’s poem across the surface of my board.

I wrote Simeon’s poem on the surface of my board to incorporate his words with my paint.

I began adding layers of paint, looking for the poem to emerge.

An early layer.
Another early layer.
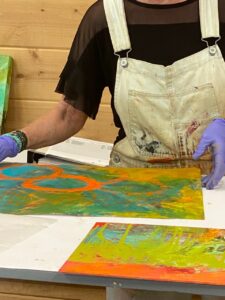
I used my painting for a demo when I was teaching at Sitka Center for Art and Ecology this summer. The demo was how to scrape off paint!

After layers of paint, and scraping off a layer, I worked on this piece when I wasn’t teaching at Sitka Center for Art and Ecology – either early in the morning, or in the evening after my students had left for the day. It seemed appropriate to be painting this piece while I was at Cascade Head on the Oregon coast.

I played around with this design and color idea by painting a small piece on paper and a 12×12 inch piece on a cradled panel.
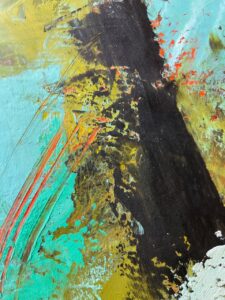
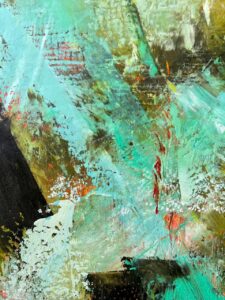
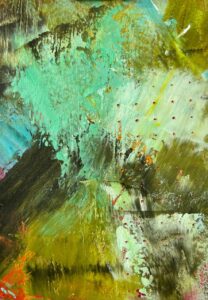
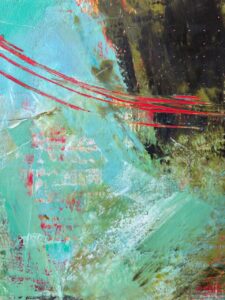
Close up.
Close up.
Close up.
Close up.
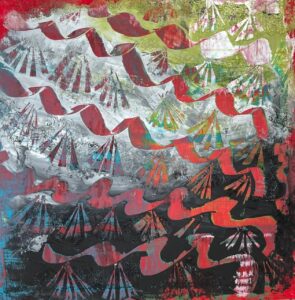
The finished piece.

THE SHOW

Art was delivered to the gallery, art and broadsides were hung, an online reception was held, and a beautiful book was published.

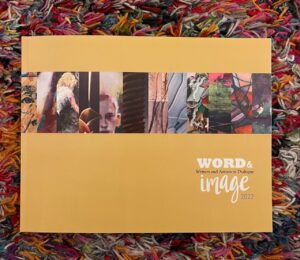
The beautiful book that captures the work.
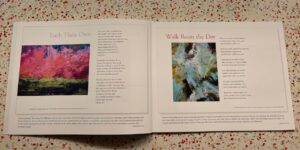
Two-page spread in the Word and Image book.
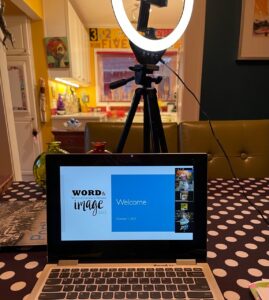
Opening reception via Zoom.
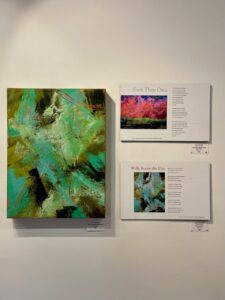
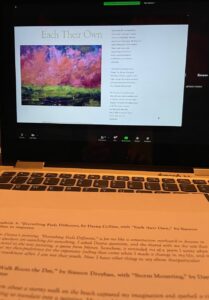
Opening reception: Simeon’s words in response to my painting, “Everything Feels Different.”

THE VISIT

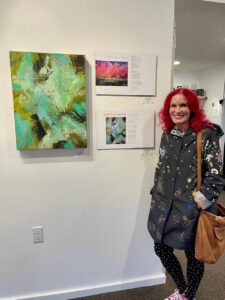
The show!

A HAPPY POSTSCRIPT

As I was working on this blog post, I took a break to welcome Paula Booth into my home. Paula is a professor of art at Western Oregon University and also curates the art at two northwest hotels, The Dundee and The Independence. I am fortunate to have art at both hotels and we had made arrangements for Paula to come to my house to view my available work to change out some of my pieces at The Independence. I had just picked up Storm Mounting from the Hoffman Center for the Arts, and so it was one of my available pieces. Paula was excited to include this painting in the group of paintings she selected.


Teaching at Sitka: Part 2

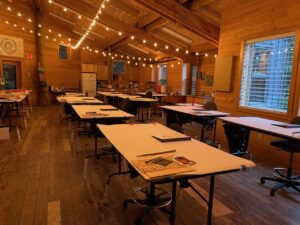
After my first oil and cold wax class at Sitka Center for Art and Ecology concluded on July 3, the staff at Sitka lugged all of my stuff from Smith Studio up to the larger Boyden Studio. I spent the evening getting set up for my second class. I love preparing the studio for teaching.

Evening of July 3: all set up for class to begin on July 5.

I spent July 4th enjoying the quiet of the Sitka campus. The office was closed, and no one was around, so I wandered, rested, and puttered in the studio. On July 5th, I was ready for the artists to arrive.

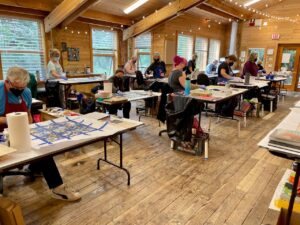
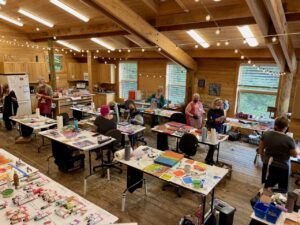
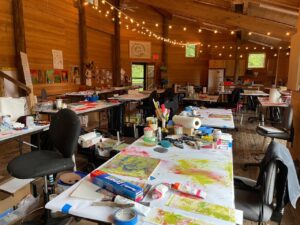
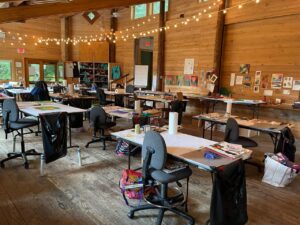
Distance view. I have three big tables to work on.
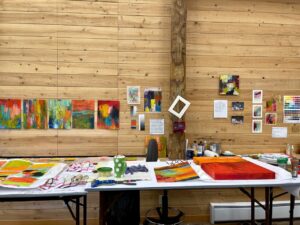
My working and demo space.

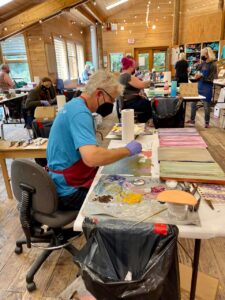
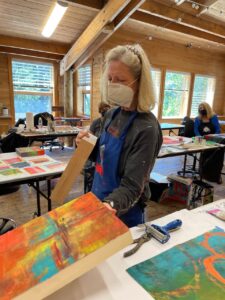
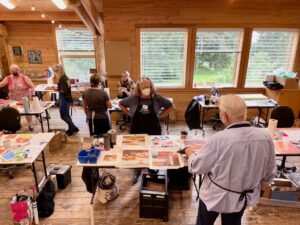
Like my last post, Teaching at Sitka – Part I, I feel that photos tell the story better than any words that I cobble together. I’ve made comments on each of the photos, so it tells a bit more about the week than just sharing the photos. But I will say, this group was hardworking, productive, energetic, talented, and supportive of each other. All the ingredients for a fantastic workshop.

Side view of my space.
So many techniques to share.
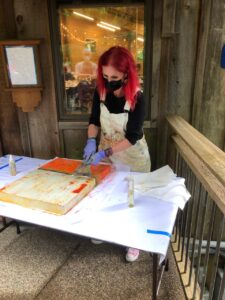
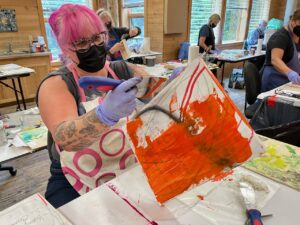
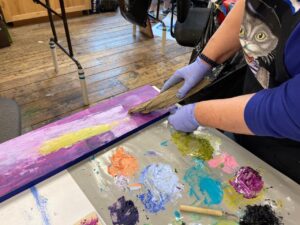
Demo using solvent to scrape off paint.
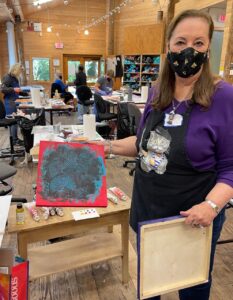
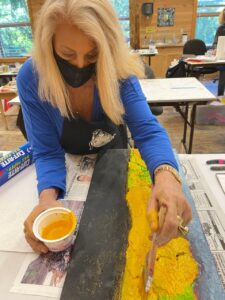
Getting paint on the boards.
Everyone deep into the process.
Tissue for blotting.
Mixing up paint.
Words matter.
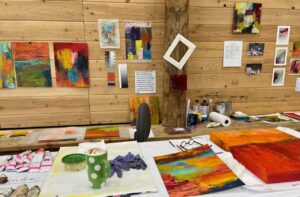
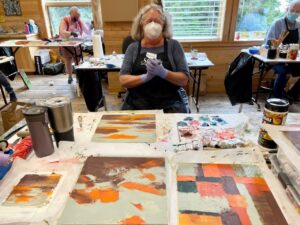
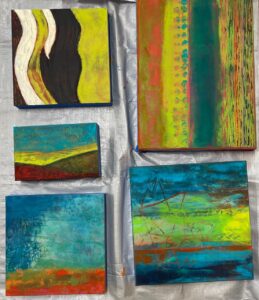
A table of work in progress.
Work in progress.
From above.
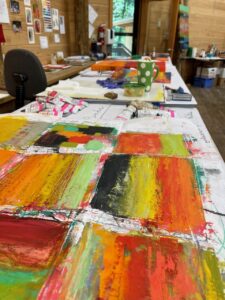
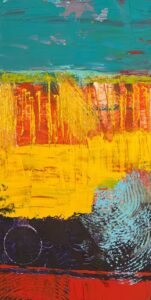
Love the swaths of color, interrupted by marks.
An active scene.
A glorious pile of paint.
Work in progress.
Spreading swaths of thick, juicy paint.
Work in progress. Done? Perhaps.
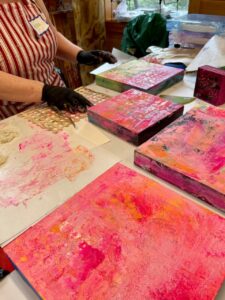
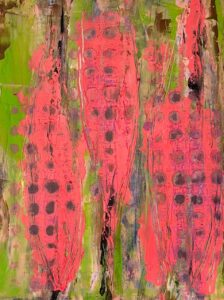
Pink! Work in progress.
More pink! Yes, please.
Early layers.
Work in progress.
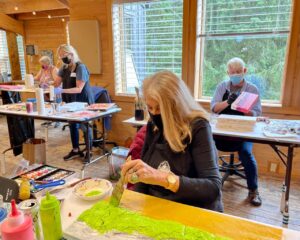
Hard-working class.
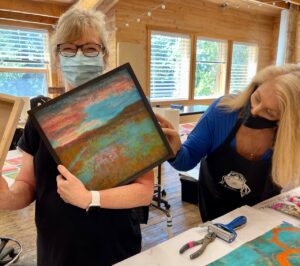
A lovely, abstracted landscape.
Scraping a grid composition.
Using wonky chunks of driftwood to make wonky marks.
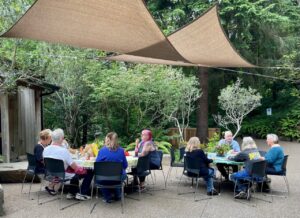
Lunch in the courtyard.
Painting. Layering. Scraping. Contemplating.
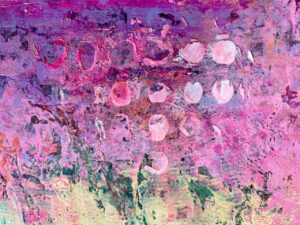
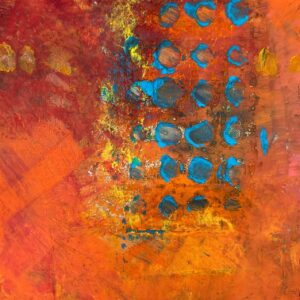
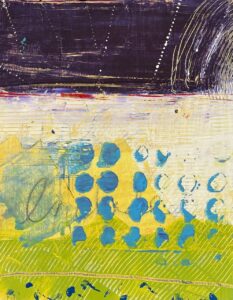
More dots and such a great example of complementary colors.
We all thought this piece would make a fantastic album cover!
Framing discussion.
Margaret and her beautiful series using a limited palette.
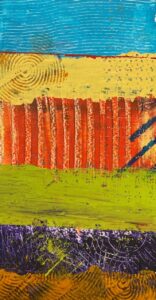
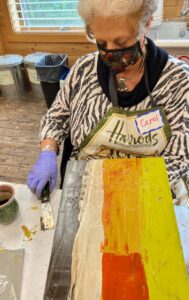
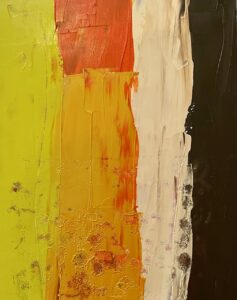
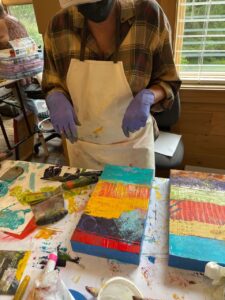
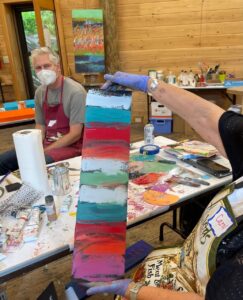
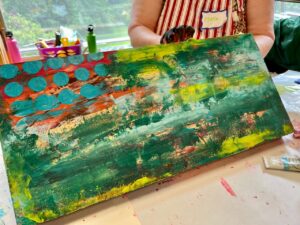
I’m crazy for stripes and swaths of color – Carol nailed it.
I wanted to call this a “Carnival of Color,” but that’s just me.

More bands of color and marks.
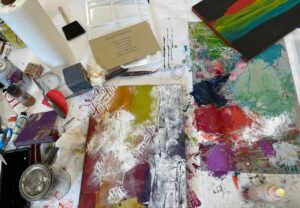
An active workspace.
So many ways to apply paint and make marks.
Sharing work.
A thematic series of work.
Such crazy and unique marks.
Work in progress.
I love the collegial nature of a class.
Applying paint to a very textural and three-dimensional piece.
A vibrant series of work.
I’m always crazy for dots.
An excellent example of a strata composition. And then there’s the color . . .
A successful and colorful grid.
Work in progress. Done? Hope so.
An energetic work in progress.
A beautiful series of lines, marks, and colors.
Such sexy curves.
A lovely and simple abstracted landscape.
A thematic series of work.
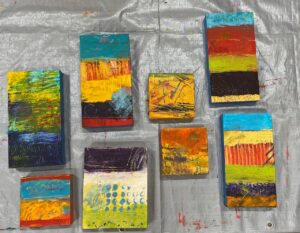
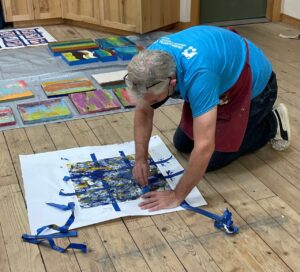
Pulling tape and revealing nine little paintings.
I love the solitude at the end of the day.
The peace at the end of the day.
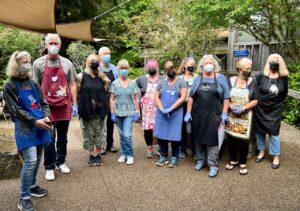
All but one in this class photo!

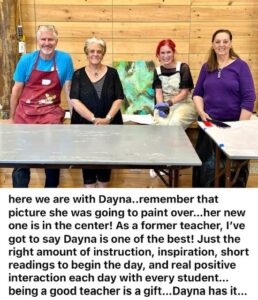
I have received such wonderful feedback from the artists in my class and I want to share two of the comments. Reading these inspiring and positive words make my heart swell and it is why I love teaching.

The first one from Carol:

I was so grateful to have had the opportunity to be a student in this class. It was amazing to meet Dayna in person, and to be present in her instruction. She provided a manual, many supplies, demos, readings, and many examples of her work in various stages. She was very engaged and provided such positive suggestions and constant energy. It was truly a great pleasure in an incredible setting. . . . I am still processing all that I learned and felt, and continue to feel so grateful. Thank you, Dayna.            Terri