From Shed to Art Studio

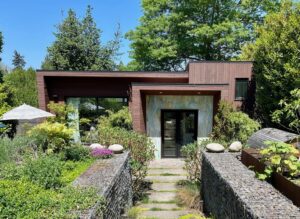
It has been a whirlwind of activity since last fall, beginning with the selling of our house and the purchase of a new one all within days of each other (I wrote about this here.)

Welcome to my new studio!

When we purchased our new home, we knew it didn’t have a space inside for a studio, but at that time, we were more focused on finding the right house and figuring out my studio space later. We used one extra bedroom in the house as my collage studio, but where a painting studio would be located was a problem to solve. We considered the garage, but we needed the garage for other things, so that wasn’t feasible. We discussed my finding a studio space in an off-site location, but monthly rent adds up quickly.

A view through the door with a reflection from the clear awning.

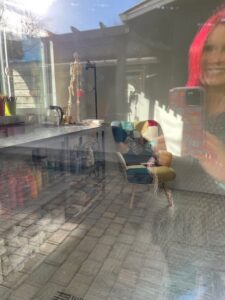
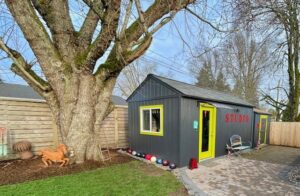
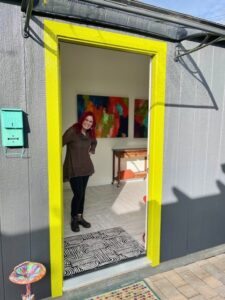
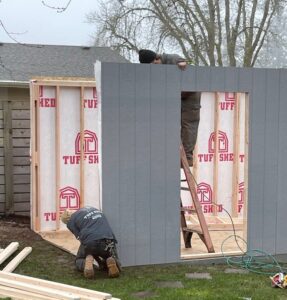
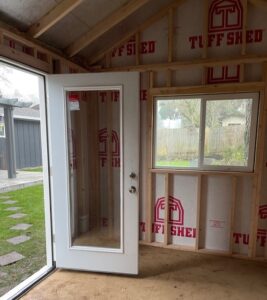
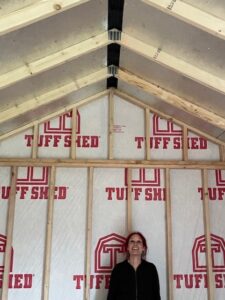
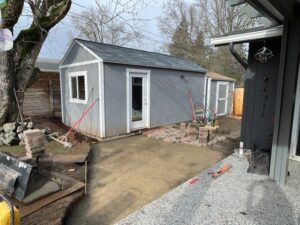
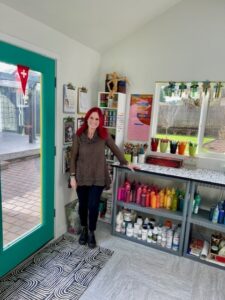
In our backyard on a pad of pavers, was a 10×10 Tuff Shed, which the previous owners used for storing garden materials. Howard came up with the idea of purchasing another 10×10 Tuff Shed and connecting the new shed with the old. We explored that option, but there were a lot of problems in making that work, which led us down the rabbit hole of having a stand alone shed built next to the existing shed. We worked with a Tuff Shed expert to design the new shed, choosing a 10×20 model (the largest possible without getting permits). I got to pick out the height of the walls and roof (8 foot walls with a pitched roof), what kind of door I wanted (a residential door with glass), and how many and where I wanted windows (one window on the south wall). My goal for one window and a single door was to maximize working wall space for hanging my art boards.

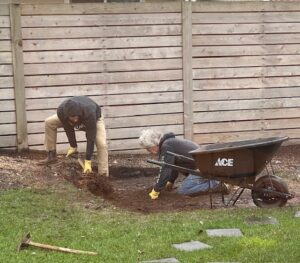
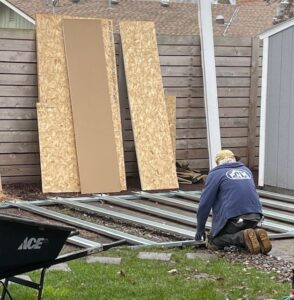
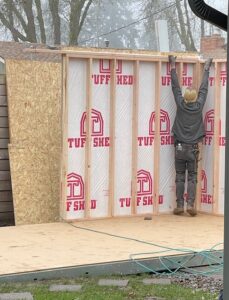
Once decisions were made, and the shed ordered (after being ordered, it was delivered the following week!), the ground needed to be excavated in order for the shed to be installed. Howard dug and dug and dug, piling the dirt next to the garage. Installation day arrived and two great guys showed up, unloaded the foundation, walls, window, and door. Like magic and by early afternoon, the shed was installed and ready to be converted to my studio.

Building the studio: Howard dug out a LOT of dirt to make room for the studio foundation.
Building the studio: The foundation needed to have 16 more inches dug out at the last minute.
Building the studio: Installing the foundation.
Building the studio: Installing the walls.
Building the studio: Putting up the walls.
Building the studio.
Building the studio: the door and window installed.
Building the studio: It is built!

Once the shed was in place, the finishing projects went like this:

Electrical

This was the only thing that took a long time to get scheduled – two weeks – it seemed like an eternity, but once the electrical was installed, Howard was ready to go. (Side note: the existing 10×10 shed had an electrical panel, so wiring the new studio was easy since the electricians could tap into the already installed panel.)

Insulation

Building the studio: Insulation and then wall boards.

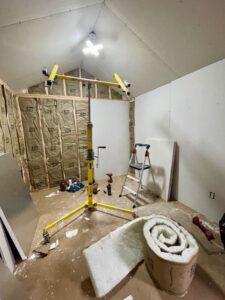
Wall board, Mudding, and Sanding

Building the studio: Sanding the mud.

This took a while because each layer of mud had to dry, and it was messy because of all of the sanding.

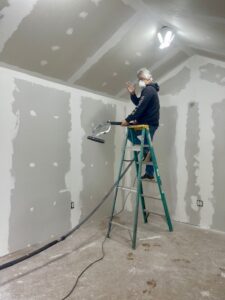
Priming and Painting

Building the studio: Priming the walls.

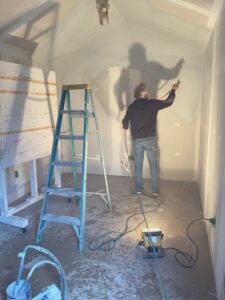
It took two coats of primer to get the new walls sealed, and then I had to choose what color to paint the walls. I knew I wanted white, but did I want a warm white or a cool white? I posed this question on my Facebook page and received dozens of suggestions and ideas for what white (and surprisingly, a lot of suggestions to use grey). I went to Benjamin Moore and Sherwin Williams and gathered a couple dozen whites – warm and cool. By a process of research about the whites, and relying on my Spidey senses, I chose Sherwin Williams White Flour, a warm white with creamy undertones. Thank you to everyone who took the time to write such thoughtful responses.
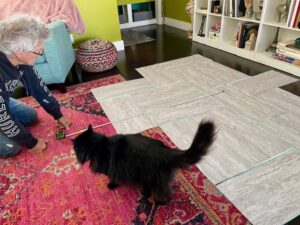
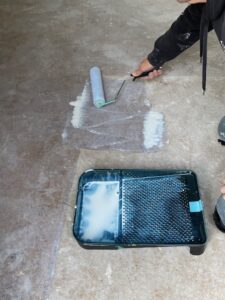
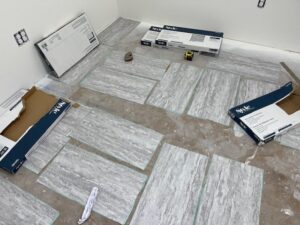
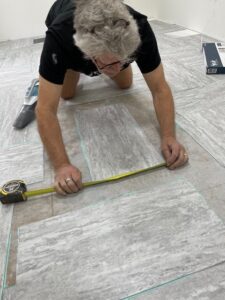
Flooring

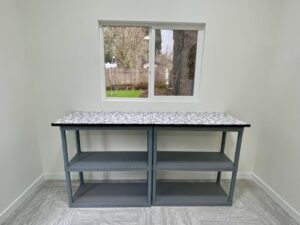
I had originally thought to just paint the floor, and for a little while thought about throwing down cheap rugs, but then my Portland artist friend, Maude May, who also has a Tuff Shed converted to her studio, suggested peel and stick vinyl flooring. Hello! What a brilliant idea. Off to Lowe’s we went and found the perfect pattern for my studio. Howard cleaned the splotches of mud and paint from the flooring, applied two coats of special flooring primer, then over the course of three days, applied the peel and stick tiles rather willy nilly, creating the perfect, random pattern. I love it!

Building the studio: Playing with the layout of the vinyl peel and stick floor tiles.
Building the studio: Howard putting on the first layer of floor primer.
Building the studio: Preparing to install peel and stick vinyl tiles.
Building the studio: Installing peel and stick vinyl tiles.

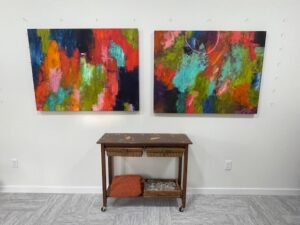
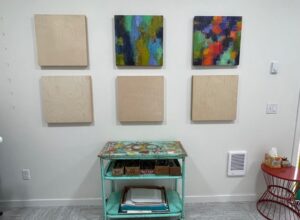
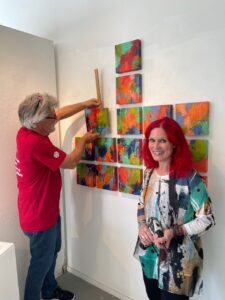
Walls for Hanging Art

Building the studio: Howard installing the 120 screws for hanging and moving my cradled panels around.
Building the studio: 120 screws put into the walls for hanging my cradled panels. The rows are 16 inches apart and the columns are six inches apart,

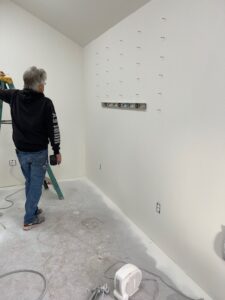
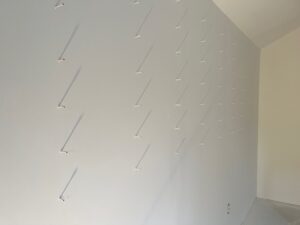
Howard installed 60 screws on each of my two long walls, for a grand total of 120 screws. He had just finished painting the walls, so he still had his paint sprayer set up: he misted the two walls with paint so that the screws blended into the walls.
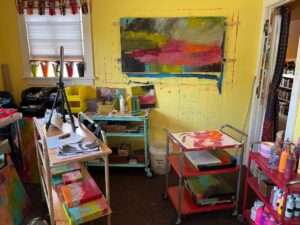
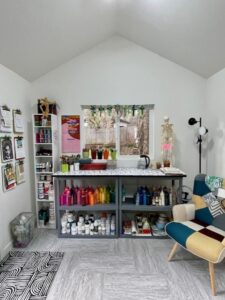
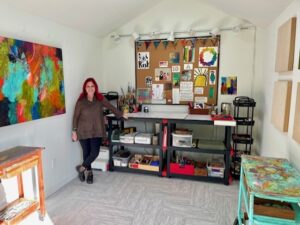
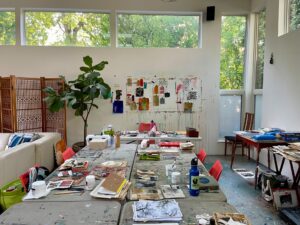
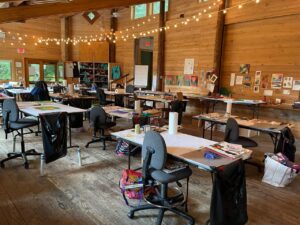
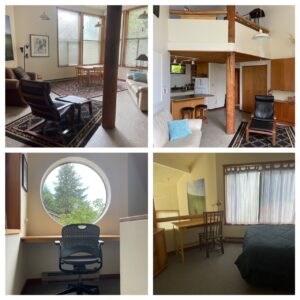
Moving In

Ahhhhh, beginning to put together the studio infrastructure.
Organizing my new rolling carts: A shelf for each color of oil paint.

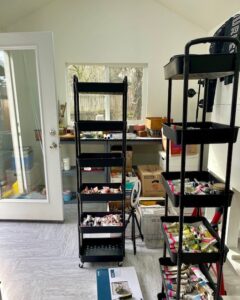
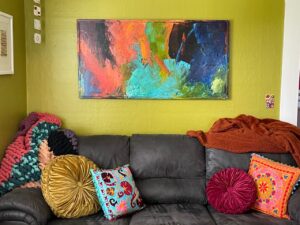
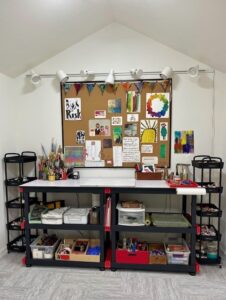
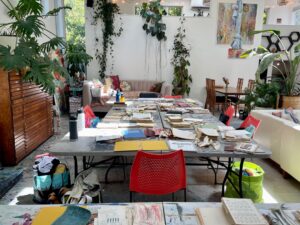
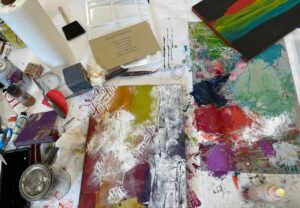
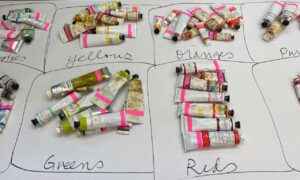
I knew I wanted two work stations on opposite ends of the studio; the south work station is for my acrylic and water-based media and the north work station is for my oil and cold wax. I ordered an inexpensive funky chair online to have a contemplation chair, and brought in two of my vintage rolling work carts (I have four); I also purchased two tower rolling carts to store my oil paints divided by color.
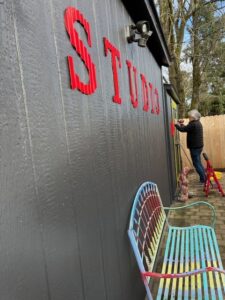
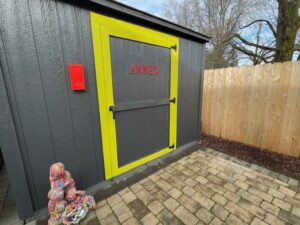
I saved the best for last: Deciding what to hang on my inspiration board.
The walls are white . . . . but not the door.
My oil and cold wax work area.
My water-based work area.
A favorite corner, storage for water-based media.
The west wall of my studio.
The east wall of my studio.

Outside Finish Work

Building the studio: My painter.
Building the studio: The first coat of paint has been applied.
The studio is finished. But is it ever really finished? I don’t think so.

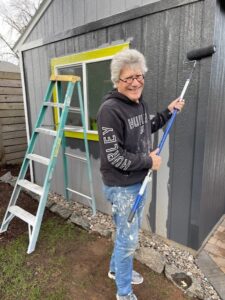
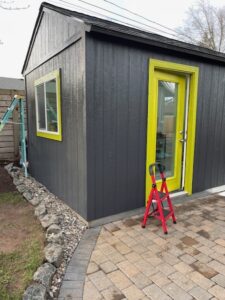
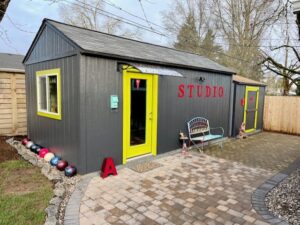
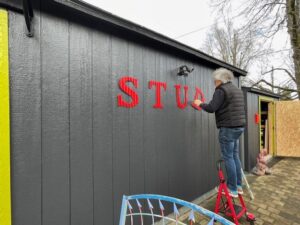
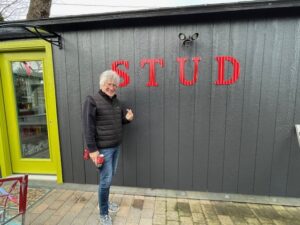
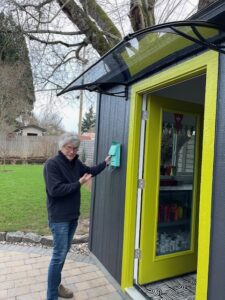
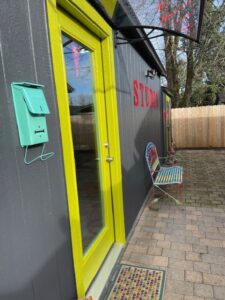
We had a few good days of weather, so Howard and I jumped into action and painted the outside walls and trim (just the front facing walls – we still have the back and three sides to do – it wasn’t that nice for that long). I had pre painted some big metal letters, and Howard got those installed. We also realized we needed some kind of awning for the doorway so I wouldn’t get soaked unlocking the door, so we ordered a nice awning from Wayfair and Howard got that installed just in time for the next rain shower (we live in Oregon, the awning was essential).

Howard reading the directions for putting together the studio awning.

Howard installing the letters. Of course, when he got to this point, I told him I needed a photo.
Installing the mailbox. I don’t anticipate getting much mail. . . .

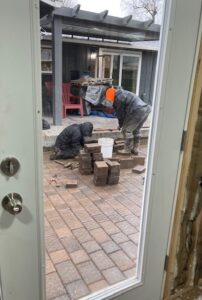
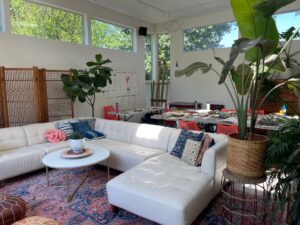
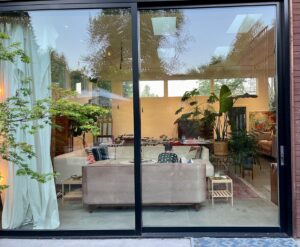
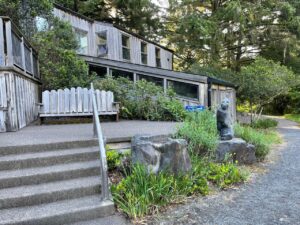
Pavers and Art Plaza

As the studio was being put together, we decided that it would be nice to have a clean, attractive space between the house and the studios. There were already existing pavers around the Art Annex (the original 10×10 Tuff Shed), so we decided to extend them to the edge of the new studio. In the middle of working on the inside of the studio, a crew of three guys arrived and spent three full days excavating and then installing pavers and a small rock wall. We call this our Art Plaza. (NOTE: We used our neighbor’s business to do the work, Curb Appeal, and they did beautiful work. They finished on a Friday afternoon just before the snow arrived, so I got to enjoy the Plaza for about an hour and then I didn’t get to see it again for a week, until the snow melted.)
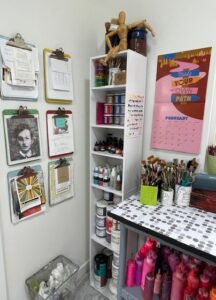
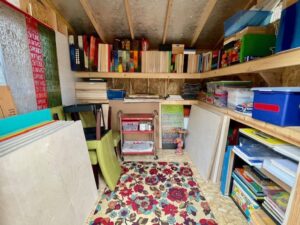
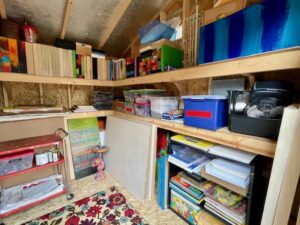
Preparing for pavers.
Installing the pavers.

Art Annex

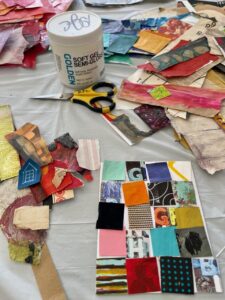
The little Tuff Shed that came with the house had been set up for gardening supplies. It had built in shelves, electricity, and lights, making it a perfect place to store all of my blank art substrates as well as excess paper, art supplies, surplus rolling carts, and finished art. I plopped down a rug, turned on some heat, and created a perfect auxiliary studio.
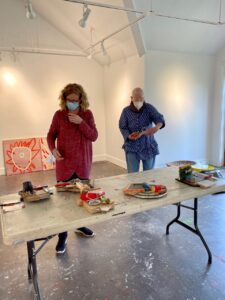
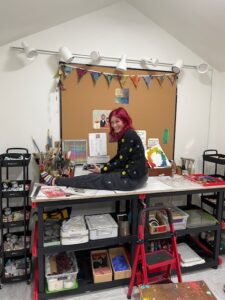
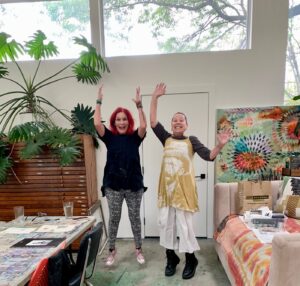
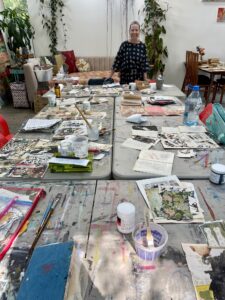
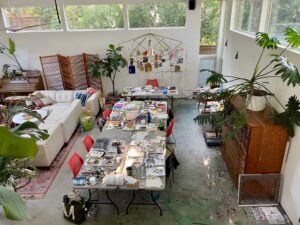
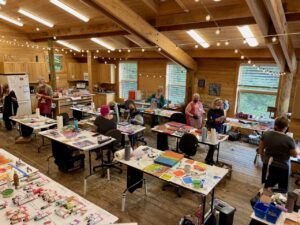
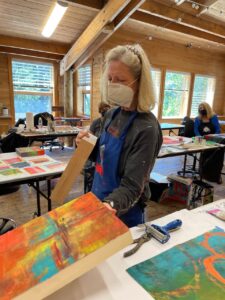
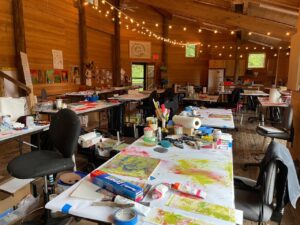
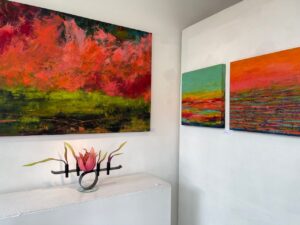
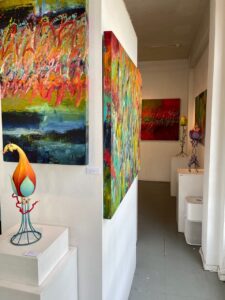
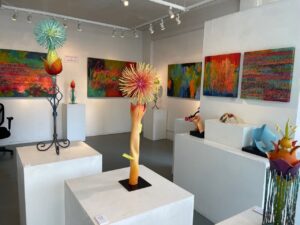
Installing all of the painted letters.
The Annex.
The Annex: Art storage for boards and supplies (the painted floor mat covering the window was done by Sloy).

A Working Studio

I have two work stations: this one for oil and cold wax; at the other end of the studio is acrylics and water-based materials.
So pleased with my new studio.

The Cost

In case you’re interested in what all of this cost, I know I was looking for this kind of information when we first set out on this adventure, I want to give you a rough estimate of what we spent to create this 10×20 studio in our backyard. We had out of pocket costs, but Howard did the majority of the work: he excavated the ground for the foundation (with some help from our strong son, Scott), cut down a tree limb, did the insulation, installed the wallboard, mudded, and sanded (with the help of our wonderful handyperson, Nancy), primed and painted the walls, installed the peel and stick tiles, painted the outside, and put up the awning over the door. All costs are rounded and approximate:

Tuff Shed $9,300; electrical $1,300 (a second bid we got was $3,300! so glad we got two bids); wallboard $400; help with wallboard installation $500; peel and stick vinyl flooring $400; paint and primer $300; insulation $600; awning $200. Howard loosely estimates his labor at $2,000. So the total project (NOT including the pavers since those didn’t have anything to do with the building of the studio): $15,000. We had anticipated it would cost around $14,000, so we were pleased to be within $1,000 of our estimate.

A place to rest and get some fresh air.


MIXT: Collage on Old Book Boards

Orly and I are friends who both live in Salem and share a love of old books. What started as an idea last fall, blossomed into something beautiful: a collaborative workshop with Orly and myself. We met to dream about what we would offer, to come up with a title, and to figure out how we would present the class.

Once our ideas began to take shape, we had several photos taken of us together, named our workshop MIXT: Collage on Old Book Boards, and decided that we would each teach two days in our four-day class. The class took place last week and was held in NE Portland at the gorgeous former studio of Flora Bowley. (An added benefit was that Orly and I got to stay at the studio, which has been made into an AirBnB – the commute to and from class was divine.)

Orly taught the first two days, and I taught the second two days. It was a whirlwind of tearing books apart, doing creative drawing exercises, playing with transfers, making our own painted collage papers, and creating the biggest mess we could. No words needed; the photos tell the story.

The workshop was a lovely success. The weather was perfect, and we were able to eat outside on the lovely grounds of the studio and take walks in the morning and evening. Everyone created a series of beautiful collages, incorporating the varied methods and ideas that both of us taught. There was laughter, silence, tears, the sound of paper being ripped, and the sound of a squeaky brayer. Orly and I deepened our friendship as we shared this time and experience together.

Lexicon of Collage: Daily Project for 2023

I love having a daily art project, something quick and easy and not too complicated. Having this type of project gets me into my studio, even on days when I only have a little bit of time or when I’m not feeling like painting or doing something big. Last year I kept a daily journal where I filled the pages with words, collages, and small paintings. One year I did a painting a day in a series of spiral bound journals. For this year, I am creating a collage each day and I have titled my project Lexicon of Collage. For my substrate, I am using matboard cut into 4×6 inch pieces (I ordered the matboard in a size of my choosing from Matboard and More, a company I have used for a lot of projects over the years).

For most of the collages I make, I use pieces of my hand painted papers, which I create using acrylic paint on various papers, i.e., drawing, deli, tissue, and paper bags. I divide these papers by color, making it easy to find just what I need.

Stacks of my painted papers.
Stacks of freshly painted papers.
Painted paper for collage work.

When I’m ready to create a collage, I reach for my painted papers, text and typography, bits of ephemera, scraps from old books, and random pieces of collected papers. I audition the papers and when I have a composition I like, I start gluing using Golden semi-gloss soft gel medium.

Laying out a grid collage and preparing to glue.

Once I have glued down my collage material, I place a piece of wax paper over the collage and then a stack of heavy books on top (or a bag of rice), and let it dry for several hours (or overnight). Once the glue is set, I often have raggedy edges that I like to trim using an Xacto knife. Once the collages are trimmed, I apply a thin coat of Golden’s semi-gloss soft gel medium, the same medium I use for gluing the papers.

Collages ready to be trimmed.
More trimming.
Trimming edges off of collages.
A beautiful pile of paper trimmings.

There are several benefits to having a daily project. As I mentioned above, this type of project gets me into my studio. But even more than propelling me to make art daily, it pushes me to experiment and play with a variety of compositions, unusual color combinations, and ways to create little pieces of art that hopefully take my breath away, that cause a gasp of delight, all the things that I want to happen in my bigger paintings. A bonus: I have already used some of my collages as inspirations for my paintings.

Completed collages.

Another fun addition to this project is how I share my completed collages. About once a week, give or take, I share a grouping of collages I have created. I started inviting friends (and family) to be my guest collage flippers. I videotape my invited collage flipper and share the videos on Instagram. Here are some of my invited flippers.

Guest collage flipper: daughter Melissa.
Guest collage flipper: granddaughter Gabriella
Guest collage flipper: Elise Wagner.
Guest collage flipper: Stephanie Brockway
Guest collage flippers: son Scott and grandson Harrison.
Guest collage flipper: grandson Luke.

For more regular updates on this project, follow on me on Instagram where I regularly post videos of my guest collage flippers and/or sign up for my monthly newsletter, where I do periodic updates about my Lexicon of Collage project.

My stack of collages as of the end of February.

Abstracted Flowers

Somewhere during the past couple of months, I decided to revisit painting abstracted flowers. I was prompted to do this series when I was looking at paintings that weren’t working for me. That isn’t unusual, I often cover over paintings and create new compositions. But the idea of painting flowers sprang up when I decided to cover the old paintings primarily with black paint, leaving a hint of the underpainting, and creating a wonky vase of long-stemmed flowers.

I have painted flowers in a variety of iterations, and I always enjoyed what I created. These are some of the older paintings that have long since sold.

“Stunning Ferocity,” by Dayna Collins
“The Absurdity of It,” by Dayna Collins
“According to Sylvia Plath, the tulips are too excitable,” by Dayna Collins
“Echoes of Summer,” by Dayna Collins
“According to Sylvia Plath, the tulips should be behind bars,” by Dayna Collins

Fast forward to my current series. Many of these new paintings are 6×6 inches and were created for the Small Works show at Salem on the Edge. They proved to be popular, and most of the flower pieces sold within the first few days of the show. It was such a heartwarming affirmation of doing this new body of work. Here is a peek behind the scenes of my process:

And then photos of some of my new work:

“Hiding Places,” 6×6 inches, oil and cold wax on cradled panel, by Dayna Collins
“Ultimate Serenity,” 6×6 inches, oil and cold wax on cradled panel, by Dayna Collins
“Faintly Lit Night,” 6×6 inches, oil and cold wax on cradled panel, by Dayna Collins
“Avalanche of Thoughts,” 6×6 inches, oil and cold wax on cradled panel, by Dayna Collins
“An Oasis of Quiet,” 12×12 inches, oil and cold wax on cradled panel, by Dayna Collins
“Wondrous Generosity,” 6×6 inches, oil and cold wax on cradled panel, by Dayna Collins
“The Blur of Memories,” 6×6 inches, oil and cold wax on cradled panel, by Dayna Collins
“Wild Anticipation,” 12×12 inches, oil and cold wax on cradled panel, by Dayna Collins
“Familiar and Comforting,” 6×6 inches, oil and cold wax on cradled panel, by Dayna Collins
“Howling Joy,” 6×8 inches, oil and cold wax on cradled panel, by Dayna Collins
“Vibrancy and Optimism,” 12×12 inches, oil and cold wax on cradled panel, by Dayna Collins

There are a few abstracted flower paintings on my website, which you can find by clicking this LINK.

Because I loved these flowers so much, I had notecards printed so I can write thank you notes to those who purchase my paintings.

New notecards!


An Oil and Cold Wax Technique Pictorial

A gallon can of Gamblin’s Cold Wax Medium.

I am frequently asked about how to work with oil paint mixed with cold wax medium, especially on Instagram (you can find my Instagram at DaynaLovesArt). When I post videos of my process, I get a lot of interest and questions. Since I recently taught two four-day workshops in oil and cold wax at Sitka Center for Art and Ecology, I thought I would post a series of photos of the process. Thank you to several of my students for taking photos and generously sharing them with me.

Mixing Gamblin’s Cold Wax Medium with their Galkyd (which helps speed the drying time).
Pulling out a bag of Fedrix powdered marble dust.
Mixing marble dust into Gamblin’s Cold Wax Medium and Galkyd. The marble dust acts as another agent to speed the drying time. It can also be used to thicken the consistency of the cold wax.
Ready to mix paint!
Mixing oil paint with the cold wax mixture. I mix 50/50: 50% oil paint with 50% cold wax medium (with the Galkyd & marble dust already added).
An early demo of applying oil and cold wax mixture to the painted cradled panel. I am using a flexible metal putty knife from the hardware store.
Using a brayer and wax paper, I am “lifting” paint and creating irregular texture on the surface of the board.
Applying a nice layer of paint to the painted surface (with words added before the paint). I then lay down a piece of wax paper to lift some of the paint to create interesting texture.
Showing the demo board with some of the techniques: applying paint, applying paint with a stencil, removing paint with a stencil, making marks.
Using wax paper to “lift” paint (and then that lifted paint will be applied to a different work in progress to move the orange paint around).
Using a brayer to apply a thin veil of white oil and cold wax (in the upper right corner) over dry oil and cold wax paint.
Applying a thin layer of cold wax in preparation for adding flecks of Pan Pastel.
Applying flecks of Pan Pastels using a small palette knife to scrape a tiny bit of the pastel onto the surface; a thin layer of cold wax applied so the flecks of pastel will adhere.
Tiny little flecks of red pastel add fun interest. Once the flecks have been added, I use a piece of wax paper over the surface and then brayer over the wax paper to embed the pastel.
Applying a layer of thinned out oil and cold wax (thinned with Gamblin’s Gamsol, oderless mineral spirits).
Spreading out the oil and cold wax with added Gamsol to thin out the paint mixture.
Spraying Gamblin’s Gamsol to thin out the swath of oil and cold wax to create drips.
The drips.
Scraping off a layer of oil and cold wax using Citra Solv and a metal putty knife.*
Wiping paint from putty knife onto paper.
Any questions?!?

A beautiful comment from Angela, who has taken my class several times:

It was amazing to see you obliterate a piece, reveal fabulous lower layers and ultimately create your incredible composition. Seeing you do this in class was huge? The lesson in itself was the best possible, teaching us more by showing, creating and telling us your thoughts throughout.           Angela

*This demo piece went on to become this painting:

“Storm Mounting,” the piece I created for an upcoming show, which I will be writing about soon.


If you are interested in more information about what I’m doing, books I recommend, techniques, shows, workshops, etc., please subscribe to my monthly newsletter by clicking HERE. In my September newsletter I will be sharing about my recent Personal Art Retreat, all the work that goes into creating art behind the scenes and sharing about the book Creative Authenticity.


Teaching at Sitka: Part 2

After my first oil and cold wax class at Sitka Center for Art and Ecology concluded on July 3, the staff at Sitka lugged all of my stuff from Smith Studio up to the larger Boyden Studio. I spent the evening getting set up for my second class. I love preparing the studio for teaching.

Evening of July 3: all set up for class to begin on July 5.

I spent July 4th enjoying the quiet of the Sitka campus. The office was closed, and no one was around, so I wandered, rested, and puttered in the studio. On July 5th, I was ready for the artists to arrive.

Distance view. I have three big tables to work on.
My working and demo space.

Like my last post, Teaching at Sitka – Part I, I feel that photos tell the story better than any words that I cobble together. I’ve made comments on each of the photos, so it tells a bit more about the week than just sharing the photos. But I will say, this group was hardworking, productive, energetic, talented, and supportive of each other. All the ingredients for a fantastic workshop.

Side view of my space.
So many techniques to share.
Demo using solvent to scrape off paint.
Getting paint on the boards.
Everyone deep into the process.
Tissue for blotting.
Mixing up paint.
Words matter.
A table of work in progress.
Work in progress.
From above.
Love the swaths of color, interrupted by marks.
An active scene.
A glorious pile of paint.
Work in progress.
Spreading swaths of thick, juicy paint.
Work in progress. Done? Perhaps.
Pink! Work in progress.
More pink! Yes, please.
Early layers.
Work in progress.
Hard-working class.
A lovely, abstracted landscape.
Scraping a grid composition.
Using wonky chunks of driftwood to make wonky marks.
Lunch in the courtyard.
Painting. Layering. Scraping. Contemplating.
More dots and such a great example of complementary colors.
We all thought this piece would make a fantastic album cover!
Framing discussion.
Margaret and her beautiful series using a limited palette.
I’m crazy for stripes and swaths of color – Carol nailed it.
I wanted to call this a “Carnival of Color,” but that’s just me.
More bands of color and marks.
An active workspace.
So many ways to apply paint and make marks.
Sharing work.
A thematic series of work.
Such crazy and unique marks.
Work in progress.
I love the collegial nature of a class.
Applying paint to a very textural and three-dimensional piece.
A vibrant series of work.
I’m always crazy for dots.
An excellent example of a strata composition. And then there’s the color . . .
A successful and colorful grid.
Work in progress. Done? Hope so.
An energetic work in progress.
A beautiful series of lines, marks, and colors.
Such sexy curves.
A lovely and simple abstracted landscape.
A thematic series of work.
Pulling tape and revealing nine little paintings.
I love the solitude at the end of the day.
The peace at the end of the day.
All but one in this class photo!

I have received such wonderful feedback from the artists in my class and I want to share two of the comments. Reading these inspiring and positive words make my heart swell and it is why I love teaching.

The first one from Carol:

I was so grateful to have had the opportunity to be a student in this class. It was amazing to meet Dayna in person, and to be present in her instruction. She provided a manual, many supplies, demos, readings, and many examples of her work in various stages. She was very engaged and provided such positive suggestions and constant energy. It was truly a great pleasure in an incredible setting. . . . I am still processing all that I learned and felt, and continue to feel so grateful. Thank you, Dayna.            Terri

Teaching at Sitka: Part 1

I had the privilege of teaching two classes at Sitka Center for Art and Ecology. The first, June 30-July 3, was in the smaller of the two studios at Sitka, Smith, and with ten students, it was the perfect space.

I taught two classes at Sitka, the first class was in the smaller, lower studio and the second class was in the spectacular upper studio, Boyden.

Because I was teaching two classes and they were back-to-back (I had the 4th of July off between the two classes), I got to stay at Morley House, which was a first for me. I loved this space!

This is where I got to stay for ten days: Morley House.

Now to the good stuff. The class. I could babble on about it, but instead I’m going to share photos – a fraction of the photos I took, but it gives a good look into our four days of art making. The group was talented, energetic, spirited, and hard workers — and they wanted to know if they could sign up for my 2023 class on the final day!

Brand new overalls! Soft fabric . . . and WHITE. I’m ready.
How I set up the oil paints I bring for the class to use.
A demo board.
Picking up supplies.
Pink+handmade holey paper = beauty.
Making room for a beautiful ring.
Just a beautiful blob of paint.
An old wallpaper roller I bought at a flea market in Europe years ago was a huge hit.
All the colors!
Working, working, working.
Blotting with tissue paper, lifting paint, and moving paint around.
Spreading and scraping paint.
Mixing oil paint with cold wax medium.
Such a strong use of color!
Another lover of color!
Carol experimenting with using a solvent to create drips.
A lovely example of a grid composition.
Regina and Liz confer.
Beautiful swaths of color.
Jill contemplates her next move.
My favorite stencil: circles.
Colorful, powerful, and fascinating example of a grid composition.

R&F Pigment Sticks – making a monoprint.
Selecting pigment sticks to try out.
A beautiful, finished painting. Carol started this one in a class with me a few years ago, brought it with her, and brought it to a beautiful finish.
Work in progress.
Encouraging and supporting each other.
Experimenting with drips!
I love the variety of color and marks in this series.
This is a monoprint of the original oil and cold wax painting (Marc let me have the monoprint and it is hanging in my studio).
Looking in . . . .
A beautiful series of magical marks.
Paintings drying in the courtyard,
Mini abstracts.
Ripping off tape to reveal small beauties.
Final day show and tell.

And then I rested.

A Behind the Scenes Look

What a thrill it was to hang my show at Guardino Gallery a couple of weeks ago. I always like behind the scenes photos, so I thought it would be fun to share the highlights of the hanging on May 25, 2022. My show partner, Nadine Gay, was there with her husband, and my husband/studio assistant/business manager showed up and did a bit of everything to help get the show hung. It took six of us four hours to get the whole show hung.

I did an earlier post about Howard’s hanging of my 25-piece grid made up of individual 8×8 inch pieces, and you can see that post by clicking here.

The show is up through June 28, 2022.

The Evolution of a Scavenged Painting


About ten years ago I discovered this 25×49 inch framed painting on canvas at a local Goodwill; I think I might have paid $25. I didn’t buy it for the painting, but as an inexpensive canvas to repurpose for my own art. The canvas got tucked away in our shed, and I forgot about it. Last year I rediscovered it and took a closer look. It was signed on the back by M. Runyan and it had been painted in 1985. I asked my artist friend Bonnie Hull, who is familiar with many artists in Salem over the years, if she knew of the artist, but the name didn’t ring a bell. So I decided I would give the painting a makeover. And as it turns out, another makeover, and then another until I was finally satisfied. For now, anyway.

I opened a big bucket of gesso and began covering erasing the six starred bottles (I kind of cringed and then cried a bit).

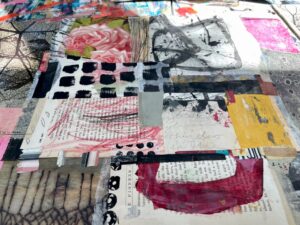
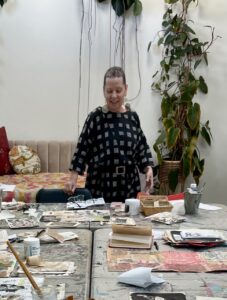
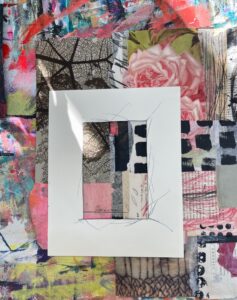
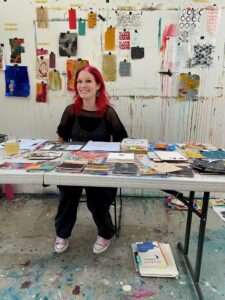
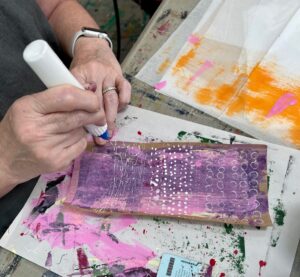
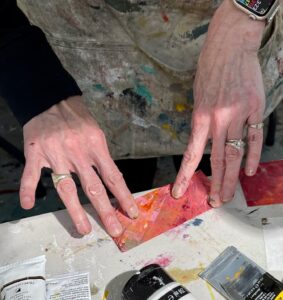
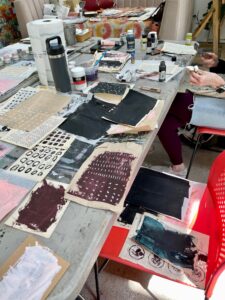
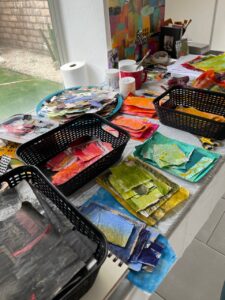
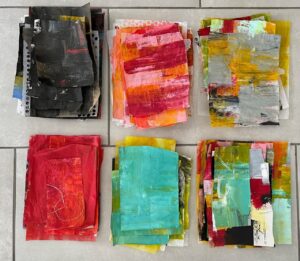
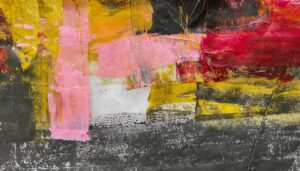
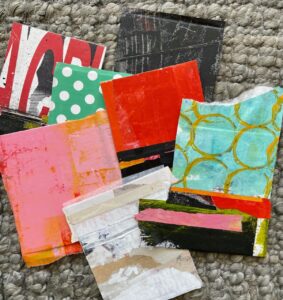
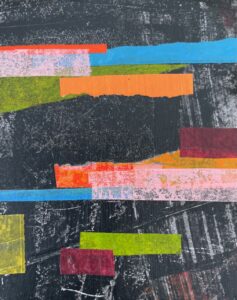
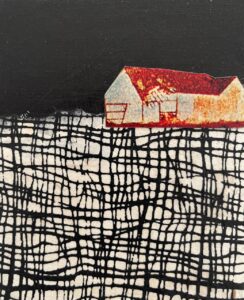
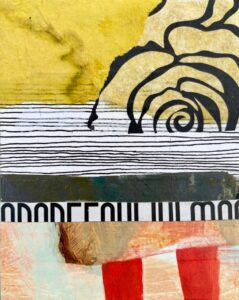
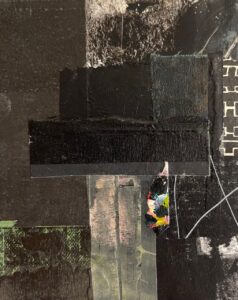
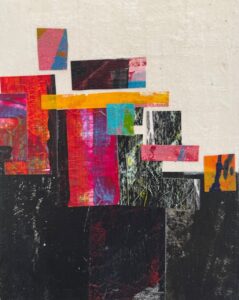
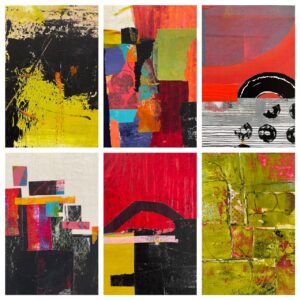
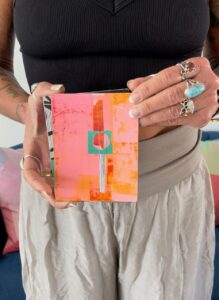
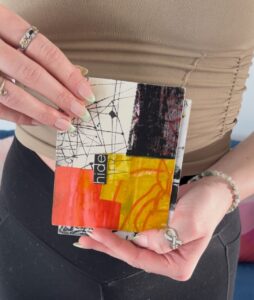
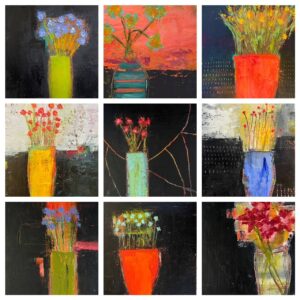
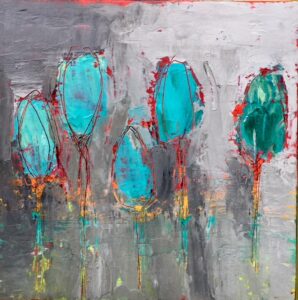
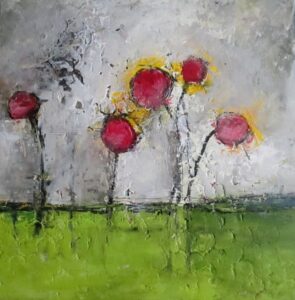
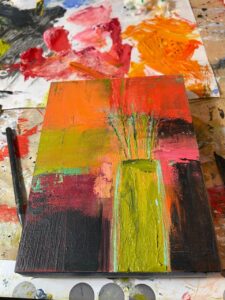
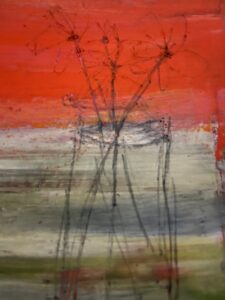
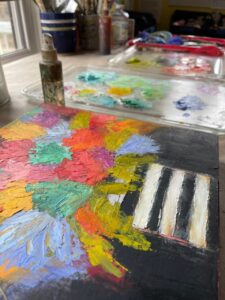
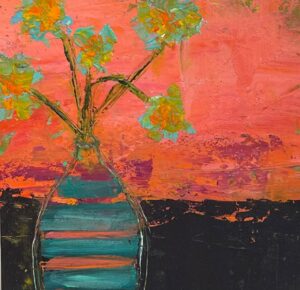
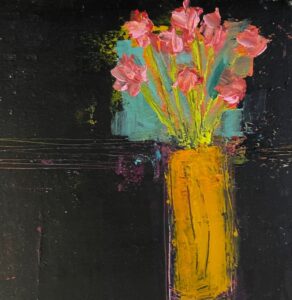
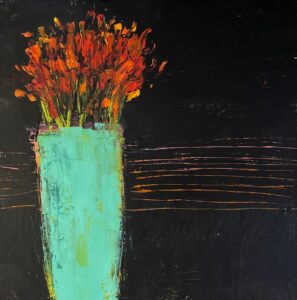
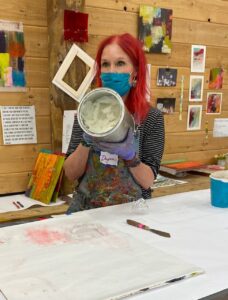
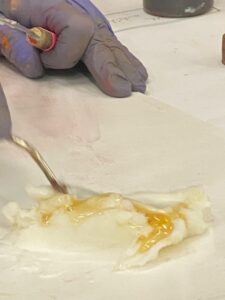
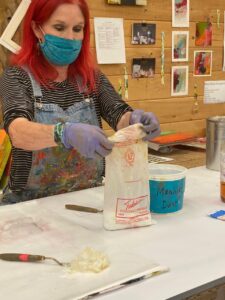
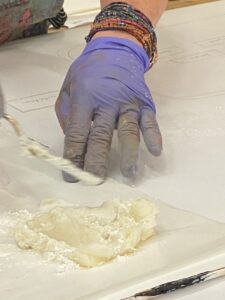
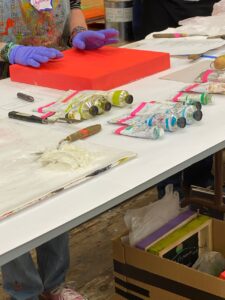
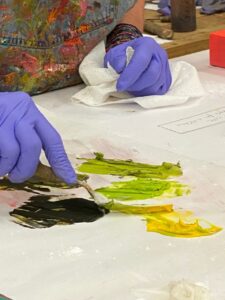
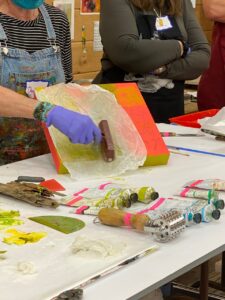
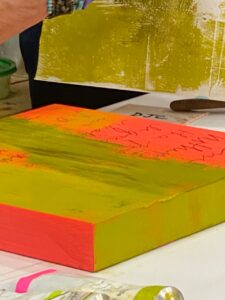
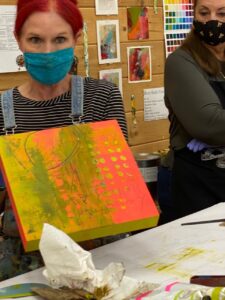
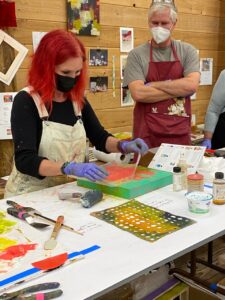
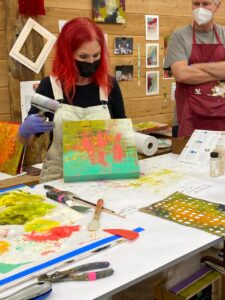
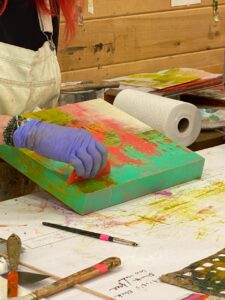
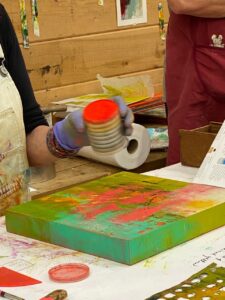
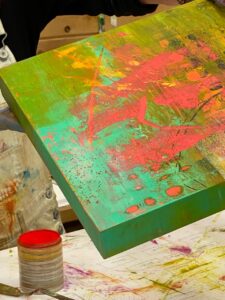
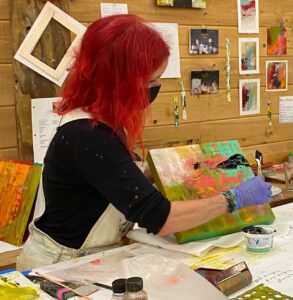
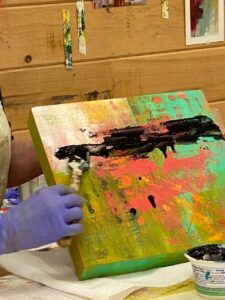
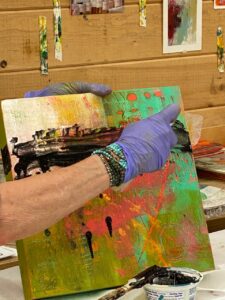
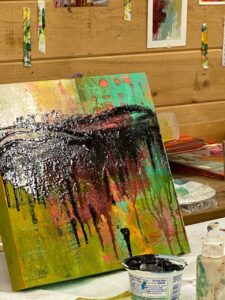
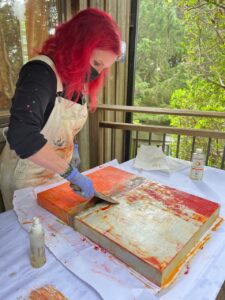
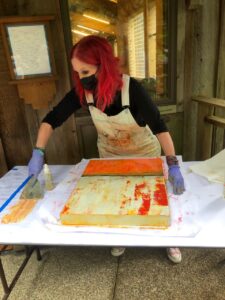
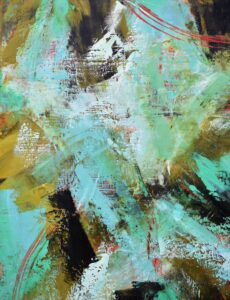
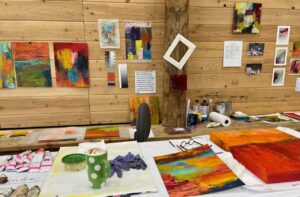
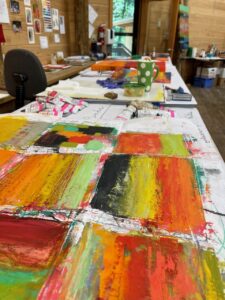
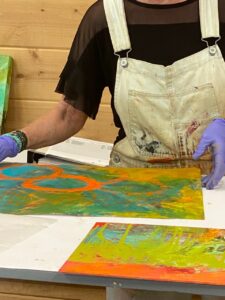
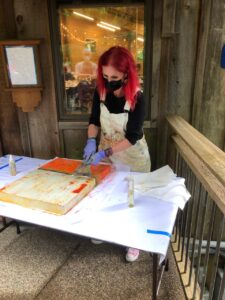
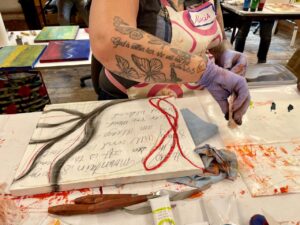
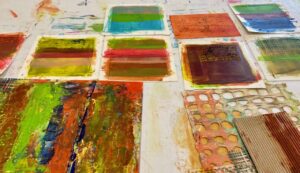
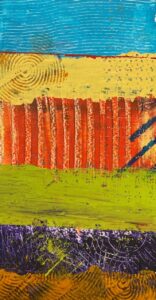
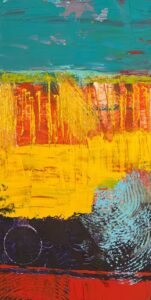
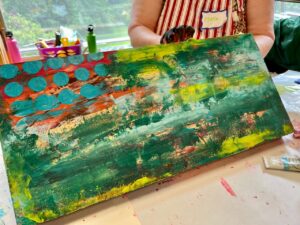
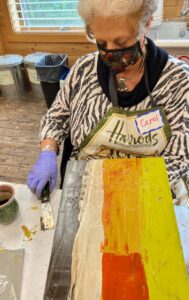
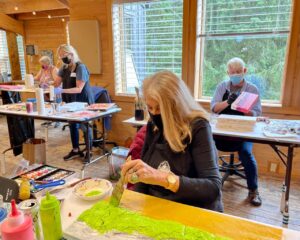
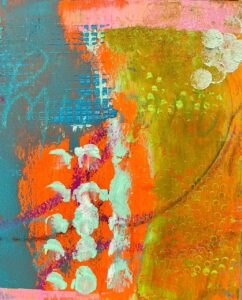
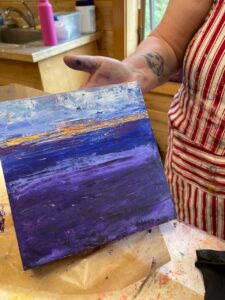
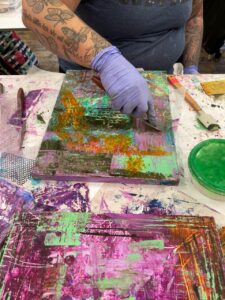
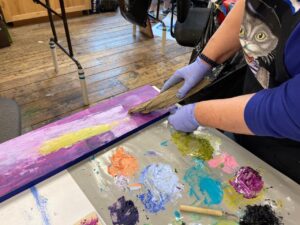
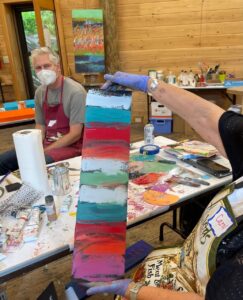
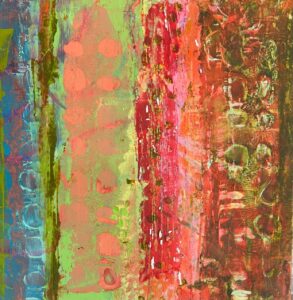
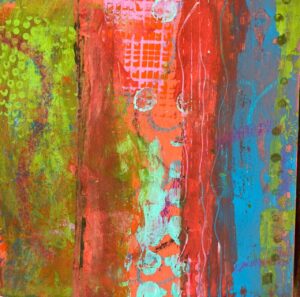
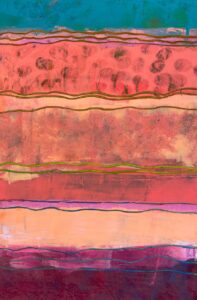
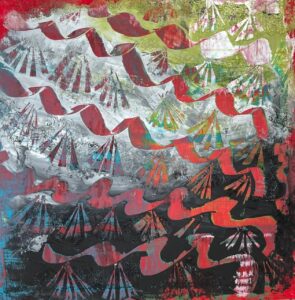
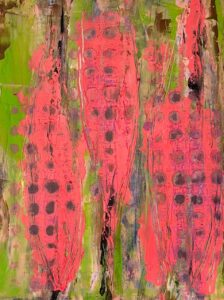
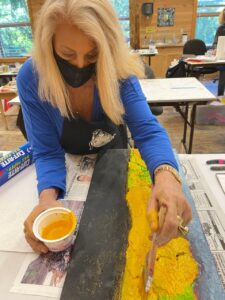
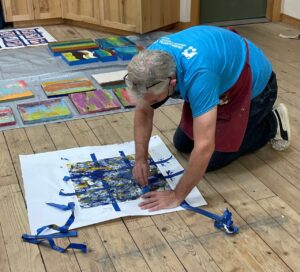
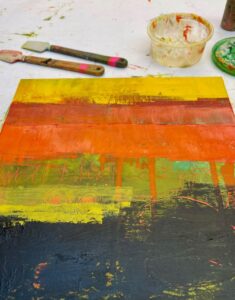
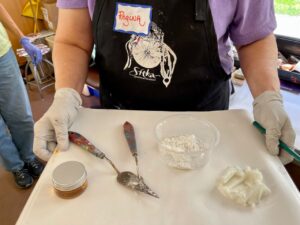
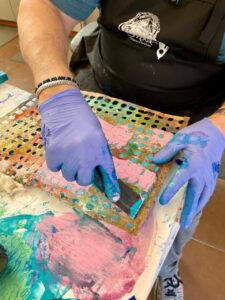
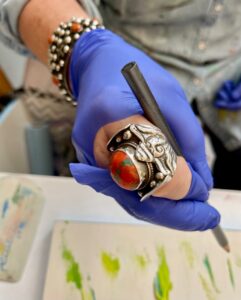
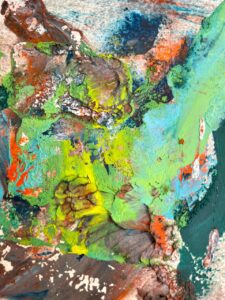
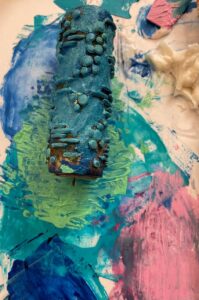
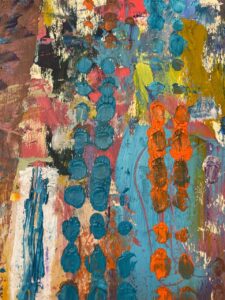
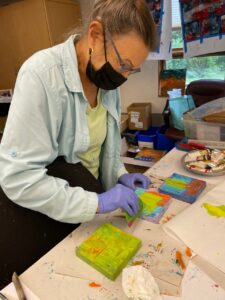
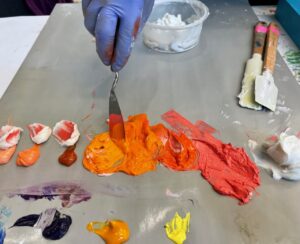
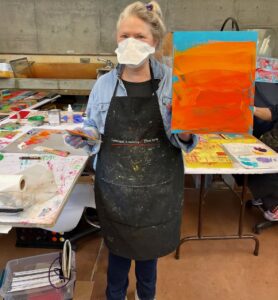
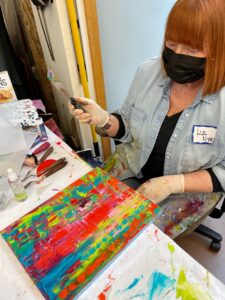
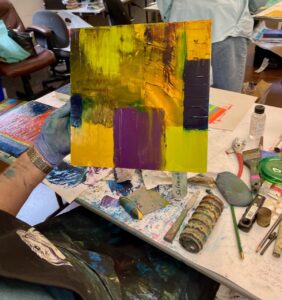
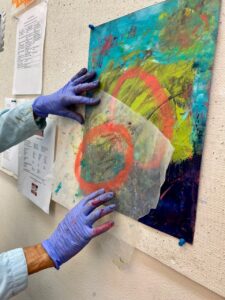
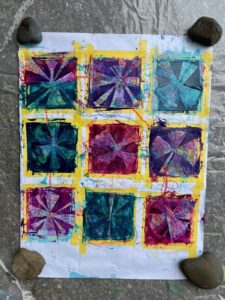
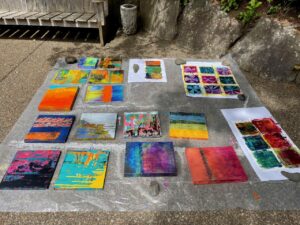
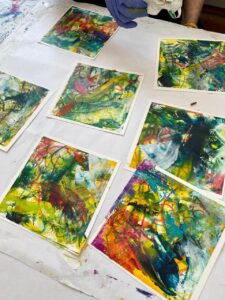
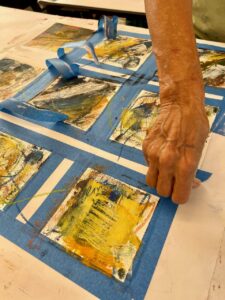
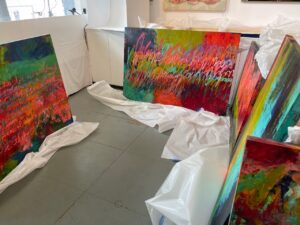
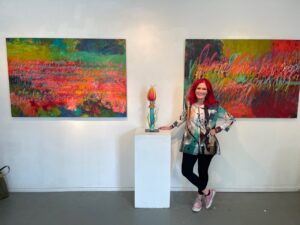
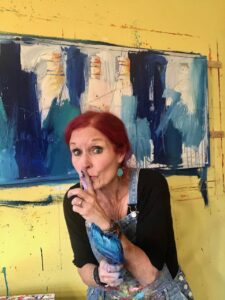
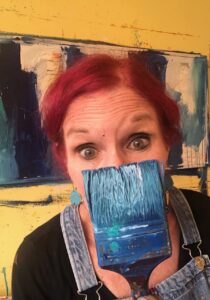
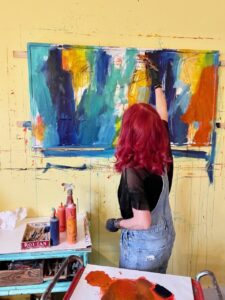
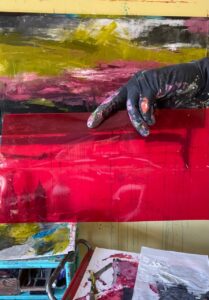
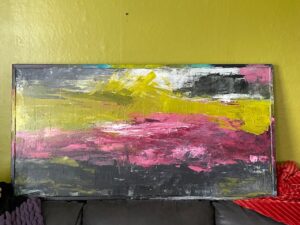
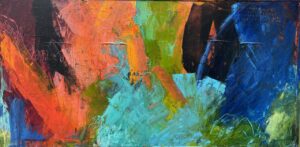
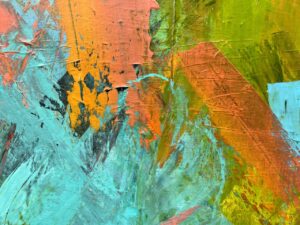
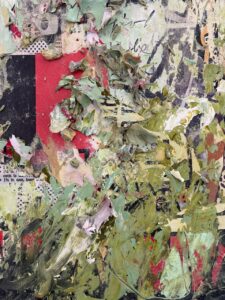
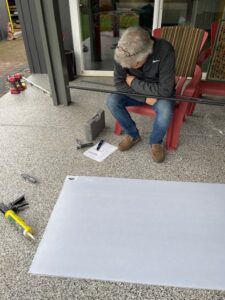
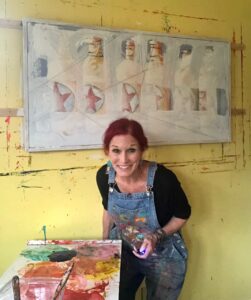
And then I began applying paint.

Life got busy and once again I abandoned this canvas. The bottles were gone, gesso applied, and some bands of color slapped on. Not sure where I stored the canvas, probably in the upstairs hallway, but it got tucked away until last July when I pulled it out again. This time I started adding swaths of black, green, pink, and burgundy.

It was at a stopping point and I hid it away again for many months. Until two weeks ago when we packed it into our car and drove to Astoria. I thought maybe it would look nice in our House of Color since we were in need of a piece of art above our couch.

Nope. It didn’t look good at all and I didn’t even like the painting anymore, so instead of dragging it home, I took it upstairs to my studio and painted some swaths of wild color.

It was fine, kind of fun, definitely colorful, but it lacked any kind of KAPOW, so back upstairs it went. I pulled out more paint, began spreading, scraping, and marking.

It was finally what I had wanted all along (but didn’t know what that was until it appeared). Here is the final painting and some close ups of different areas.

“A Courageous Act of Flamboyance,” 25-1/2 x 49-1/2 inches, acrylic on canvas, sealed with cold wax, and a painted frame, by Dayna Collins.

But guess what? I needed a big painting for Fogue Gallery in Seattle, so this finally finished pop of color piece of art will be heading north on Thursday and be on display and for sale just in time for the Georgetown Art Attack on Saturday, April 7.

And the wall above our couch is once again empty and in need of art.


TRACES: Band of Artists Collective

Finally, our long overdue and postponed group show, Traces, is now on view at the Salem Art Association Annex Gallery. During the two-year wait for things to reopen and get our show rescheduled, we changed our name from the Salem Art group to the Band of Artists Collective, but we’re the same group of talented artists. We’ve been plotting and planning for this show over the past few months, and got together in February to make final preparations (and take a very serious group photo). 

Band of Artists Collective, February, 2022.

The title of our show Traces, could be interpreted however we chose, but our group show statement explains it in more detail:

Like messages to the future and from the past, the traces of nine different paths converge here in the Annex Gallery this spring. As mark makers of varying sorts, these nine artists of the Band of Artists Collective use the indications of their existence as persons in their art work. An interest in superimposing experience, idea, image, and color onto canvas, paper, wood, and fabric is the shared language of any group of artists, this group included.

Artists understand the term palimpsest as way of reusing materials and ideas, of scraping an older work away while leaving a trace behind, a shadow, a nuance of an earlier idea. As women, as artists, as gardeners…as daughters and mothers and friends, we find the trace of others stamped on our minds just as we leave a shadow behind.

Although there is always a narrative somewhere buried in an artwork, it is less necessary to know each individual story than to sense the traces that appear in the work. Bring your own eyes to the work displayed here, perhaps finding a trace of communication. 

Earlier this week, art work was dropped off. The day I dropped off my work, Kay was dropping off her pieces and Robin was busily hanging Katy’s work, while Kathy was trying to keep track of all of the final details.

Fast forward to Thursday. I was out for my weekly walk with Joni, and we decided to swing by the Art Annex to see the show. It was so nice to walk into the space and have it to ourselves. It’s a stunning show.

Joni viewing the show

The work for each of the nine artists:

Katy Vigland
Nancy Eng
Kay Worthington
Elizabeth Bauman
Bonnie Hull
Jessica Ramey
Dayna Collins
Susan Napack

Salem Art Association prepared a beautiful color brochure, which includes a photo of everyone’s work along with individual artist statements.

Here is what I wrote for my Artist Statement – even before I had created my body of work.

Mixed media is often a wild goose chase down a twisted rabbit hole. It involves a series of what if questions and actions. What if I glued this down, drew a line over the top, added some paint, glued something else down, and then took a sander to it to reveal the first layer of collage, added more paint, then glued something else down, wrote with a wax crayon, then started over?

It is all a grand experimental mystery, which somehow all comes together one way or another. This project fits perfectly with my 2022 word of the year: RISK. I am taking a risk working in a new way, one I have been intrigued with for several years but somehow fear held me back: How can I cover a beautiful collage with paint? And yet covering it, excavating, concealing, and revealing is what I love doing and something I do in paint all the time.

Creating my mixed media pieces is a messy affair, a wild cacophony of cutting, tearing, drawing, gluing, painting, writing, scraping, sanding, layering, revealing, and varnishing. My pieces reflect my curiosity, playfulness, irreverence, and my love of texture, history, and a touch of surprise.

The opening reception was held tonight, it was a marvelous gathering of artists, art lovers, friends, family, and supporters.

With Kathleen Dinges, the curator of our show.

The show runs from March 4 – April 23, 2022.