Lexicon of Collage: Daily Project for 2023

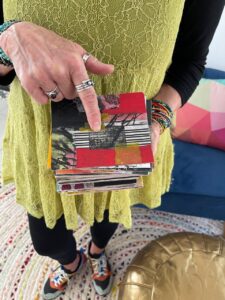
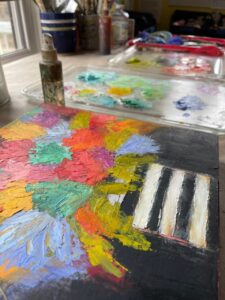
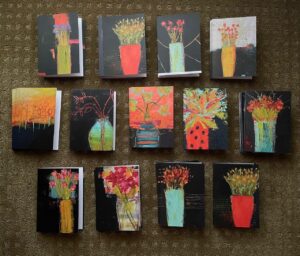
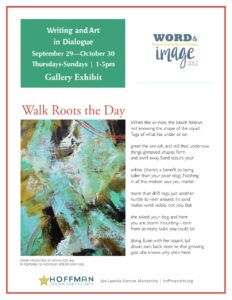
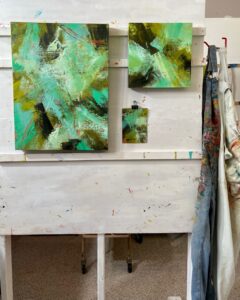
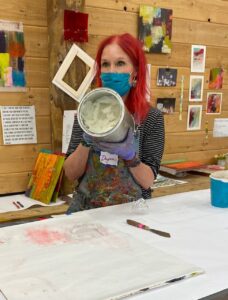
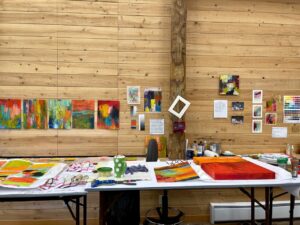
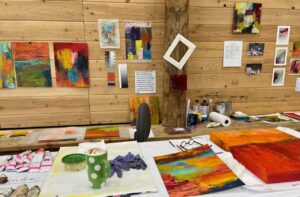
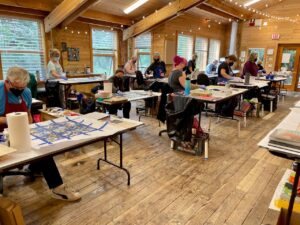
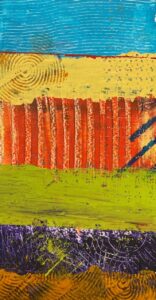
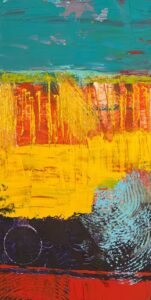
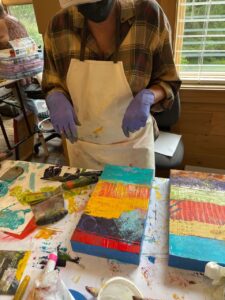
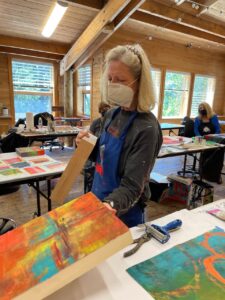
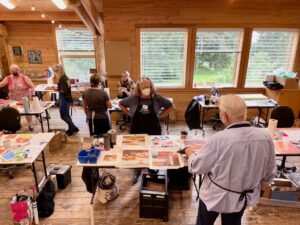
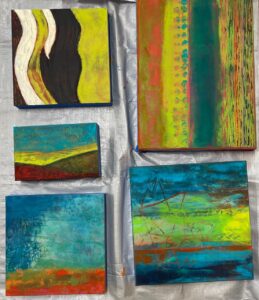
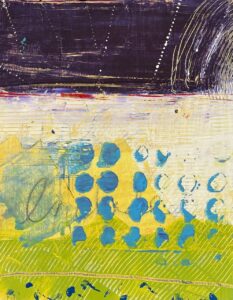
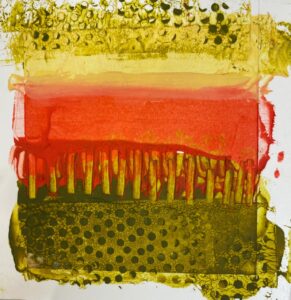
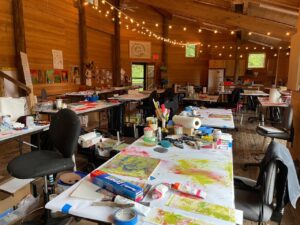
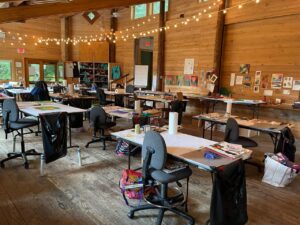
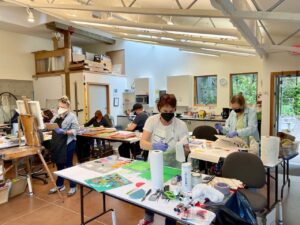
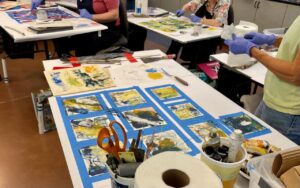
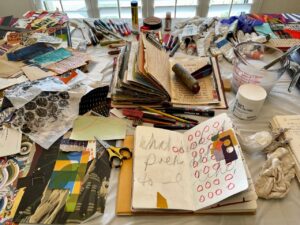
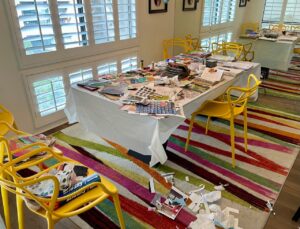
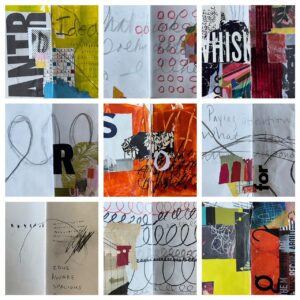
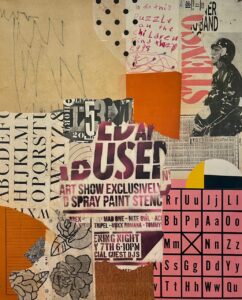
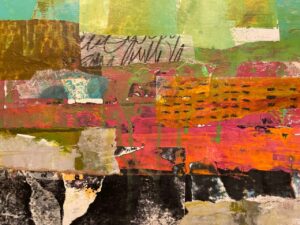
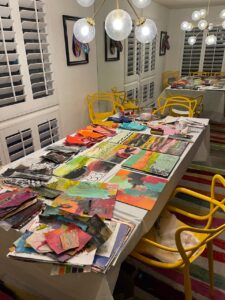
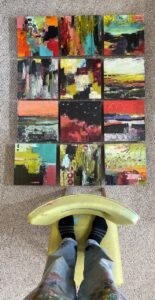
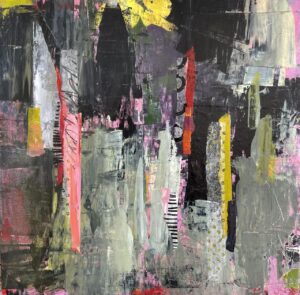
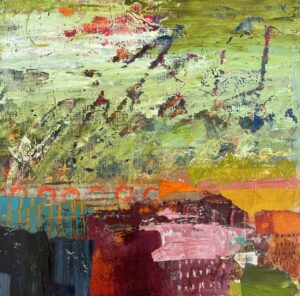
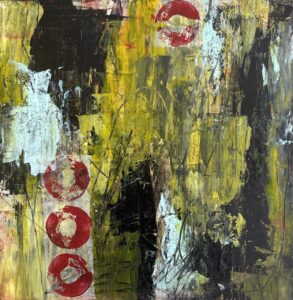
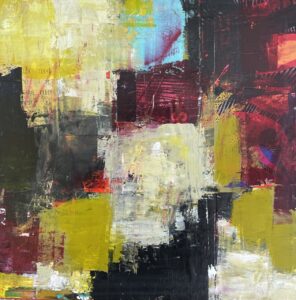
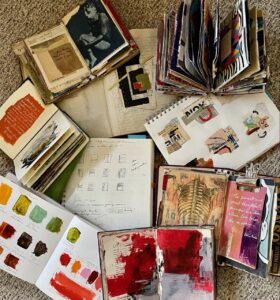
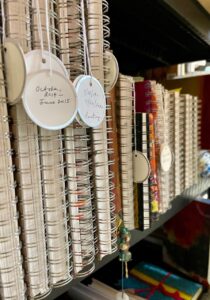
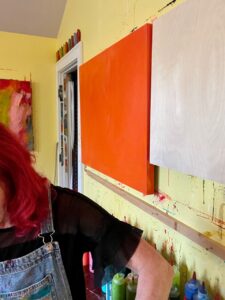
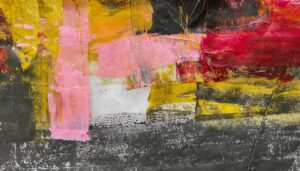
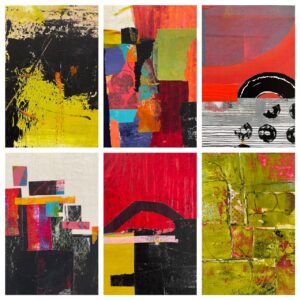
I love having a daily art project, something quick and easy and not too complicated. Having this type of project gets me into my studio, even on days when I only have a little bit of time or when I’m not feeling like painting or doing something big. Last year I kept a daily journal where I filled the pages with words, collages, and small paintings. One year I did a painting a day in a series of spiral bound journals. For this year, I am creating a collage each day and I have titled my project Lexicon of Collage. For my substrate, I am using matboard cut into 4×6 inch pieces (I ordered the matboard in a size of my choosing from Matboard and More, a company I have used for a lot of projects over the years).

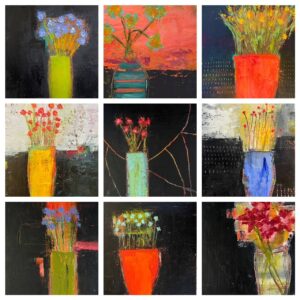
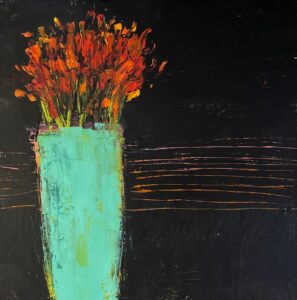
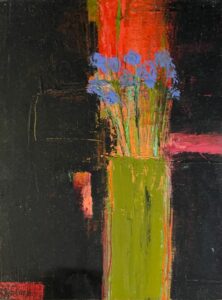
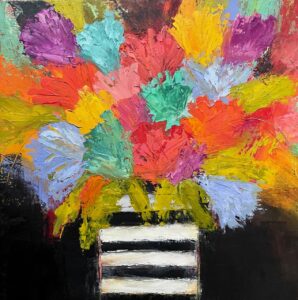
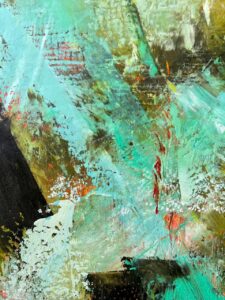
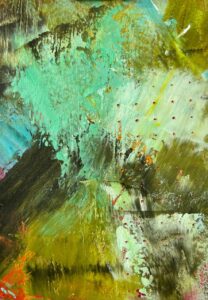
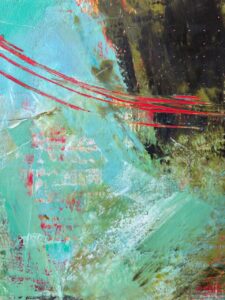
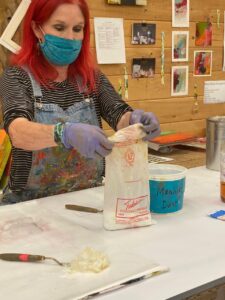
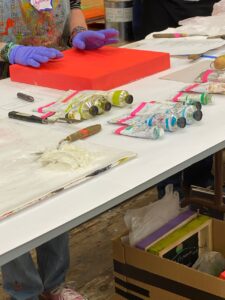
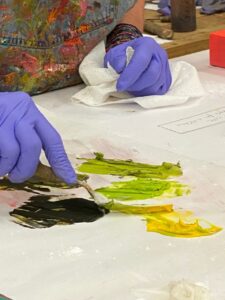
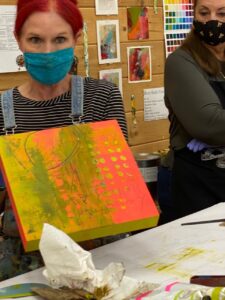
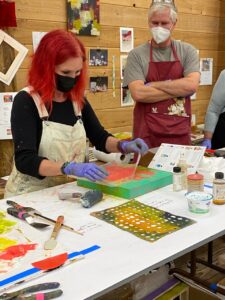
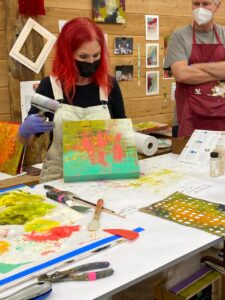
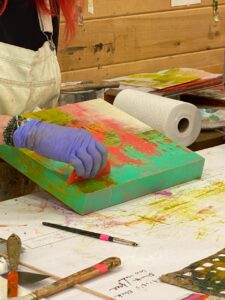
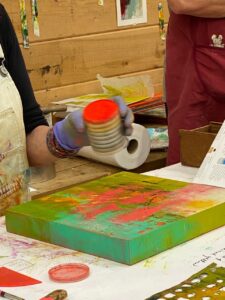
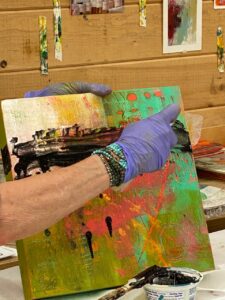
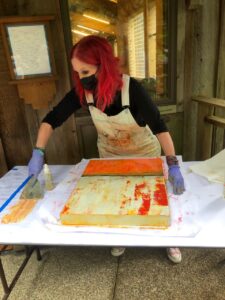
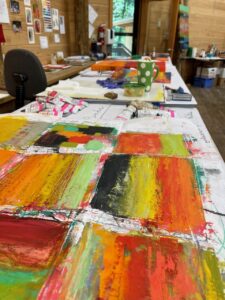
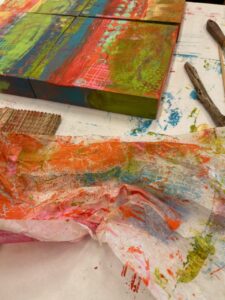
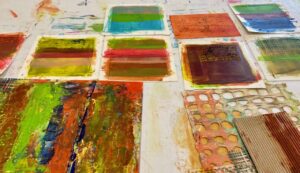
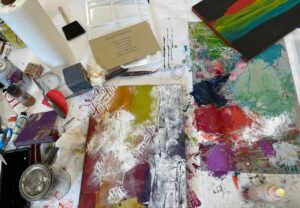
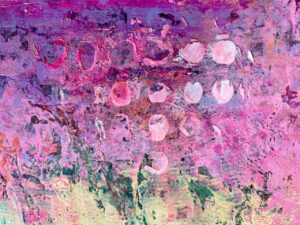
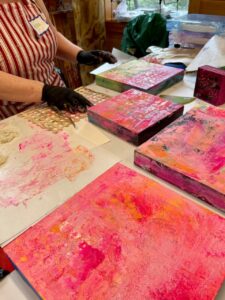
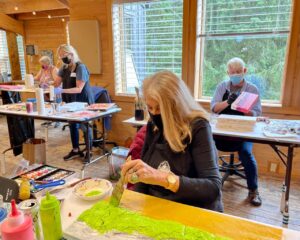
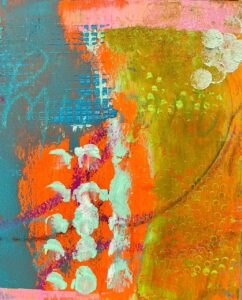
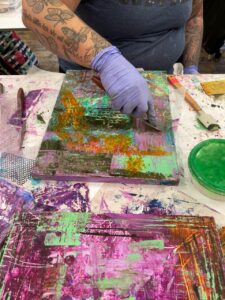
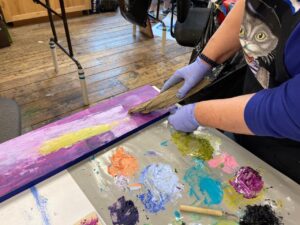
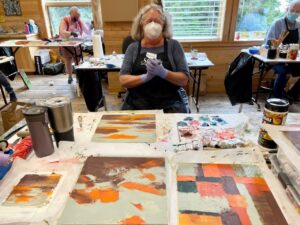
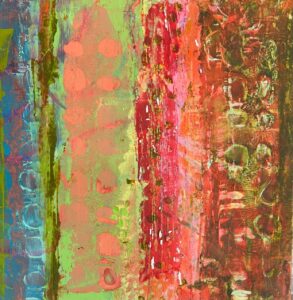
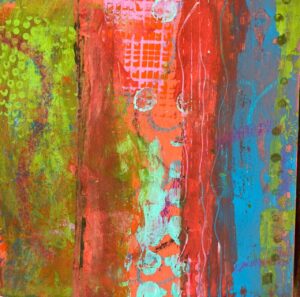
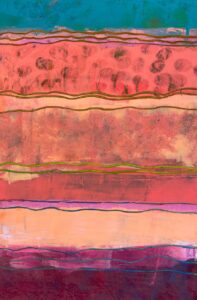
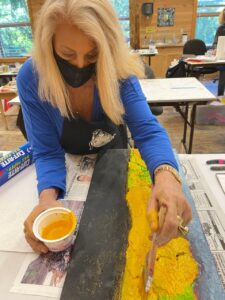
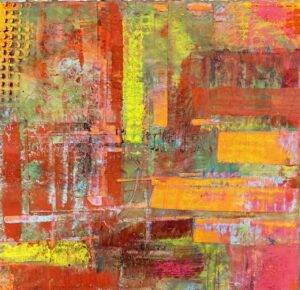
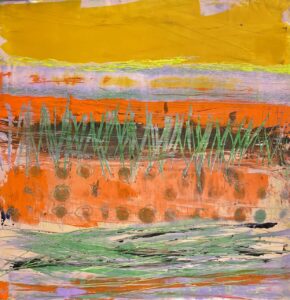
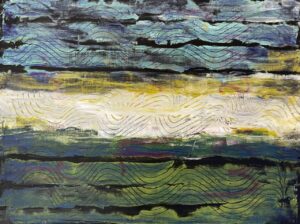
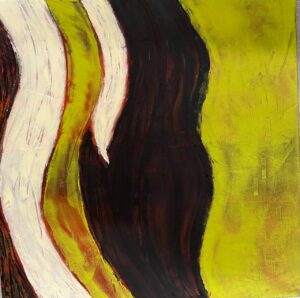
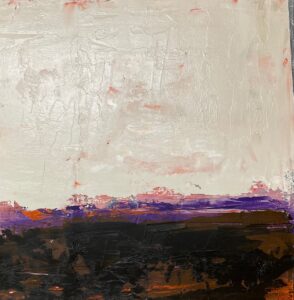
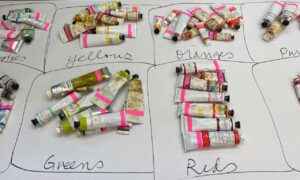
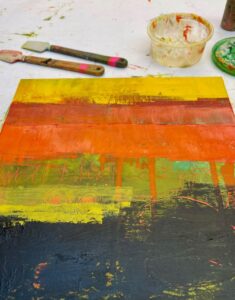
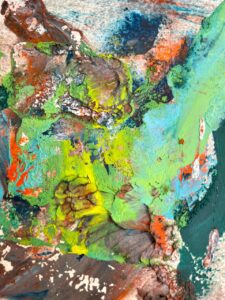
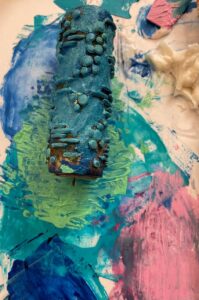
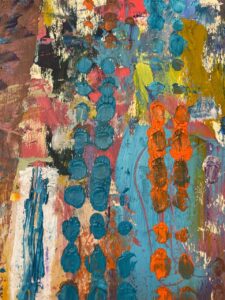
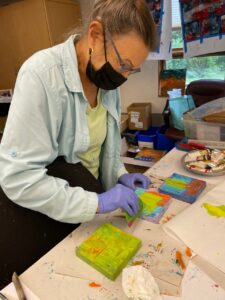
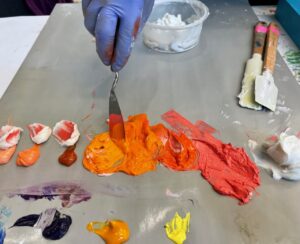
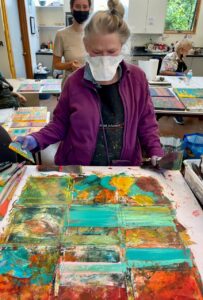
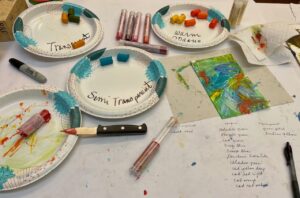
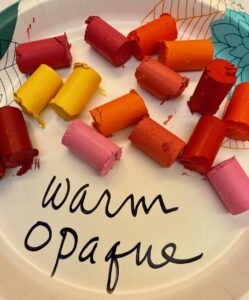
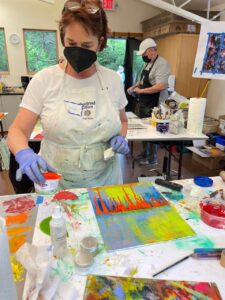
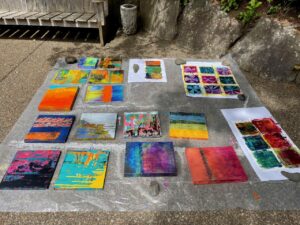
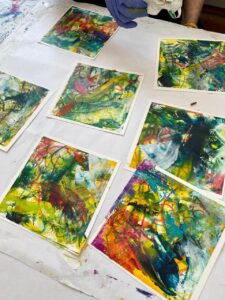
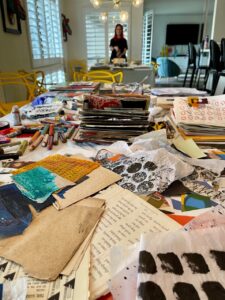
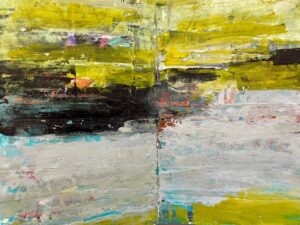
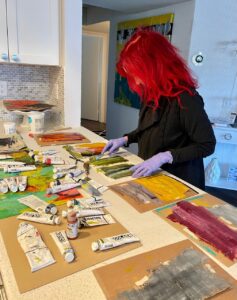
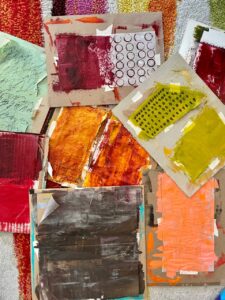
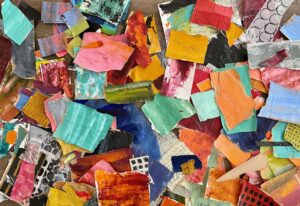
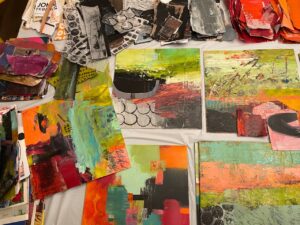
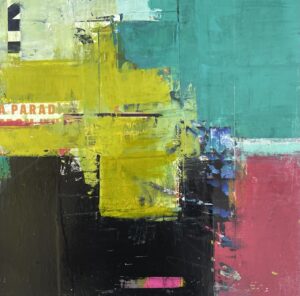
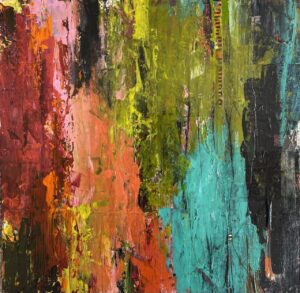
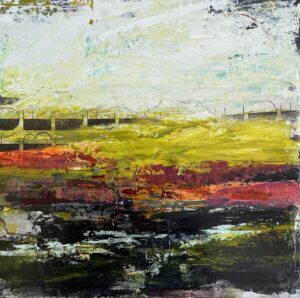
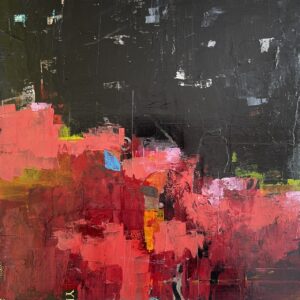
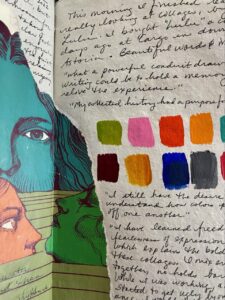
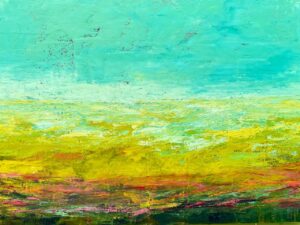
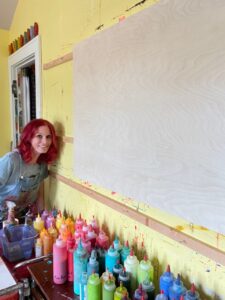
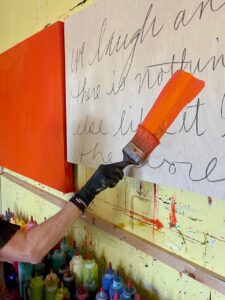
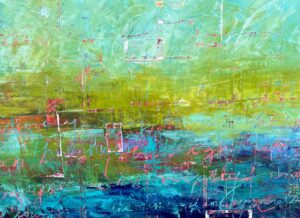
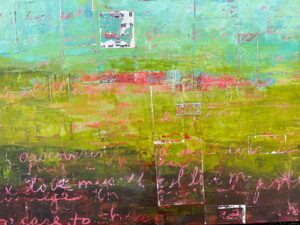
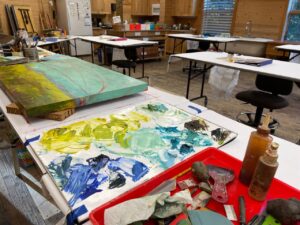
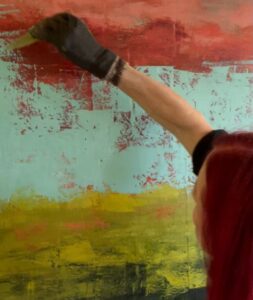
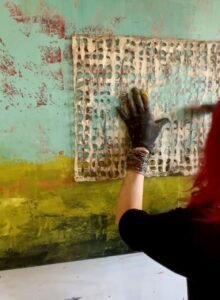
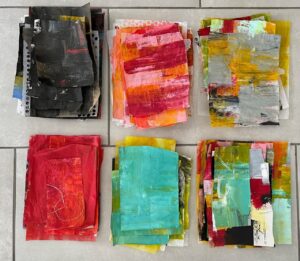
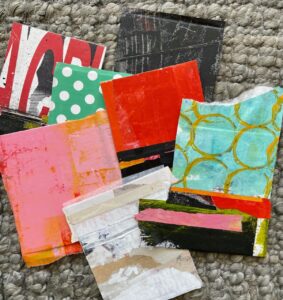
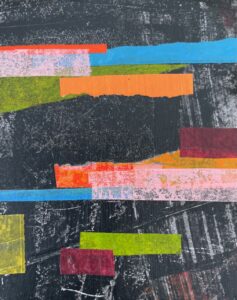
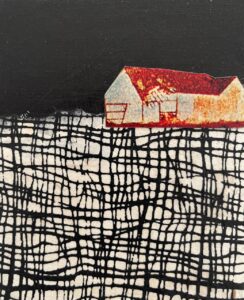
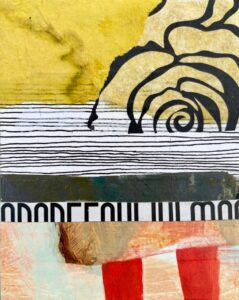
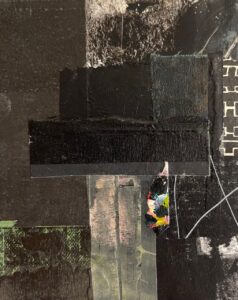
For most of the collages I make, I use pieces of my hand painted papers, which I create using acrylic paint on various papers, i.e., drawing, deli, tissue, and paper bags. I divide these papers by color, making it easy to find just what I need.

Stacks of my painted papers.
Stacks of freshly painted papers.
Painted paper for collage work.

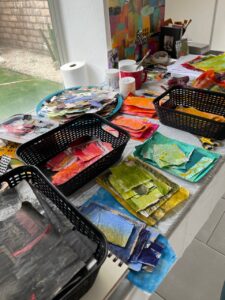
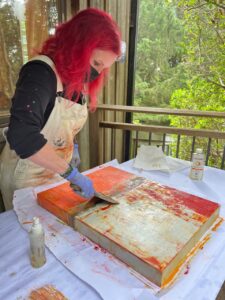
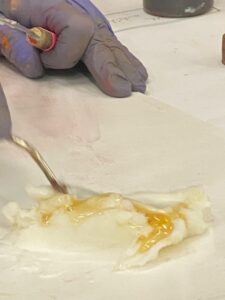
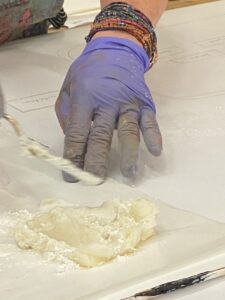
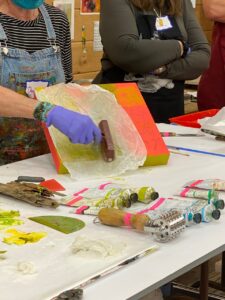
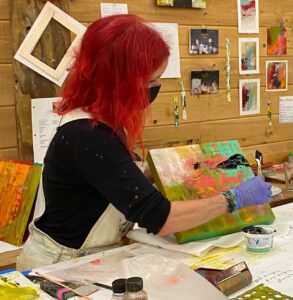
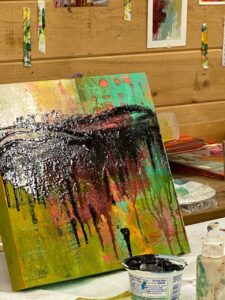
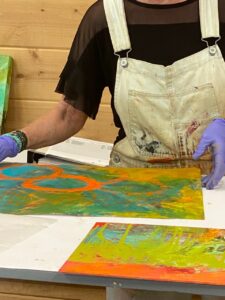
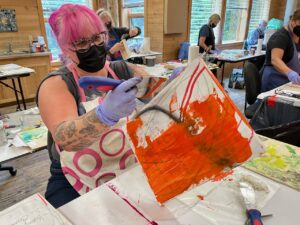
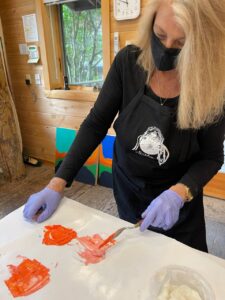
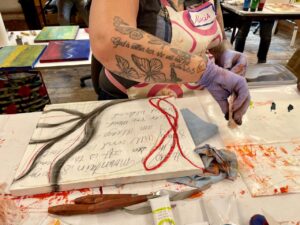
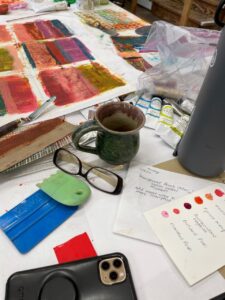
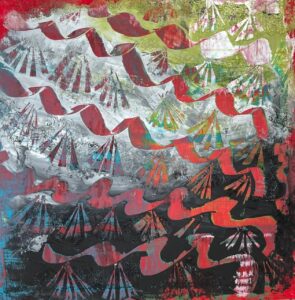
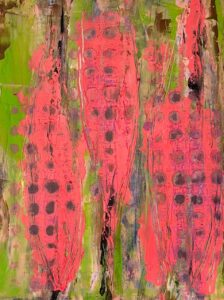
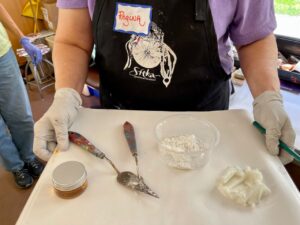
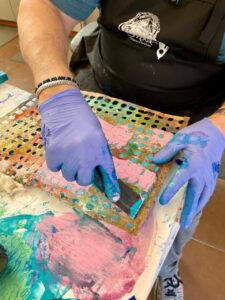
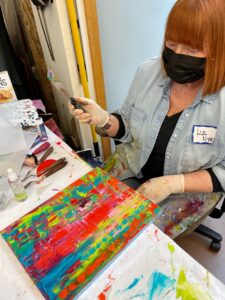
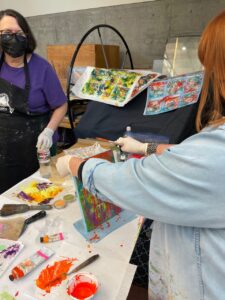
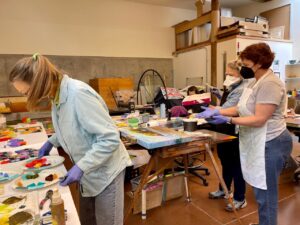
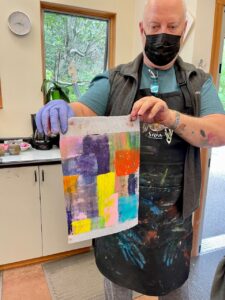
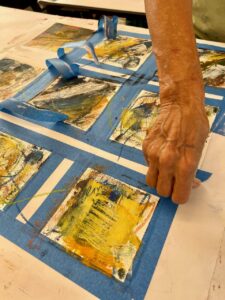
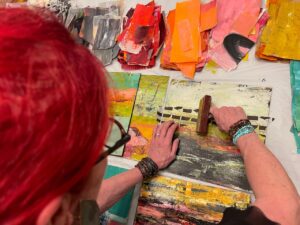
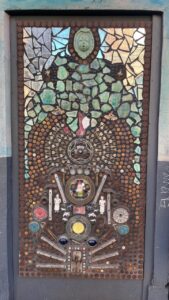
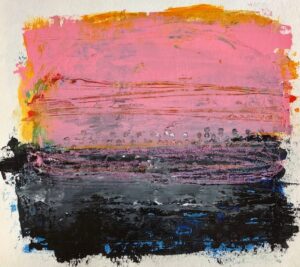
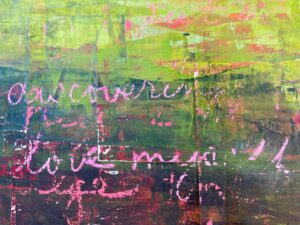
When I’m ready to create a collage, I reach for my painted papers, text and typography, bits of ephemera, scraps from old books, and random pieces of collected papers. I audition the papers and when I have a composition I like, I start gluing using Golden semi-gloss soft gel medium.

Laying out a grid collage and preparing to glue.

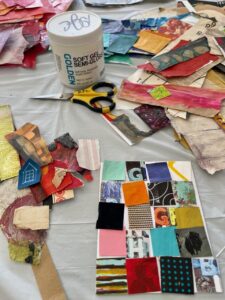
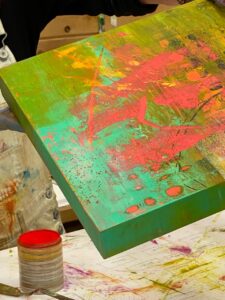
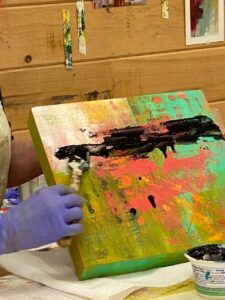
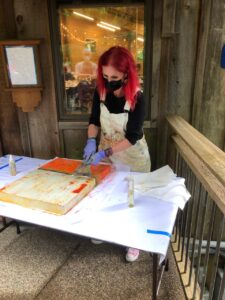
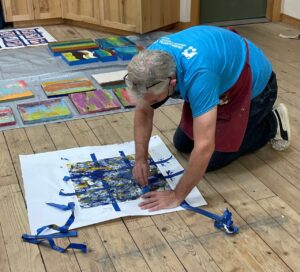
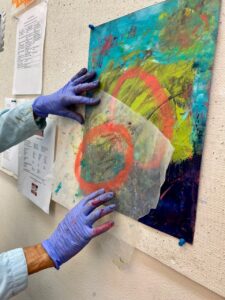
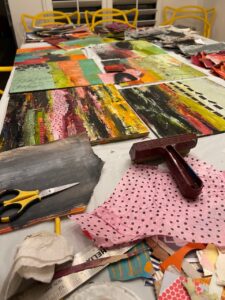
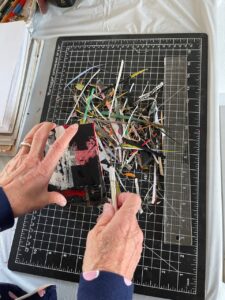
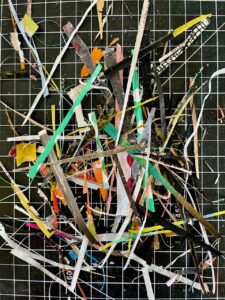
Once I have glued down my collage material, I place a piece of wax paper over the collage and then a stack of heavy books on top (or a bag of rice), and let it dry for several hours (or overnight). Once the glue is set, I often have raggedy edges that I like to trim using an Xacto knife. Once the collages are trimmed, I apply a thin coat of Golden’s semi-gloss soft gel medium, the same medium I use for gluing the papers.

Collages ready to be trimmed.
More trimming.
Trimming edges off of collages.
A beautiful pile of paper trimmings.

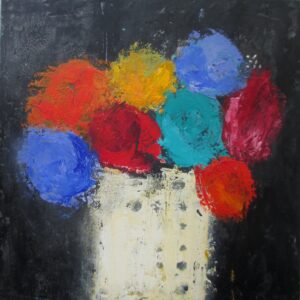
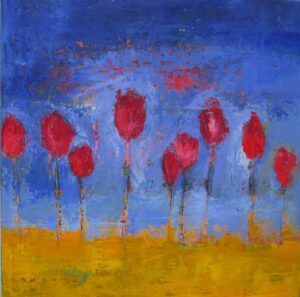
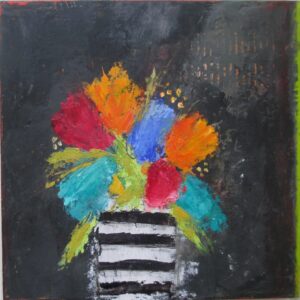
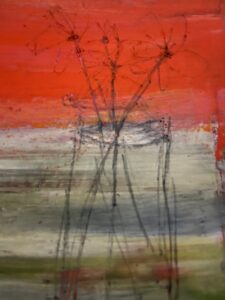
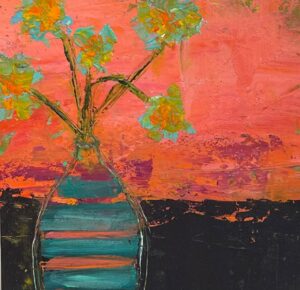
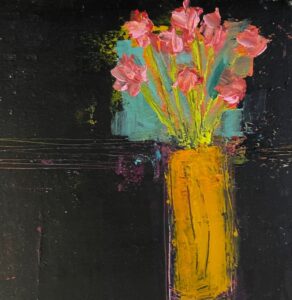
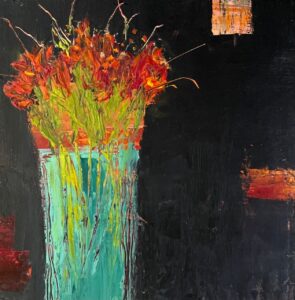
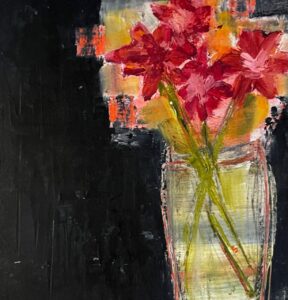
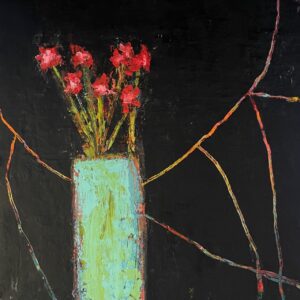
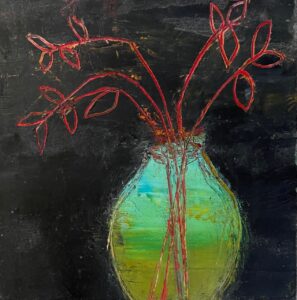
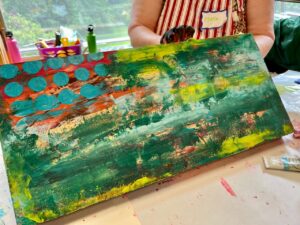
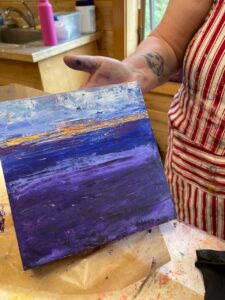
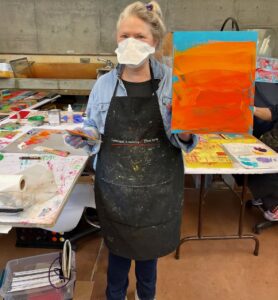
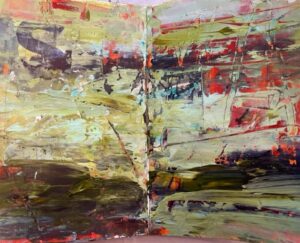
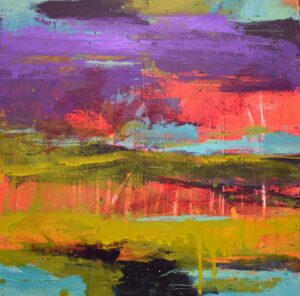
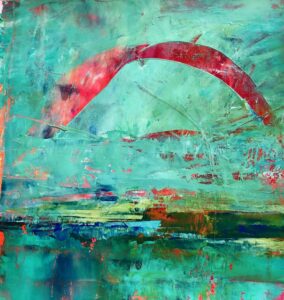
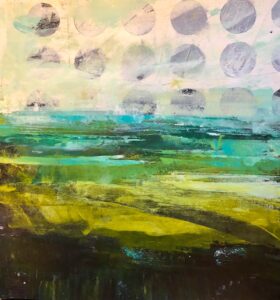
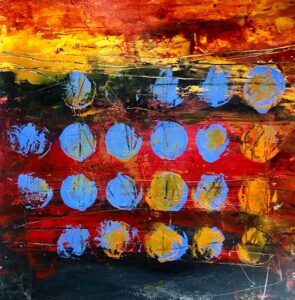
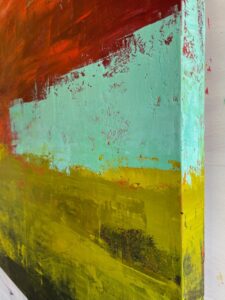
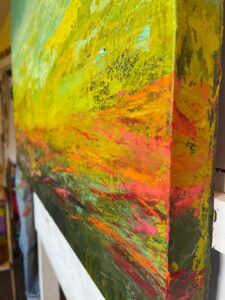
There are several benefits to having a daily project. As I mentioned above, this type of project gets me into my studio. But even more than propelling me to make art daily, it pushes me to experiment and play with a variety of compositions, unusual color combinations, and ways to create little pieces of art that hopefully take my breath away, that cause a gasp of delight, all the things that I want to happen in my bigger paintings. A bonus: I have already used some of my collages as inspirations for my paintings.

Completed collages.

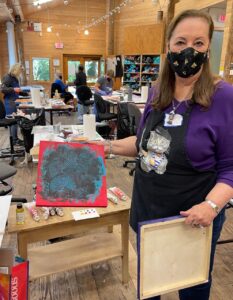
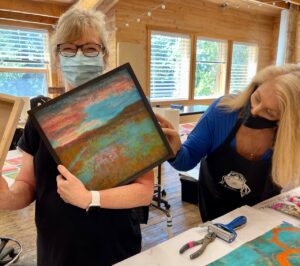
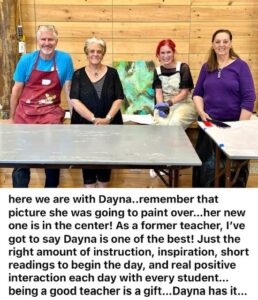
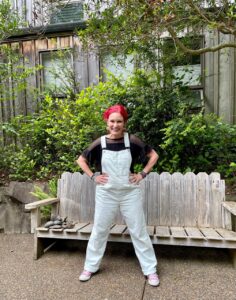
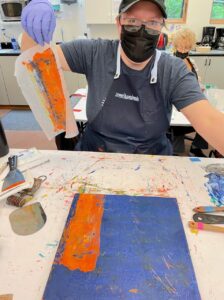
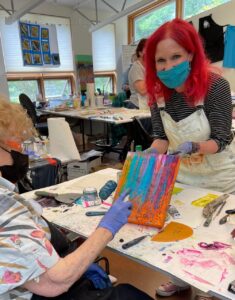
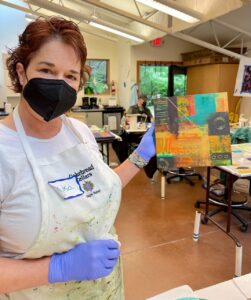
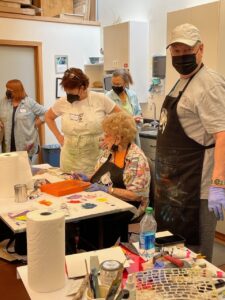
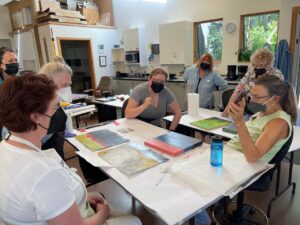
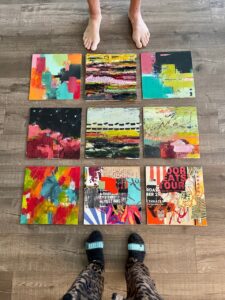
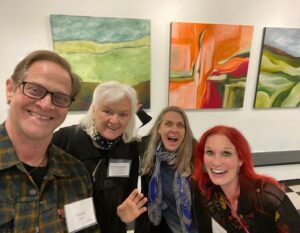
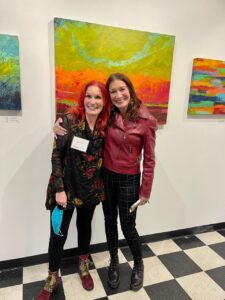
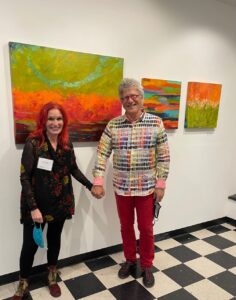
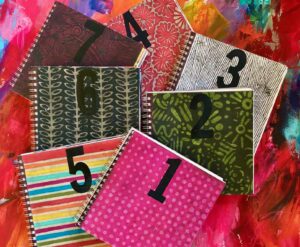
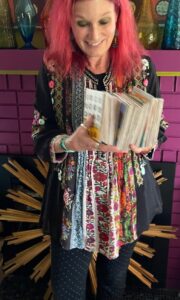
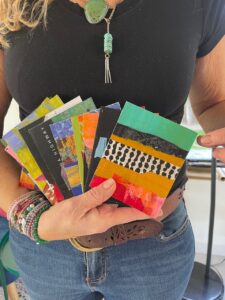
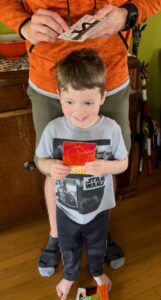
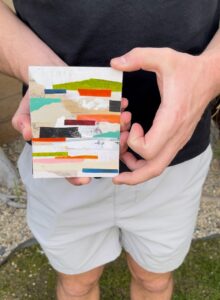
Another fun addition to this project is how I share my completed collages. About once a week, give or take, I share a grouping of collages I have created. I started inviting friends (and family) to be my guest collage flippers. I videotape my invited collage flipper and share the videos on Instagram. Here are some of my invited flippers.

Guest collage flipper: daughter Melissa.
Guest collage flipper: granddaughter Gabriella
Guest collage flipper: Elise Wagner.
Guest collage flipper: Stephanie Brockway
Guest collage flippers: son Scott and grandson Harrison.
Guest collage flipper: grandson Luke.

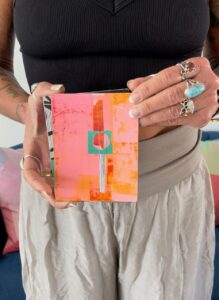
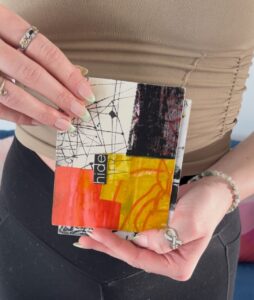
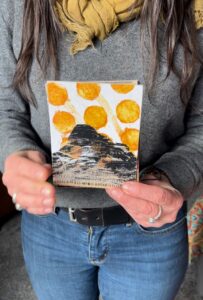
For more regular updates on this project, follow on me on Instagram where I regularly post videos of my guest collage flippers and/or sign up for my monthly newsletter, where I do periodic updates about my Lexicon of Collage project.

My stack of collages as of the end of February.

Abstracted Flowers

Somewhere during the past couple of months, I decided to revisit painting abstracted flowers. I was prompted to do this series when I was looking at paintings that weren’t working for me. That isn’t unusual, I often cover over paintings and create new compositions. But the idea of painting flowers sprang up when I decided to cover the old paintings primarily with black paint, leaving a hint of the underpainting, and creating a wonky vase of long-stemmed flowers.

I have painted flowers in a variety of iterations, and I always enjoyed what I created. These are some of the older paintings that have long since sold.

“Stunning Ferocity,” by Dayna Collins
“The Absurdity of It,” by Dayna Collins
“According to Sylvia Plath, the tulips are too excitable,” by Dayna Collins
“Echoes of Summer,” by Dayna Collins
“According to Sylvia Plath, the tulips should be behind bars,” by Dayna Collins

Fast forward to my current series. Many of these new paintings are 6×6 inches and were created for the Small Works show at Salem on the Edge. They proved to be popular, and most of the flower pieces sold within the first few days of the show. It was such a heartwarming affirmation of doing this new body of work. Here is a peek behind the scenes of my process:

And then photos of some of my new work:

“Hiding Places,” 6×6 inches, oil and cold wax on cradled panel, by Dayna Collins
“Ultimate Serenity,” 6×6 inches, oil and cold wax on cradled panel, by Dayna Collins
“Faintly Lit Night,” 6×6 inches, oil and cold wax on cradled panel, by Dayna Collins
“Avalanche of Thoughts,” 6×6 inches, oil and cold wax on cradled panel, by Dayna Collins
“An Oasis of Quiet,” 12×12 inches, oil and cold wax on cradled panel, by Dayna Collins
“Wondrous Generosity,” 6×6 inches, oil and cold wax on cradled panel, by Dayna Collins
“The Blur of Memories,” 6×6 inches, oil and cold wax on cradled panel, by Dayna Collins
“Wild Anticipation,” 12×12 inches, oil and cold wax on cradled panel, by Dayna Collins
“Familiar and Comforting,” 6×6 inches, oil and cold wax on cradled panel, by Dayna Collins
“Howling Joy,” 6×8 inches, oil and cold wax on cradled panel, by Dayna Collins
“Vibrancy and Optimism,” 12×12 inches, oil and cold wax on cradled panel, by Dayna Collins

There are a few abstracted flower paintings on my website, which you can find by clicking this LINK.

Because I loved these flowers so much, I had notecards printed so I can write thank you notes to those who purchase my paintings.

New notecards!


Word and Image: Writers and Artists in Dialogue

The Word and Image show is one of my favorite projects and it took place last month at the Hoffman Center for the Arts in Manzanita (on the Oregon coast). This event occurs biennially, and I was fortunate to have participated in 2020, so I was eager to apply for 2022. The process for the show goes like this:

Artists and writers are invited to submit samples of their work; artists submit three art images and writers submit three poems/short stories. The jury then chooses 12 artists and 12 writers. A pairing event is held where an artist’s name is pulled from a hat, then a writer’s name is pulled from a hat, and voila! those two are partners. The artist choses one of the three writing entries and creates a new piece of art in response to the words, likewise, the writer choses a piece of art from those submitted and writes a poem or short story in response. This new work is submitted electronically so beautiful broadsides can be printed and a book prepared and published.

MY PAINTING PROCESS

I chose to use an 18×28 inch cradled birch panel. I prepared it with acrylic paint, a layer of plaster, more acrylic paint to seal the plaster, and a couple layers of oil and cold wax. This was all the preparation to begin painting in response to the writer I was paired with, Simeon Dreyfuss. I chose Simeon’s poem, Walk Roots the Day as the piece I was using for my responsive painting. When the initial layers of my prepped board were completely dry, I wrote Simeon’s poem across the surface of my board.

I wrote Simeon’s poem on the surface of my board to incorporate his words with my paint.

I began adding layers of paint, looking for the poem to emerge.

An early layer.
Another early layer.
I used my painting for a demo when I was teaching at Sitka Center for Art and Ecology this summer. The demo was how to scrape off paint!

After layers of paint, and scraping off a layer, I worked on this piece when I wasn’t teaching at Sitka Center for Art and Ecology – either early in the morning, or in the evening after my students had left for the day. It seemed appropriate to be painting this piece while I was at Cascade Head on the Oregon coast.

I played around with this design and color idea by painting a small piece on paper and a 12×12 inch piece on a cradled panel.
Close up.
Close up.
Close up.
Close up.
The finished piece.

THE SHOW

Art was delivered to the gallery, art and broadsides were hung, an online reception was held, and a beautiful book was published.

The beautiful book that captures the work.
Two-page spread in the Word and Image book.
Opening reception via Zoom.
Opening reception: Simeon’s words in response to my painting, “Everything Feels Different.”

THE VISIT

The show!

A HAPPY POSTSCRIPT

As I was working on this blog post, I took a break to welcome Paula Booth into my home. Paula is a professor of art at Western Oregon University and also curates the art at two northwest hotels, The Dundee and The Independence. I am fortunate to have art at both hotels and we had made arrangements for Paula to come to my house to view my available work to change out some of my pieces at The Independence. I had just picked up Storm Mounting from the Hoffman Center for the Arts, and so it was one of my available pieces. Paula was excited to include this painting in the group of paintings she selected.


An Oil and Cold Wax Technique Pictorial

A gallon can of Gamblin’s Cold Wax Medium.

I am frequently asked about how to work with oil paint mixed with cold wax medium, especially on Instagram (you can find my Instagram at DaynaLovesArt). When I post videos of my process, I get a lot of interest and questions. Since I recently taught two four-day workshops in oil and cold wax at Sitka Center for Art and Ecology, I thought I would post a series of photos of the process. Thank you to several of my students for taking photos and generously sharing them with me.

Mixing Gamblin’s Cold Wax Medium with their Galkyd (which helps speed the drying time).
Pulling out a bag of Fedrix powdered marble dust.
Mixing marble dust into Gamblin’s Cold Wax Medium and Galkyd. The marble dust acts as another agent to speed the drying time. It can also be used to thicken the consistency of the cold wax.
Ready to mix paint!
Mixing oil paint with the cold wax mixture. I mix 50/50: 50% oil paint with 50% cold wax medium (with the Galkyd & marble dust already added).
An early demo of applying oil and cold wax mixture to the painted cradled panel. I am using a flexible metal putty knife from the hardware store.
Using a brayer and wax paper, I am “lifting” paint and creating irregular texture on the surface of the board.
Applying a nice layer of paint to the painted surface (with words added before the paint). I then lay down a piece of wax paper to lift some of the paint to create interesting texture.
Showing the demo board with some of the techniques: applying paint, applying paint with a stencil, removing paint with a stencil, making marks.
Using wax paper to “lift” paint (and then that lifted paint will be applied to a different work in progress to move the orange paint around).
Using a brayer to apply a thin veil of white oil and cold wax (in the upper right corner) over dry oil and cold wax paint.
Applying a thin layer of cold wax in preparation for adding flecks of Pan Pastel.
Applying flecks of Pan Pastels using a small palette knife to scrape a tiny bit of the pastel onto the surface; a thin layer of cold wax applied so the flecks of pastel will adhere.
Tiny little flecks of red pastel add fun interest. Once the flecks have been added, I use a piece of wax paper over the surface and then brayer over the wax paper to embed the pastel.
Applying a layer of thinned out oil and cold wax (thinned with Gamblin’s Gamsol, oderless mineral spirits).
Spreading out the oil and cold wax with added Gamsol to thin out the paint mixture.
Spraying Gamblin’s Gamsol to thin out the swath of oil and cold wax to create drips.
The drips.
Scraping off a layer of oil and cold wax using Citra Solv and a metal putty knife.*
Wiping paint from putty knife onto paper.
Any questions?!?

A beautiful comment from Angela, who has taken my class several times:

It was amazing to see you obliterate a piece, reveal fabulous lower layers and ultimately create your incredible composition. Seeing you do this in class was huge? The lesson in itself was the best possible, teaching us more by showing, creating and telling us your thoughts throughout.           Angela

*This demo piece went on to become this painting:

“Storm Mounting,” the piece I created for an upcoming show, which I will be writing about soon.


If you are interested in more information about what I’m doing, books I recommend, techniques, shows, workshops, etc., please subscribe to my monthly newsletter by clicking HERE. In my September newsletter I will be sharing about my recent Personal Art Retreat, all the work that goes into creating art behind the scenes and sharing about the book Creative Authenticity.


Teaching at Sitka: Part 2

After my first oil and cold wax class at Sitka Center for Art and Ecology concluded on July 3, the staff at Sitka lugged all of my stuff from Smith Studio up to the larger Boyden Studio. I spent the evening getting set up for my second class. I love preparing the studio for teaching.

Evening of July 3: all set up for class to begin on July 5.

I spent July 4th enjoying the quiet of the Sitka campus. The office was closed, and no one was around, so I wandered, rested, and puttered in the studio. On July 5th, I was ready for the artists to arrive.

Distance view. I have three big tables to work on.
My working and demo space.

Like my last post, Teaching at Sitka – Part I, I feel that photos tell the story better than any words that I cobble together. I’ve made comments on each of the photos, so it tells a bit more about the week than just sharing the photos. But I will say, this group was hardworking, productive, energetic, talented, and supportive of each other. All the ingredients for a fantastic workshop.

Side view of my space.
So many techniques to share.
Demo using solvent to scrape off paint.
Getting paint on the boards.
Everyone deep into the process.
Tissue for blotting.
Mixing up paint.
Words matter.
A table of work in progress.
Work in progress.
From above.
Love the swaths of color, interrupted by marks.
An active scene.
A glorious pile of paint.
Work in progress.
Spreading swaths of thick, juicy paint.
Work in progress. Done? Perhaps.
Pink! Work in progress.
More pink! Yes, please.
Early layers.
Work in progress.
Hard-working class.
A lovely, abstracted landscape.
Scraping a grid composition.
Using wonky chunks of driftwood to make wonky marks.
Lunch in the courtyard.
Painting. Layering. Scraping. Contemplating.
More dots and such a great example of complementary colors.
We all thought this piece would make a fantastic album cover!
Framing discussion.
Margaret and her beautiful series using a limited palette.
I’m crazy for stripes and swaths of color – Carol nailed it.
I wanted to call this a “Carnival of Color,” but that’s just me.
More bands of color and marks.
An active workspace.
So many ways to apply paint and make marks.
Sharing work.
A thematic series of work.
Such crazy and unique marks.
Work in progress.
I love the collegial nature of a class.
Applying paint to a very textural and three-dimensional piece.
A vibrant series of work.
I’m always crazy for dots.
An excellent example of a strata composition. And then there’s the color . . .
A successful and colorful grid.
Work in progress. Done? Hope so.
An energetic work in progress.
A beautiful series of lines, marks, and colors.
Such sexy curves.
A lovely and simple abstracted landscape.
A thematic series of work.
Pulling tape and revealing nine little paintings.
I love the solitude at the end of the day.
The peace at the end of the day.
All but one in this class photo!

I have received such wonderful feedback from the artists in my class and I want to share two of the comments. Reading these inspiring and positive words make my heart swell and it is why I love teaching.

The first one from Carol:

I was so grateful to have had the opportunity to be a student in this class. It was amazing to meet Dayna in person, and to be present in her instruction. She provided a manual, many supplies, demos, readings, and many examples of her work in various stages. She was very engaged and provided such positive suggestions and constant energy. It was truly a great pleasure in an incredible setting. . . . I am still processing all that I learned and felt, and continue to feel so grateful. Thank you, Dayna.            Terri

Teaching at Sitka: Part 1

I had the privilege of teaching two classes at Sitka Center for Art and Ecology. The first, June 30-July 3, was in the smaller of the two studios at Sitka, Smith, and with ten students, it was the perfect space.

I taught two classes at Sitka, the first class was in the smaller, lower studio and the second class was in the spectacular upper studio, Boyden.

Because I was teaching two classes and they were back-to-back (I had the 4th of July off between the two classes), I got to stay at Morley House, which was a first for me. I loved this space!

This is where I got to stay for ten days: Morley House.

Now to the good stuff. The class. I could babble on about it, but instead I’m going to share photos – a fraction of the photos I took, but it gives a good look into our four days of art making. The group was talented, energetic, spirited, and hard workers — and they wanted to know if they could sign up for my 2023 class on the final day!

Brand new overalls! Soft fabric . . . and WHITE. I’m ready.
How I set up the oil paints I bring for the class to use.
A demo board.
Picking up supplies.
Pink+handmade holey paper = beauty.
Making room for a beautiful ring.
Just a beautiful blob of paint.
An old wallpaper roller I bought at a flea market in Europe years ago was a huge hit.
All the colors!
Working, working, working.
Blotting with tissue paper, lifting paint, and moving paint around.
Spreading and scraping paint.
Mixing oil paint with cold wax medium.
Such a strong use of color!
Another lover of color!
Carol experimenting with using a solvent to create drips.
A lovely example of a grid composition.
Regina and Liz confer.
Beautiful swaths of color.
Jill contemplates her next move.
My favorite stencil: circles.
Colorful, powerful, and fascinating example of a grid composition.

R&F Pigment Sticks – making a monoprint.
Selecting pigment sticks to try out.
A beautiful, finished painting. Carol started this one in a class with me a few years ago, brought it with her, and brought it to a beautiful finish.
Work in progress.
Encouraging and supporting each other.
Experimenting with drips!
I love the variety of color and marks in this series.
This is a monoprint of the original oil and cold wax painting (Marc let me have the monoprint and it is hanging in my studio).
Looking in . . . .
A beautiful series of magical marks.
Paintings drying in the courtyard,
Mini abstracts.
Ripping off tape to reveal small beauties.
Final day show and tell.

And then I rested.

TRACES: My Personal Work

The marriage of paint and collage was much tougher than I imagined. I have been a painter for years, I have been a collagist for even longer, but putting the two together has been a painful labor of love . . . . and finally came together.

I had been moving toward combining paint and collage over the past couple of years, trying to figure out a way of adding paint over collage, and collage over paint, discovering the right balance of revealing and concealing. Adding collage to a board is easy for me, but I never wanted to cover it up with paint. Or I would create a collage, feel brave, add paint, but before I knew it, every bit of the collage was covered up.

My art group, the Band of Artists Collective, has a show opening tonight and I was determined to have my mixed media pieces reflect the successful pairing of collage and paint. I experimented in a small journal, doing quick collages on a series of pages. But I liked the collages and didn’t want to mess them up with paint. Reminding myself that my word for this year is RISK, I spread some paint over a collage. I liked the painting, but the collage was gone. What the hell.

It came time to submit images for our upcoming show. I didn’t have any completed pieces and what if I never found my way to adding paint to collage (or collage to paint). So I submitted photos of two 12×12 inch paintings that were somewhat in the style I hoped to complete, although the work did not have one bit of collage in them.

“An Underwater Dream,” 12×12 inches, acrylic with cold wax, by Dayna Collins.
“A Still Pond on a Humid Day,” 12×12 inches, acrylic with cold wax, by Dayna Collins.

But the challenge was mine, no one else knew I was attempting to pull off this arduous (to me) task. The fear grew, and I became paralyzed. Until I decided to push through. The opportunity came in the form of spending two weeks in Palm Springs in late January. We had rented a modern condo with a large dining room table (that was my main criteria in choosing our rental). I loaded up 12 12×12 inch flat birch panels, three working journals, two big bags of acrylic paint, a gigantic bag of collage materials, and a satchel of art supplies. I claimed the table (and the kitchen bar, and the kitchen prep counter, and sometimes the floor) as my work space. We were in Palm Springs to celebrate Howard’s birthday and his retirement, so he was there to golf. I was there to paint and collage. It was a beautiful win/win situation.

Daily, I worked in my journals.

I glued down collage onto the 12 boards.

Then I sidetracked myself to create a fresh batch of painted collage papers (that process is worthy of an entire blog post!).

And then I did what I had been hesitant to do. I started combining paint and collage in any way I could think to do it. If I did too much painting, I just added more collage. Sometimes I painted too much on purpose and glued collage on top. Sometimes I painted over the collage, revealing tiny bits of the collage beneath the surface. I sanded, I scraped, I reapplied paint, and added more collage.

I started to find my rhythm and I was having fun.

A body of work came together. I had started with the idea of creating six pieces for the show, and then it grew to nine. At the end of our two weeks in Palm Springs, I had twelve boards with potential. After we got home, I fine tuned a few of the panels and I had 12 that were show worthy – a beautiful grid.

Here are the 12 that are in the show.

“When Possibilities Seem Endless,” 12×12 inches, acrylic and collage on flat birch board, mounted on a block, by Dayna Collins.
“This Big Life,” 12×12 inches, acrylic and collage on flat birch board, mounted on a block, by Dayna Collins.
“Secret Confessions,” 12×12 inches, acrylic and collage on flat birch board, mounted on a block, by Dayna Collins.
“Robust Vulnerability,” 12×12 inches, acrylic and collage on flat birch board, mounted on a block, by Dayna Collins.
“Nervous Curiosity,” 12×12 inches, acrylic and collage on flat birch board, mounted on a block, by Dayna Collins.
“Luminous Vulnerability,” 12×12 inches, acrylic and collage on flat birch board, mounted on a block, by Dayna Collins.
“In the Presence of Mystery,” 12×12 inches, acrylic and collage on flat birch board, mounted on a block, by Dayna Collins.
“Dance of Distraction,” 12×12 inches, acrylic and collage on flat birch board, mounted on a block, by Dayna Collins.
“Blurred Boundaries,” 12×12 inches, acrylic and collage on flat birch board, mounted on a block, by Dayna Collins.
“A Lending Library of Wonders,” 12×12 inches, acrylic and collage on flat birch board, mounted on a block, by Dayna Collins.
“A Deeper Sense of Belonging,” 12×12 inches, acrylic and collage on flat birch board, mounted on a block, by Dayna Collins.
“A Chorus of Memory,” 12×12 inches, acrylic and collage on flat birch board, mounted on a block, by Dayna Collins.

Traces opens tonight . . . . next up, my blog about the show.

A New Gallery For Me!

I’m delighted to share the news that my art is in a new gallery (and in a new state). I was invited by the owner of Fogue Gallery, Kerry Gates, to display my art at this lovely Georgetown gallery, located about four miles south of downtown Seattle. Georgetown is a lively and funky neighborhood, with several art galleries, numerous restaurants, eclectic shops, and the Georgetown Trailer Mall.

Last month, Howard and I made the drive north to the gallery to hang my art on a beautiful, freshly painted white wall, where we hung five of my oil and cold wax paintings.

The second Saturday of every month is Georgetown’s Art Attack, so we got a room at the Georgetown Inn and attended our first art walk. What a blast!

I got to see my friend Kathleen, who has been a longtime artist at the gallery, and she was gracious enough to introduce me to several of the other artists showing their work in the gallery.

Our oldest daughter lives in Tacoma and she drove up to show her support and cheer me on.

What an evening.

A tiny peek at Georgetown in case you’ve never been . . .

And my biggest thanks goes to my husband, Howard, who does ALL of the behind the scenes work like wiring, inventory, cataloging, schlepping, hanging, adjusting lights, and color coordinating his clothes to match my art.

The next Georgetown Art Attack is Saturday, March 12. I’ll be there, so stop by and say hello.

New Year, New Journal

I have too many flippin’ journals all going at once, so what am I thinking starting another one. I am a sucker for journals. At the current time I am actively working in several. Follow me . . . .

  • Color Journal: A place to keep track of colors I like, the brands of colors because not all colors are the same, what happens when certain colors are mixed together, formulas of colors I like, and the Pantone color of the year (this year it is Very Peri).
  • A small painting journal where I have combined paintings with art quotes on the opposite page. This has been in process for the past couple of years.
  • A vintage book where I wipe off excess paint from my palette, clean off my brushes on the pages, glue in leftover tidbits, and experiment with quick ideas that pop into my head.
  • Visual Journal: This 9×12 inch journal is my hard-working jack of all trades journal. I take notes in it when I take a class, record ideas for a painting or a show, sketch out ideas, and take notes at art meetings. This is my official visual journal and has been a key part of my art practice for many years. The journals are lined up in my studio with little tags indicating the dates covered in each journal.
  • Collage Journal: An old composition book where a student kept notes and did engineering types of drawing, and also glued in tests and notes. I use this journal to create collage compositions right over the writing and drawings. The glued in papers I have torn out, but gluey residue peeks through on many of the pages.
  • Junk Journal: I created this big chunky book out of hundreds of pieces of old papers, collage materials, and ephemera, and created three signatures (or was it four? the journal is thick). The junk part was my use of junky papers, but then I have gone back in and embellished the pages, fleshing out more complete collage compositions. I have been working on this one for months!
  • Covid Journal: When Covid hit in full force in early 2020, I took one of the junk journals I had made and recorded milestones and statistics for the first full year of our lockdown. Every once in a while I will go back in make a note or update the statistics. Sadly, I am entering the third year of entries.
  • Travel Journal: Anytime we take a biggish trip, I maintain a travel journal. My most recent travel journal was done in September when we spent a couple of weeks in New York. I used a handmade artist journal and cut and glued paper and ephemera from our daily excursions.

Which brings me to January, 2022, and the decision to what I plan to do regarding a journal in the new year. In 2019 I committed to painting a painting a day in a 9×9 inch journal and somehow I pulled it off. Sometimes I was playing catch up, but for the most part keeping that painting journal got me into my studio. Every. Single.Day. (And it took seven journals to get through the year.)

A few of my favorite paintings from my 2019 journals:

Day 35
Day 224
Day 294
Day 239

In deciding what kind of journal would be most enjoyable, I flashed back to 2012 when I used “The Open Daybook,” a perpetual calendar book, edited by David P. Earle. I remember buying this big book of a journal at Monograph Bookwerks (fine art books, objects, + ephemera), located in NE Portland, and I was so excited to use it to record what I did every day for a year. Each page has original art by 365 artists (actually 371 as some worked in groups), so the imagery and graphics were always a treat.

A few of my pages from 2012. My entries were short and sweet, but really captured in detail how I spent my days.

That year of record keeping got me to thinking about what kind of journal I would keep now, ten years later. I keep a lot of visual journals (obviously, from the list above), and I have a calendar on my desk. But what if I kept my own sort of Daybook, a cross between what I did today, but coupled with a sprinkling of collage, dabs of paint, imagery, ideas, quotes, and what is on my mind (now there’s a scary thought). I liked the sound of this combination and I just happened to have the right journal for the job (cue the dramatic music), a chunky beast of a journal, built by Leather Village craftspeople.

I wrote a private preamble on New Year’s Eve, then jumped in on January 1st.

I am off and running.

On My Journey Home

“On My Journey Home,” 30×40 inches, mixed media (acrylic, collage, oil, and cold wax).

We laugh and we laugh and there is nothing else like it in the world.

A beautiful opportunity presented itself last June and after giving it some deep thought, I accepted a commission to create a painting in honor of a loved one who had passed.  My collector (and friend) knew she wanted the piece to include collage and paint, but was open to how I would incorporate the two. We met at my house a couple of times to look through photos, passports, music, and ephemera, which all represented an interesting and rich life. I got a better idea of what she was thinking and proposed that I include words throughout the process, along with an initial layer of collage. It was agreed that the words and collage would imbue the piece with the spirit of this person, but the next layers would be an abstract landscape to reflect the color and vibrancy of a life lost too soon.

After I had a chance to go through the stacks of materials, we met again to make a few more decisions, giving me clarity of which original documents I would use to energize the painting. I decided I would create two paintings alongside each other so my collector would have a choice between which piece resonated with her the most. I chose to work on cradled panels:  24×36 inches and 30×40 inches.

Over several months, the two boards were painted, writing added, a second layer of paint, bigger and bolder words added, and then a complete layer of collage, with just snippets of the underlying words peeking through.

The process of alternating layers of acrylic paint with words continued, and eventually I began to focus on the composition, moving toward an abstracted landscape. I was pleased, but not satisfied, so in a fit of knowing I wasn’t finished, I took both boards to the back yard and using an electric sander, sanded the surface of both paintings, revealing the various layers as I sanded. Snippets of words, paint, and even some of the earlier layers of collage were revealed.

All sanded and ready for oil and cold wax to be applied.
Sanding in process. Gulp.
Collage, acrylic paint, and words sanded back to reveal earlier layers.
Collage, acrylic paint, and writing, sanded back to reveal earlier layers.
Layers, layers, layers. Sanded back reveal some of those layers.

It was around this time I decided I would switch mediums and move to applying layers of oil paint mixed with cold wax. The vibrancy of oil and cold wax and the rich luminosity of the materials seemed like the right choice. I took the smaller of the two boards with me to Sitka Center for Art and Ecology in early September, where I was teaching a four-day workshop in oil and cold wax. I taught during the day, and then when the students went home for the night, I went into the studio and worked on the 24×36 inch piece, building layers of oil and cold wax.

“Trying So Hard to Listen,” after converting to oil and cold wax while at Sitka Center for Art and Ecology.
Working on “Trying So Hard to Listen” while at Sitka Center for Art and Ecology on the Oregon Coast.
“Trying So Hard to Listen,” after converting to oil and cold wax.

When I got home, I continued to work on “Trying So Hard to Listen,” with more layers of oil and cold wax.

“Trying So Hard to Listen” in process after converting to oil and cold wax.

I completed the 24×36 inch piece on October 4, 2021, and titled it “Trying So Hard to Listen.”

“Trying So Hard to Listen,” 24×36 inches, mixed media (acrylic, collage, oil, and cold wax).

I had also started to add layers of oil and cold wax to the larger piece, “On My Journey Home.”

Early layers of oil and cold wax, “On My Journey Home.”
“On My Journey Home,” in progress.
Adding texture to “On My Journey Home.”
Work in progress.
Refining “On My Journey Home.”

The larger piece, 30×40 inches, was completed on my birthday, October 14, and I titled it “On My Journey Home.”

“On My Journey Home,” 30×40 inches, mixed media (acrylic, collage, oil, and cold wax).

My wonderful friend and collector decided she wanted both of the paintings and in mid December, the paintings were delivered and hung. It was such an honor to see them hanging, knowing that they each had multiple layers of images, words, and paint and reflected emotional energy, love, and memories of a life well lived.

“On My Journey Home,” in its place of honor above the fireplace.
“Trying So Hard to Listen,” in its bright, beautiful space.

A journey of discovering that I love people, I love myself, I love my secrets.