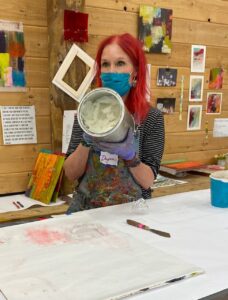
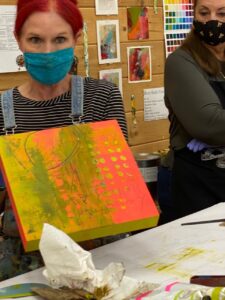
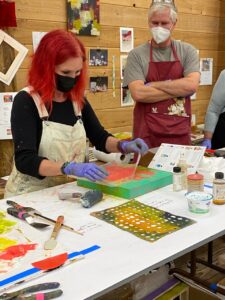
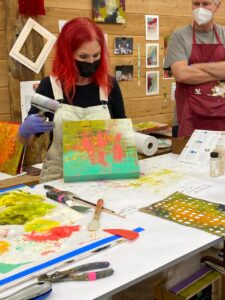
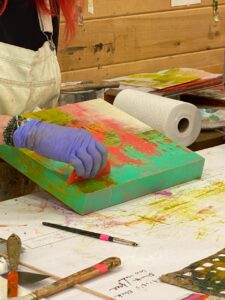
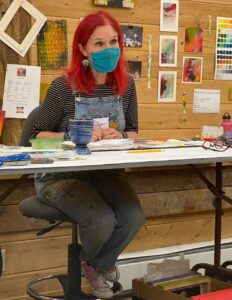
I am frequently asked about how to work with oil paint mixed with cold wax medium, especially on Instagram (you can find my Instagram at DaynaLovesArt). When I post videos of my process, I get a lot of interest and questions. Since I recently taught two four-day workshops in oil and cold wax at Sitka Center for Art and Ecology, I thought I would post a series of photos of the process. Thank you to several of my students for taking photos and generously sharing them with me.
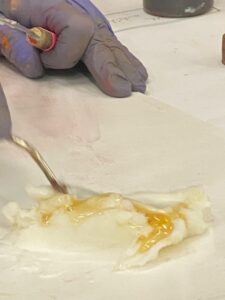
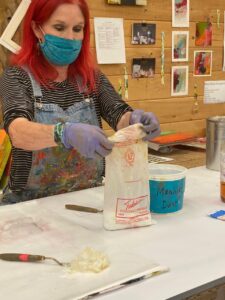
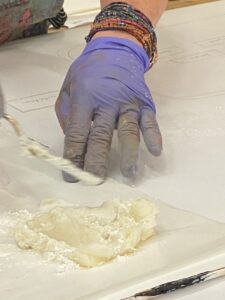
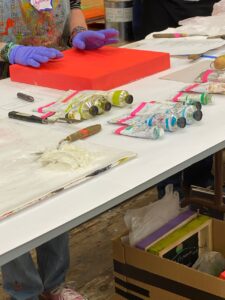
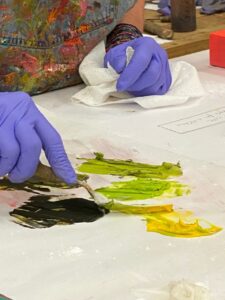
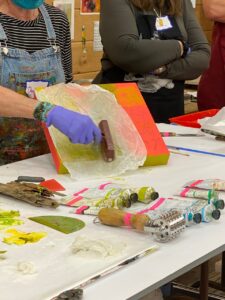
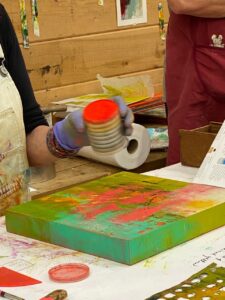
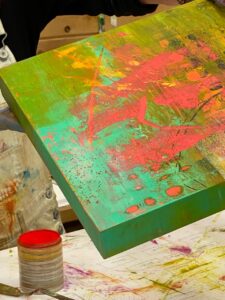
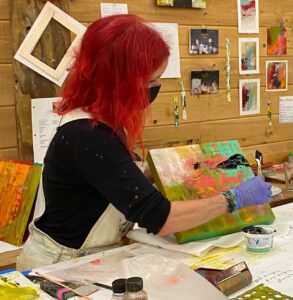
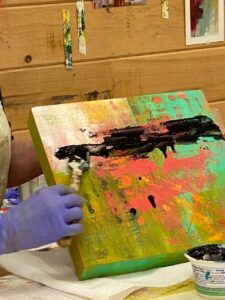
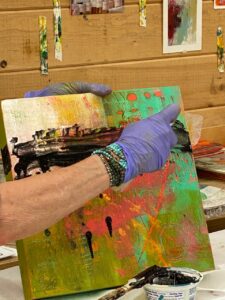
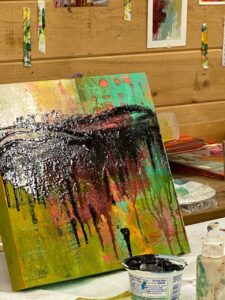
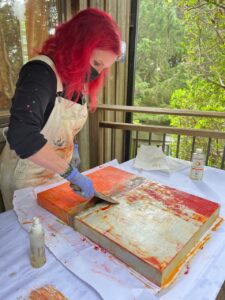
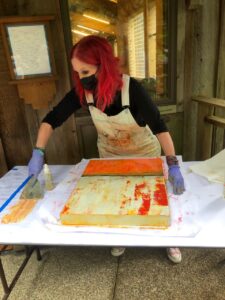
Mixing Gamblin’s Cold Wax Medium with their Galkyd (which helps speed the drying time).Pulling out a bag of Fedrix powdered marble dust.Mixing marble dust into Gamblin’s Cold Wax Medium and Galkyd. The marble dust acts as another agent to speed the drying time. It can also be used to thicken the consistency of the cold wax.Ready to mix paint!Mixing oil paint with the cold wax mixture. I mix 50/50: 50% oil paint with 50% cold wax medium (with the Galkyd & marble dust already added).An early demo of applying oil and cold wax mixture to the painted cradled panel. I am using a flexible metal putty knife from the hardware store.Using a brayer and wax paper, I am “lifting” paint and creating irregular texture on the surface of the board.Applying a nice layer of paint to the painted surface (with words added before the paint). I then lay down a piece of wax paper to lift some of the paint to create interesting texture.Showing the demo board with some of the techniques: applying paint, applying paint with a stencil, removing paint with a stencil, making marks.Using wax paper to “lift” paint (and then that lifted paint will be applied to a different work in progress to move the orange paint around).Using a brayer to apply a thin veil of white oil and cold wax (in the upper right corner) over dry oil and cold wax paint.Applying a thin layer of cold wax in preparation for adding flecks of Pan Pastel.Applying flecks of Pan Pastels using a small palette knife to scrape a tiny bit of the pastel onto the surface; a thin layer of cold wax applied so the flecks of pastel will adhere.Tiny little flecks of red pastel add fun interest. Once the flecks have been added, I use a piece of wax paper over the surface and then brayer over the wax paper to embed the pastel.Applying a layer of thinned out oil and cold wax (thinned with Gamblin’s Gamsol, oderless mineral spirits).Spreading out the oil and cold wax with added Gamsol to thin out the paint mixture.Spraying Gamblin’s Gamsol to thin out the swath of oil and cold wax to create drips.The drips.Scraping off a layer of oil and cold wax using Citra Solv and a metal putty knife.*Wiping paint from putty knife onto paper.Any questions?!?
A beautiful comment from Angela, who has taken my class several times:
It was amazing to see you obliterate a piece, reveal fabulous lower layers and ultimately create your incredible composition. Seeing you do this in class was huge? The lesson in itself was the best possible, teaching us more by showing, creating and telling us your thoughts throughout. Angela
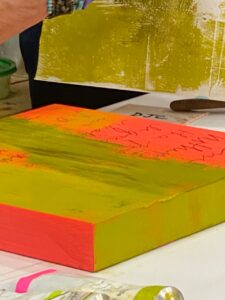
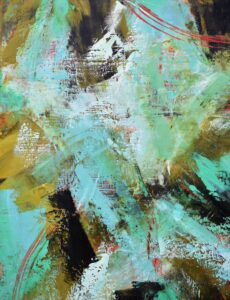
*This demo piece went on to become this painting:
“Storm Mounting,” the piece I created for an upcoming show, which I will be writing about soon.
If you are interested in more information about what I’m doing, books I recommend, techniques, shows, workshops, etc., please subscribe to my monthly newsletter by clicking HERE. In my September newsletter I will be sharing about my recent Personal Art Retreat, all the work that goes into creating art behind the scenes and sharing about the book Creative Authenticity.