#the100dayproject – COMPLETED

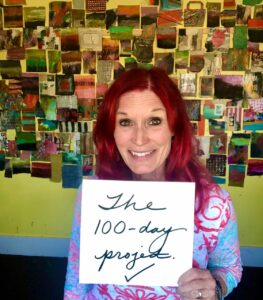
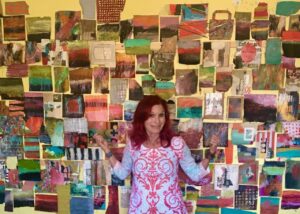
It is hard to believe that 100 days ago I embarked on a project where I committed to make a piece of art every day for 100 days. That’s a lot of days and a lot of art. I wrote about the project on Day 50, so if you want more info just click on the link.

Very first piece for #the100dayproject: acrylic painting on a scrap of brown paper bag.

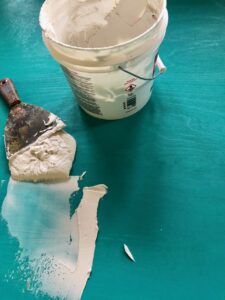
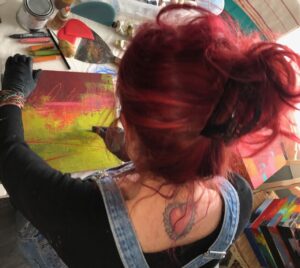
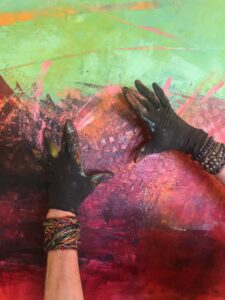
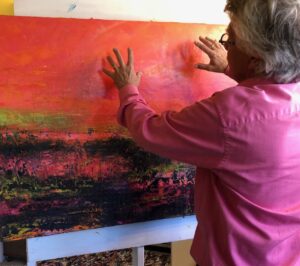
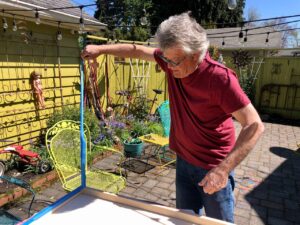
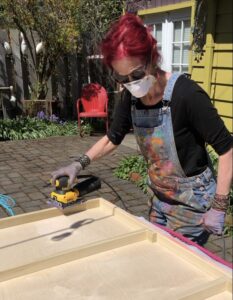
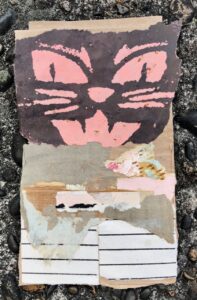
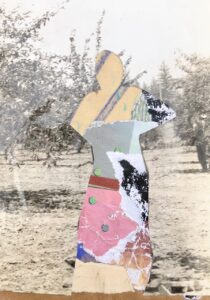
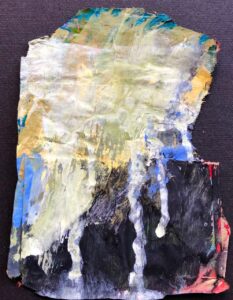
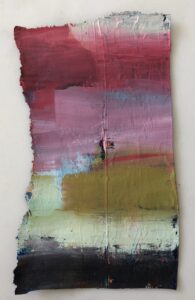
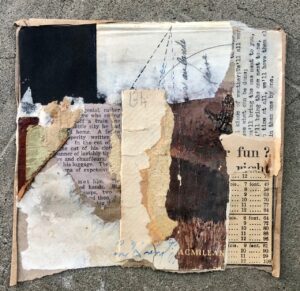
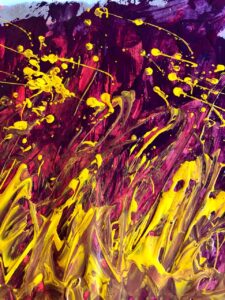
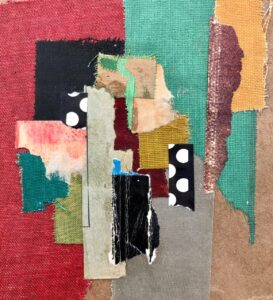
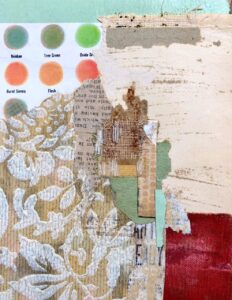
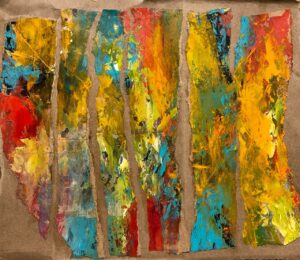
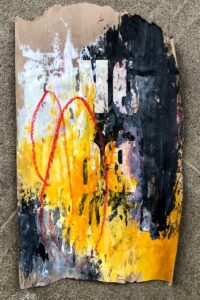
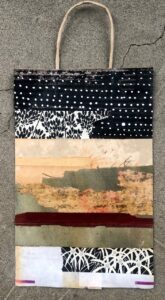
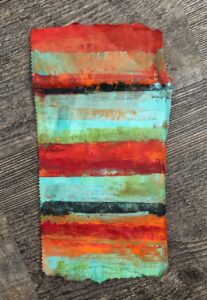
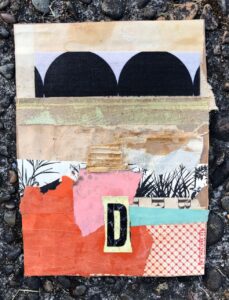
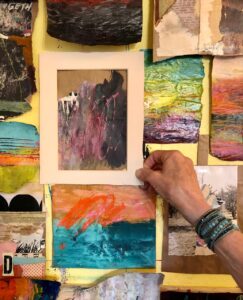
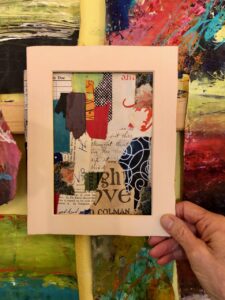
In a nutshell, over the past 100 days I created art using scraps of brown paper bags. The mediums I used included oil and cold wax, acrylic paint, and collage. Some of the materials I used in the pieces: black and white photographs, Stabilo Woody Crayons, pencils, vintage ephemera, book scraps, paper frames, and charcoal. Techniques and designs included splatter painting, drawing, stripes, circles, stencils, scraping, tearing, gluing, squeegees, and mark-making.

Last piece for #the100dayproject: Acrylic painting on a scrap of a brown paper bag, with strips from discarded books, and a B&W photo found at a flea market.

What I learned during the past 100 days:

  • True art is in the doing and there is no shortcut for that.
  • I like to work fast to keep the inner critic quiet.
  • It was freeing to work on such an unimportant substrate as a brown paper bag.
  • I kept pushing myself to be bolder and to make more startling moves on my daily pieces.
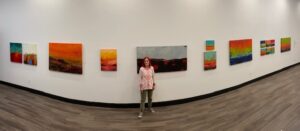
  • It was amazing to create so many pieces, and although each piece was different, they created a unified body of work.
  • Some days it was this project that propelled me to go into my studio. Sometimes I stayed.
  • Several new ideas emerged from this project and I am letting them percolate for future projects.
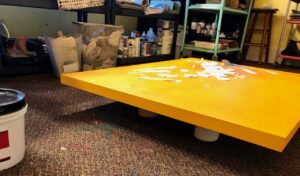
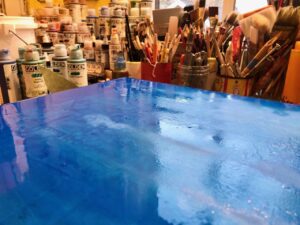
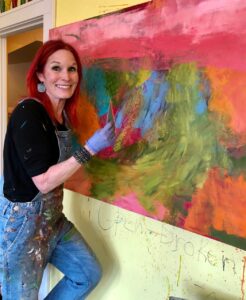
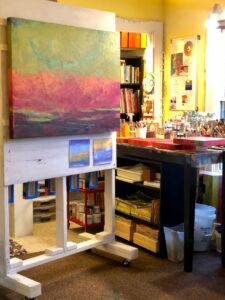
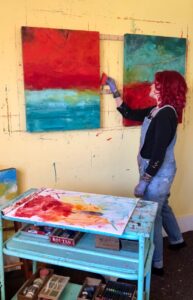
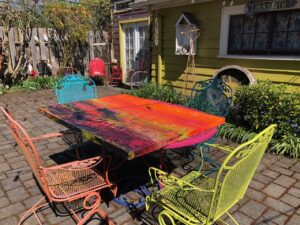
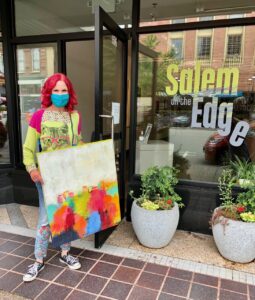
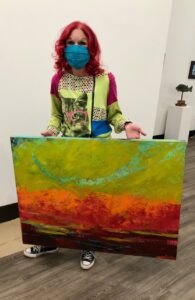
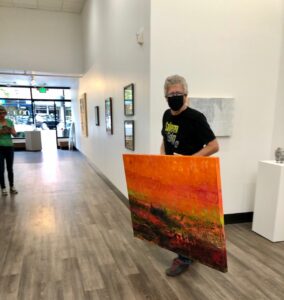
  • A very exciting byproduct was how two of the paper pieces I created inspired bigger paintings!

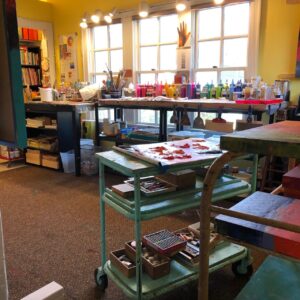
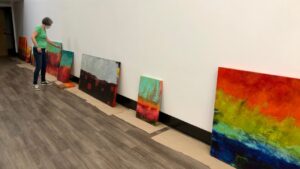
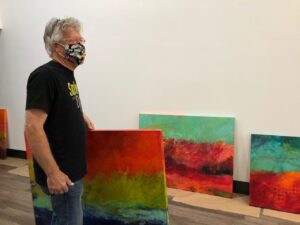
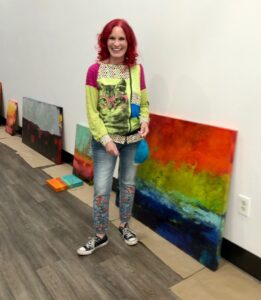
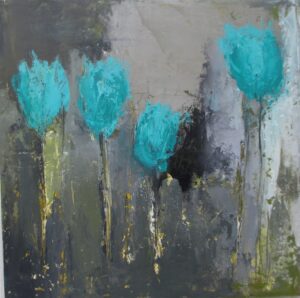
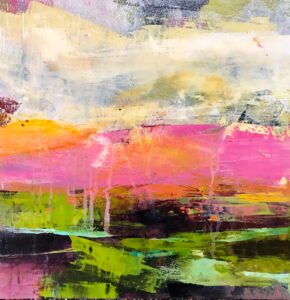
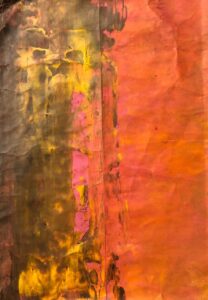
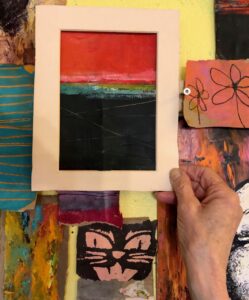
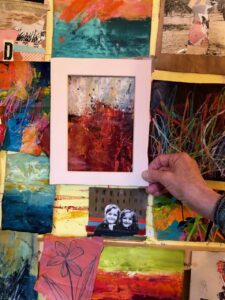
Here is a random assortment of pieces from the second half of the project:

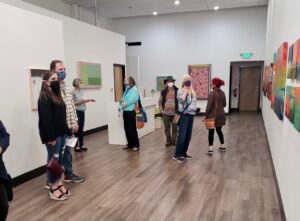
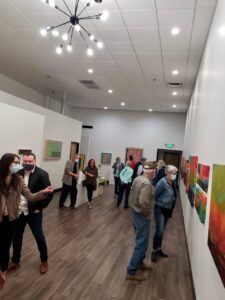
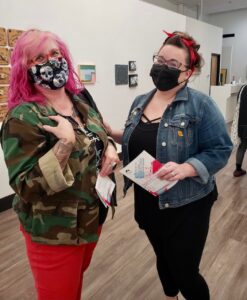
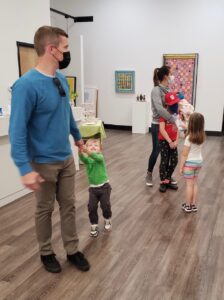
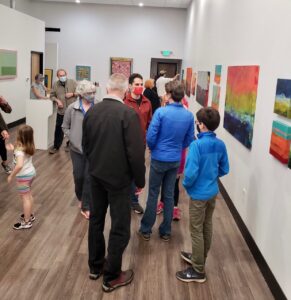
Right now I am celebrating the completion of the project . . . .

. . . . but I have some ideas brewing for moving forward with these pieces.

I have this wacky idea of offering some of these completed pieces for sale and giving first notice to those who are on my mailing list. Haven’t signed up yet? Want to? Here’s a LINK.

Turns of the Kaleidoscope: The Opening Reception

The entire show, pre-opening.

My show, Turns of the Kaleidoscope, officially opened on Friday night, May 7, from 5-8 pm. It was part of Salem’s First Friday Art Walk and the weather was perfect. With more people vaccinated and things slowly opening, there was a steady stream of friends and art lovers throughout the evening.

Masks down for a quick photo.

The evening was magical and I’m sharing a smattering of photos that give a peek into the celebration of the opening of my show (which runs through May 29th).

Arlene and Janet were first to arrive.
Melanie, gallery owner and master curator.
First visitors.

With Olivia. I was a high school mentor for Salem Art Association and Olivia was one of my students. She is now graduating from college!
Jo and Jim, fellow artists.
It was a lovely evening.
Paula and Jeff.
Social distancing in action.
Susan, Ruth, and Susan catch up.
Amy greeting visitors and Dave entering a drawing for a gift certificate.
Daughter Amy and Chris.
Longtime friends and fans of Pat Wheeler! Hi Pat.
Longtime friend Paul – I trained as a counselor under Paul many years ago.
It is fun to watch visitors interact with my art.
Alicia and her friend – Alicia’s hair matched a lot of my art!
Family.
A quiet moment to catch up.
A lively evening with a steady flow of visitors.
Family and three of the grandkid brood.
Orly and Dayna, kindred spirits. I love that we only live a short distance from each other . . . .
Art appreciator, who also happens to be my husband (and now my business manager).
Friends. Such a treat to finally be able to gather.
New art friends!
Timmy and Dayna!!
First Friday Art Walk at the end of the night.

Turns of the Kaleidoscope

Yesterday I dropped off 17 new plaster, oil, and cold wax paintings at Salem on the Edge for my show Turns of the Kaleidoscope. The pieces range in size from 12×12 inches, up to 30×60 inches, all created to be hung on 48 feet of wall space! When I began working on this series, I had trouble imagining filling that long, blank wall. But I did it with one painting to spare. (If you happen to see the show during the month of May, ask Melanie to see the 36×48 inch piece, Life’s Distractions and Enticements.)

Rather than blather about creating the pieces, I’m going to share my process with a series of photos, after all, this is a post about an art show. Here we go . . . .

Sealing the board with fluorescent paint.
Bucket of mud!
Applying plaster.
I love this stage of applying plaster.
Plaster being sealed.
A brand new gallon of Gamblin’s Cold Wax.
Early layers.
Working on a 12×12 inch piece.
Active studio.
Rolling wall comes in so handy.
New trend in makeup?
Painting the edges.
Works in progress.
Paying the price.
Sweet spot.
Doing a demo on Instagram about final coat of wax. (My IG: DaynaLovesArt)
Feedback and critique from Howard.
Peeling off the tape.
Sanding the backs of the boards.
Drying in the warm, dry air.
Choosing titles.
Signing paintings.
Preparing to photograph.
Photographing paintings in the perfect outdoor light.
Arrival with paintings!
The namesake piece, “Turns of the Kaleidoscope.”
Howard carries in “Baffled Amazement,” one of three 36×48 inch pieces.
Melanie sizing things up.
The beginning of the curating process by Melanie.
Arranging and rearranging . . . .
“Where does this go?”
Happy that the pieces are at the gallery and ready to be hung.


How I Title My Paintings

I am often asked how I come up with the titles for my paintings, so I’m going to spill the beans. Whenever I’m reading a beautifully written novel, I keep a piece of paper and a pen handy to jot down portions of sentences or phrases that resonate with how the words are put together. I do the same when I am reading poetry, just taking a few of the words, or “word fragments,” and scribbling them on a scrap of paper. I keep all of my pieces of paper gathered together on a clipboard, which I then refer to when it is time to name a painting. And I get to use one of my vintage clipboards!

It is a bit of a wonky system, and takes some maneuvering, but it has worked for me for many years and I enjoy the process of looking through my scribbles and putting together new combinations of words from the word fragments on my scraps of paper.

I have painted hundreds of paintings over the years, but here is a sampling of my work and the titles I have chosen.

“A Narrow Illumination,” plaster, oil, and cold wax on cradled birch panel, by Dayna J. Collins
“According to Sylvia Plath, the tulips are subtle, they seem to float,” plaster, oil, and cold wax on cradled birch panel, by Dayna J. Collins
“A Protective Charm,” acrylic on 300 lb. watercolor paper, by Dayna J. Collins
“A Ghostly Process of Waves,” oil and cold wax on cradled birch panel, by Dayna J. Collins
“Small Bursts of Illumination,” acrylic on wood panel, mounted in floating frame, by Dayna J. Collins
“Fallen Sun,” oil and cold wax on cradled birch panel, by Dayna J. Collins


The Story of a Transformation


Sometime back in 2012 (maybe before), I received a gift from my good friend Sam Hart, one of the most creative people I know and the superstar behind (the now defunct) Lil’ Gypsy vintage shop. On occasion, Sam left me gifts at my doorstep (she still does!) and back in 2012, when I had my studio in a small house on an alley in NE Salem, Sam gifted me this mannequin. She had a few battle scars (the mannequin, not Sam), so I wrapped her in a boa and gave her a pep talk.

Circa 2012

When I later moved my studio home, she hung out with me for a while upstairs . . . .

. . . and then she got banished to the basement.

I often thought about how I wanted to give her a new life. For a brief moment I thought about adding collage to her entire self, but it never seemed quite right. Then one day a few months ago, I decided to repair some of  her more severe scarring. I put on my plastic surgery scrubs, and with a bit of duct tape and plaster, I repaired the worst of her owies.

After a light dermabrasion sanding, I gave her a clean slate: gesso, the great eraser.

She was hanging out in my studio as I was transferring acrylic paint into squeeze bottles, so as I was doing this, I started using leftover paint on her body (I really should name her).

Layer by layer, patch by patch, swath by swath, drip by drip, my lady was transformed.

She was taken to the basement and given a coat of semi-gloss varnish to protect and seal her, then I did some drip painting on the base. And today is her debut!


Now I just need to figure out where she will live.